PESTO + RICOTTA ZUCCHINI ROLLUPS

If you’re anything like me, I’m always searching for new recipes to use fresh, in-season produce. This Pesto + Ricotta Zucchini Rollup recipe is not only super easy, but also incorporates extra summer produce you may have in your own personal garden or what you can easily find at end-of-summer vegetable stands. I like to make this recipe as a meal-prep dish for the week because its easy to pack for work lunches, but you could also prepare this for a dinner party as well since it makes a large portion. This dish is keto friendly/low-carb when served on its own, but is also quite tasty with a side of your favorite pasta or served over white rice. You can also make this recipe vegetarian by omitting the meat. When I have the time, I like to make my own pasta sauce and pesto for this dish, but feel free to use your favorite store-bought versions to cut back on time for a quick weeknight meal!

zucchini-pesto-and-ricotta-rollups-1.jpg

WHAT YOU’LL NEED:

  • 2 TBSP. extra virgin olive oil

  • 1/2 lb. spicy Italian ground sausage (or mild if you prefer)

  • 1/2 lb. ground chicken (ground turkey or ground beef will also work)

  • 2 cups tomato sauce, homemade or store bought

  • 3-4 zucchini or yellow summer squash

  • 1 cup whole milk ricotta cheese

  • 1/2 cup Parmesean cheese

  • 1/2 cup basil pesto, homemade or store bought

  • 1/2 mozzarella cheese

  • fresh basil, for serving

WHAT TO DO:

  1. Preheat oven to 425 degrees F. Lightly grease a 9X13 baking dish

  2. Heat olive oil in a skillet over medium-high heat. Add sausage and ground chicken, cook until browned. Drain if needed. Once cooked, reduce heat to low and add the tomato sauce. Simmer for 10 minutes or until the sauce thickens slightly.

  3. While meat sauce is cooking, use a mandolin to slice the zucchini into 1/4 inch thick strips. Depending on the size of the zucchini, you should have around 30 strips. Lay zucchini strips flat on a paper towel lined counter and sprinkle with salt

  4. In a medium bowl, combine ricotta, parmesean and pesto

  5. Evenly spread a little over half of the meat sauce into the bottom of the prepared baking dish. Take 2 zucchini strips and lay them side by side lenghtwise, slightly overlapping. Spoon about 1 tbsp. of cheese mixture onto center of zucchini. Roll and place seam-side down in the baking dish. Repeat until baking dish is full or you have used all the zucchini strips.

  6. If there is any cheese mixture leftover, you can evenly spread on top of rollups

  7. Spoon the remaining meat sauce over the zucchini. Top with mozzarella cheese

  8. Bake for 25-30 minutes, or until cheese has melted and is lightly browned.

  9. Cool before serving and enjoy!

pesto-and-ricotta-zucchini-rollups-4.png

SHOP MY INSTAGRAM

Shop my Instagram below by clicking on any photo

-OR-

Click Here to download the Like to Know It App to shop at your convenience and save items to purchase as you need.

Thank you so much for shopping directly through my links, as it supports my blog and helps me keep it up and running!

HONEYMOON TRAVEL GUIDE PT. 1 | MAUI

honeymoon-travel-guide-part-1-maui-2.jpg

We spent 7 days on the island of Maui, for the first part of our honeymoon, and it was an absolute dream!  As soon as you step off the plane into the open air airport, you are greeted with green mountaintops, palm trees swaying, and a lovely breeze that seems to follow you with every step.  The islands natural beauty and warm aloha spirit is something that I will never forget.  As far as tropical destinations go, Hawaii is at the top of my favorites list!

In the months leading up to our trip, I was so busy with wedding planning that I really didn’t plan our honeymoon as much as I typically would for other trips.  I am normally a HUGE planner, but Nathan really took over for this trip and I was super grateful.  That leads me to my first recommendation: don’t overbook yourself!  Especially if you are going on a honeymoon right after your wedding, trust me, you’re going to want a break and time to just rest. To start the planning process,  we each made a Top 3 list of things we definitely wanted to see/do while in Maui and went from there.  We actually only ended up pre-booking 2 activities, and filled in the remaining days with pool and ocean days as well as room for self-guided exploration.  After all, exploring on your own is half the adventure when visiting a new place, right?!

WHERE TO STAY

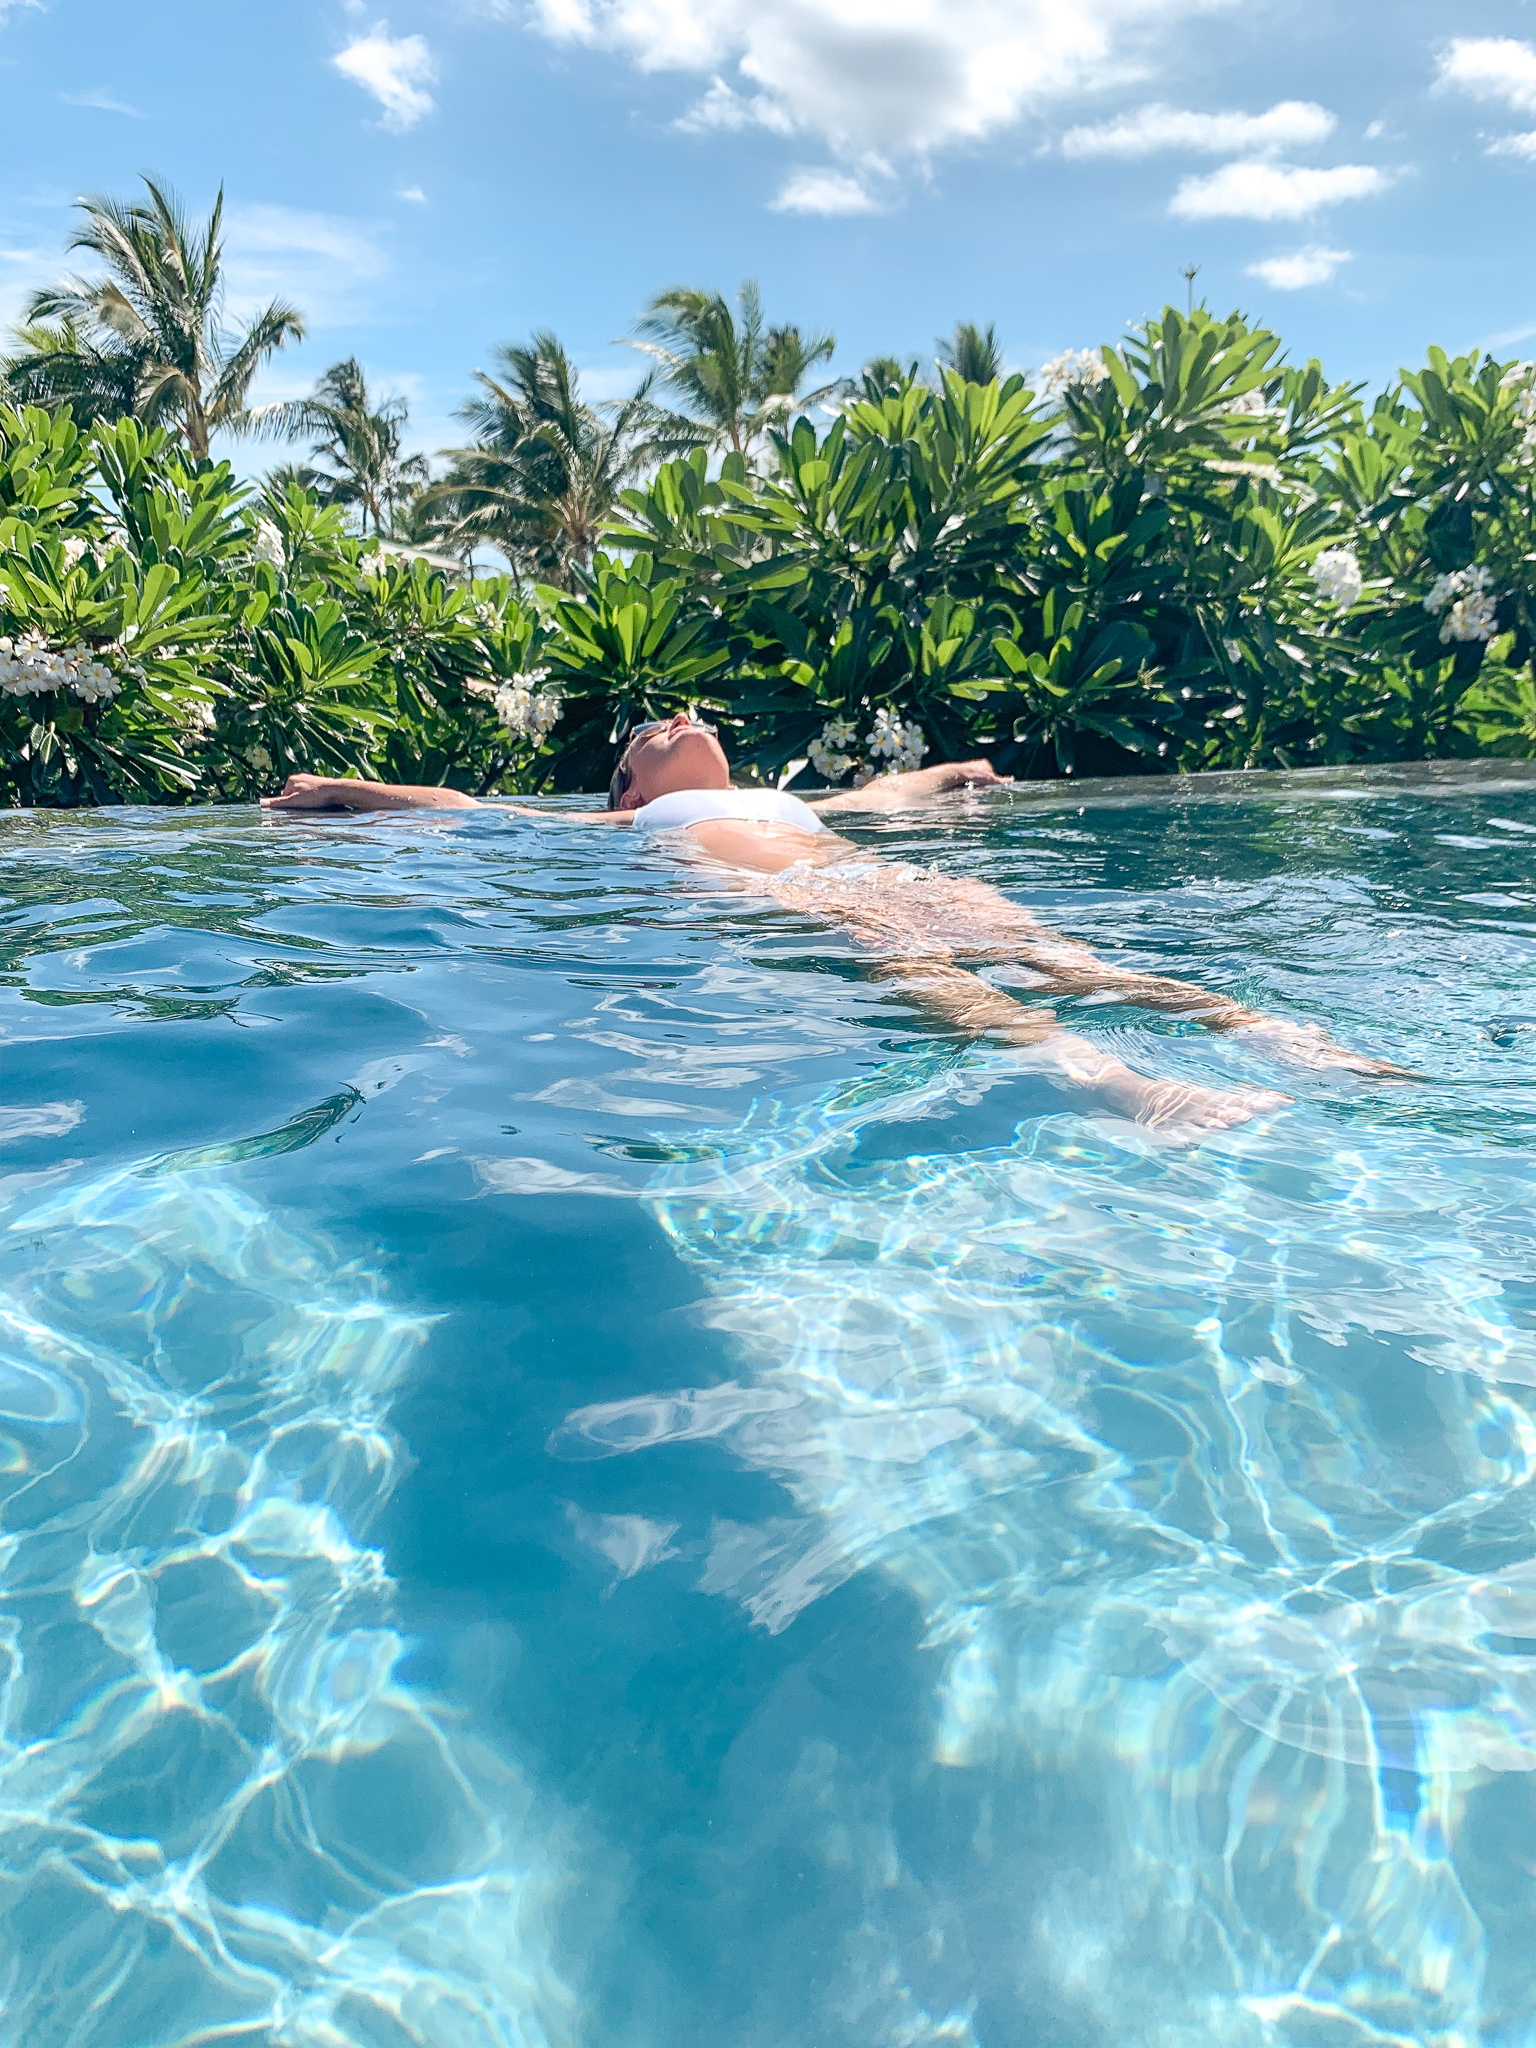
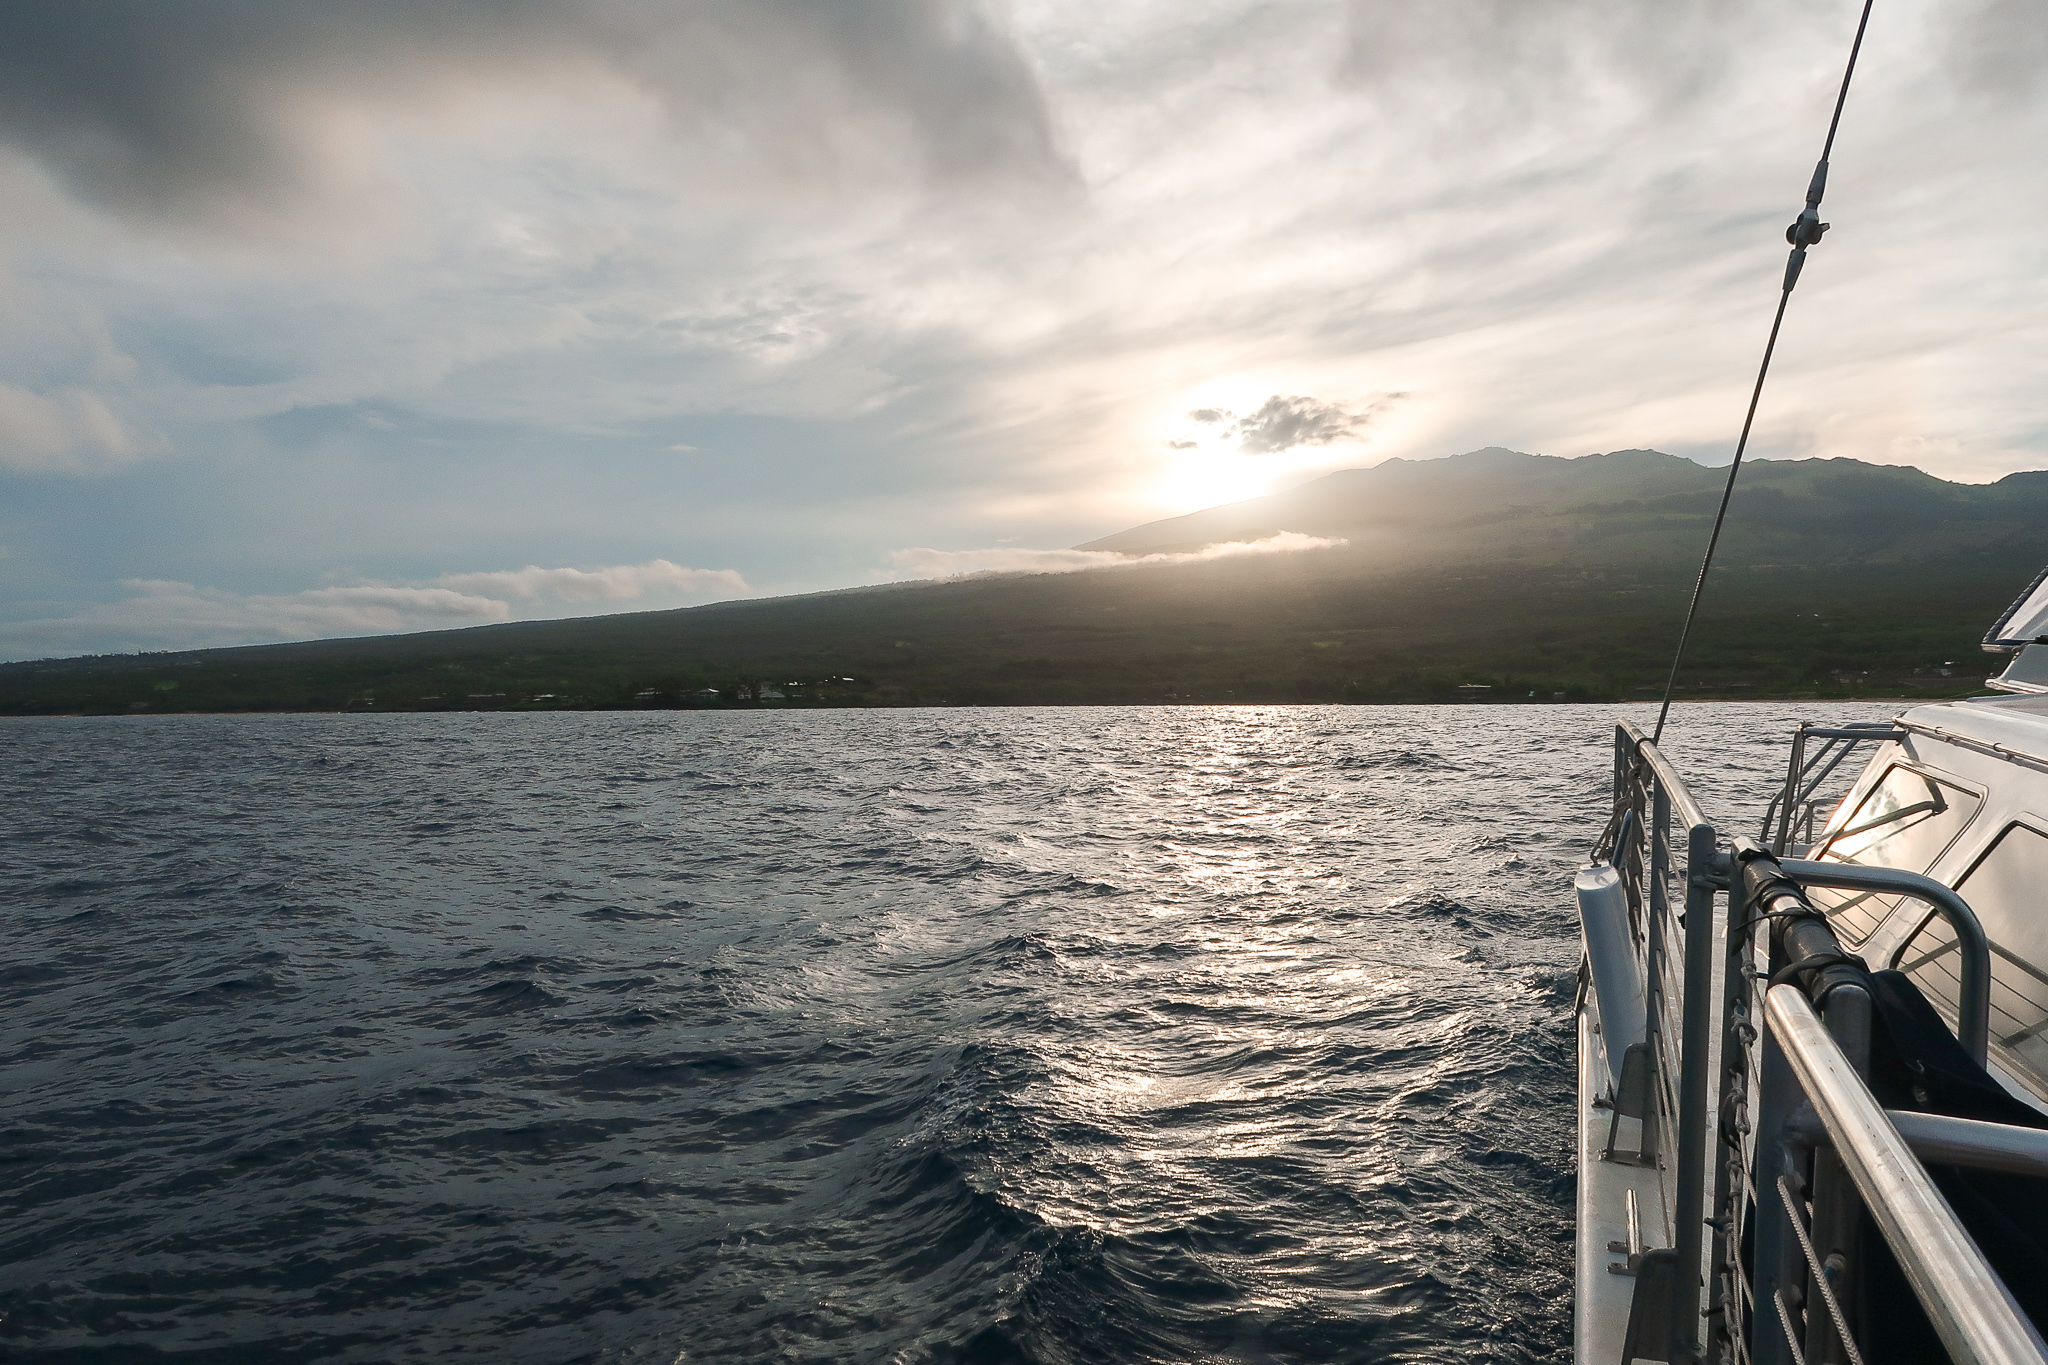
We stayed at the Andaz Maui and it was truly amazing.  The entire resort has a peaceful and soothing feeling to it with its neutral color palette and simple design elements.  The open air concept of the main lobby and guest hallways really made me feel connected to the outdoor elements at all times.  I know it sounds strange, but it never really felt like you were indoors, which I loved.  The guests suit also elicited the same calming effect with its natural design, and one of the coolest aspects about the room (besides the daily stocking of Macadamia Nut cookies, Maui style chips, and an assortment of yummy Hawaiin drinks) was the sliding door that opened fully to allow the warm ocean breeze to sweep into the room.   Some of our favorite things to do was watch the sunset and sunrise, whether from our lanai or the lounge chairs overlooking the beach, you can never beat the view of the sun over the vastness of the ocean.  We both just felt at home during our stay at the Andaz, and both said multiple times that we didn’t want to leave because it was so peaceful. 

honeymoon-travel-guide-part-1-maui-3.jpg
honeymoon-travel-guide-part-1-maui-10.jpg
IMG_3731.jpg
honeymoon-travel-guide-part-1-maui-8.jpg
honeymoon-travel-guide-part-1-maui-11.jpg

FOOD/DRINK

One of our favorite aspects of traveling is trying new places to eat, and even though we were staying at a resort with some amazing restaurants, we made it a point to get out and try some local spots in Maui.  Here are some of the places we loved!


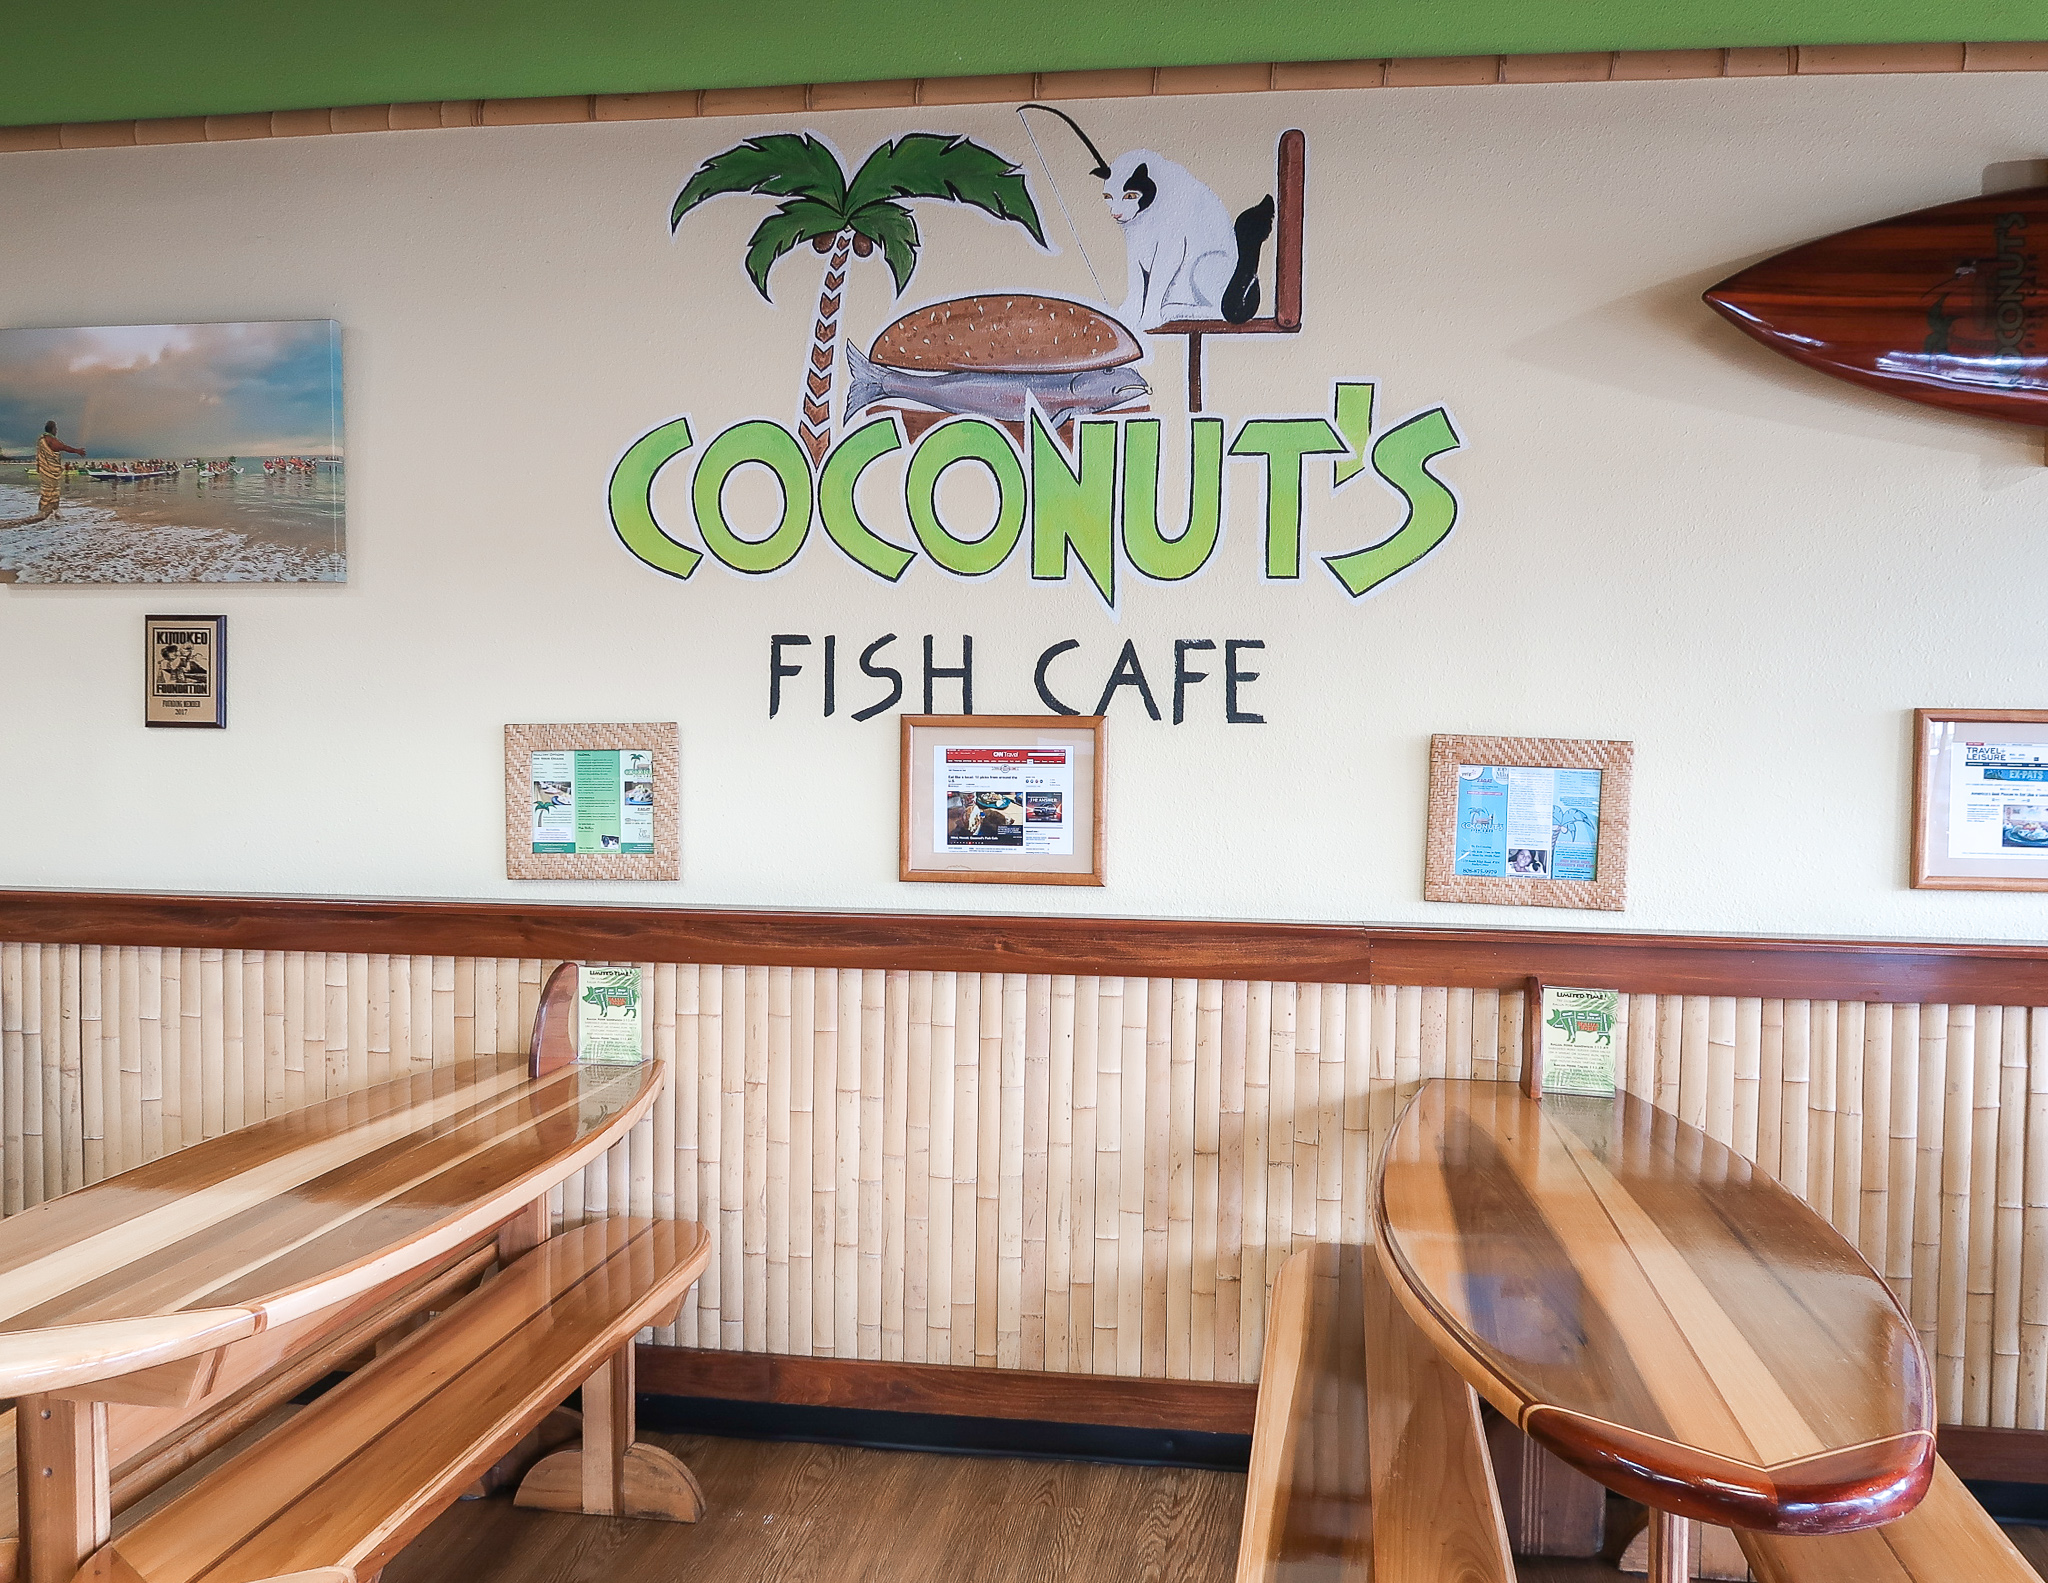
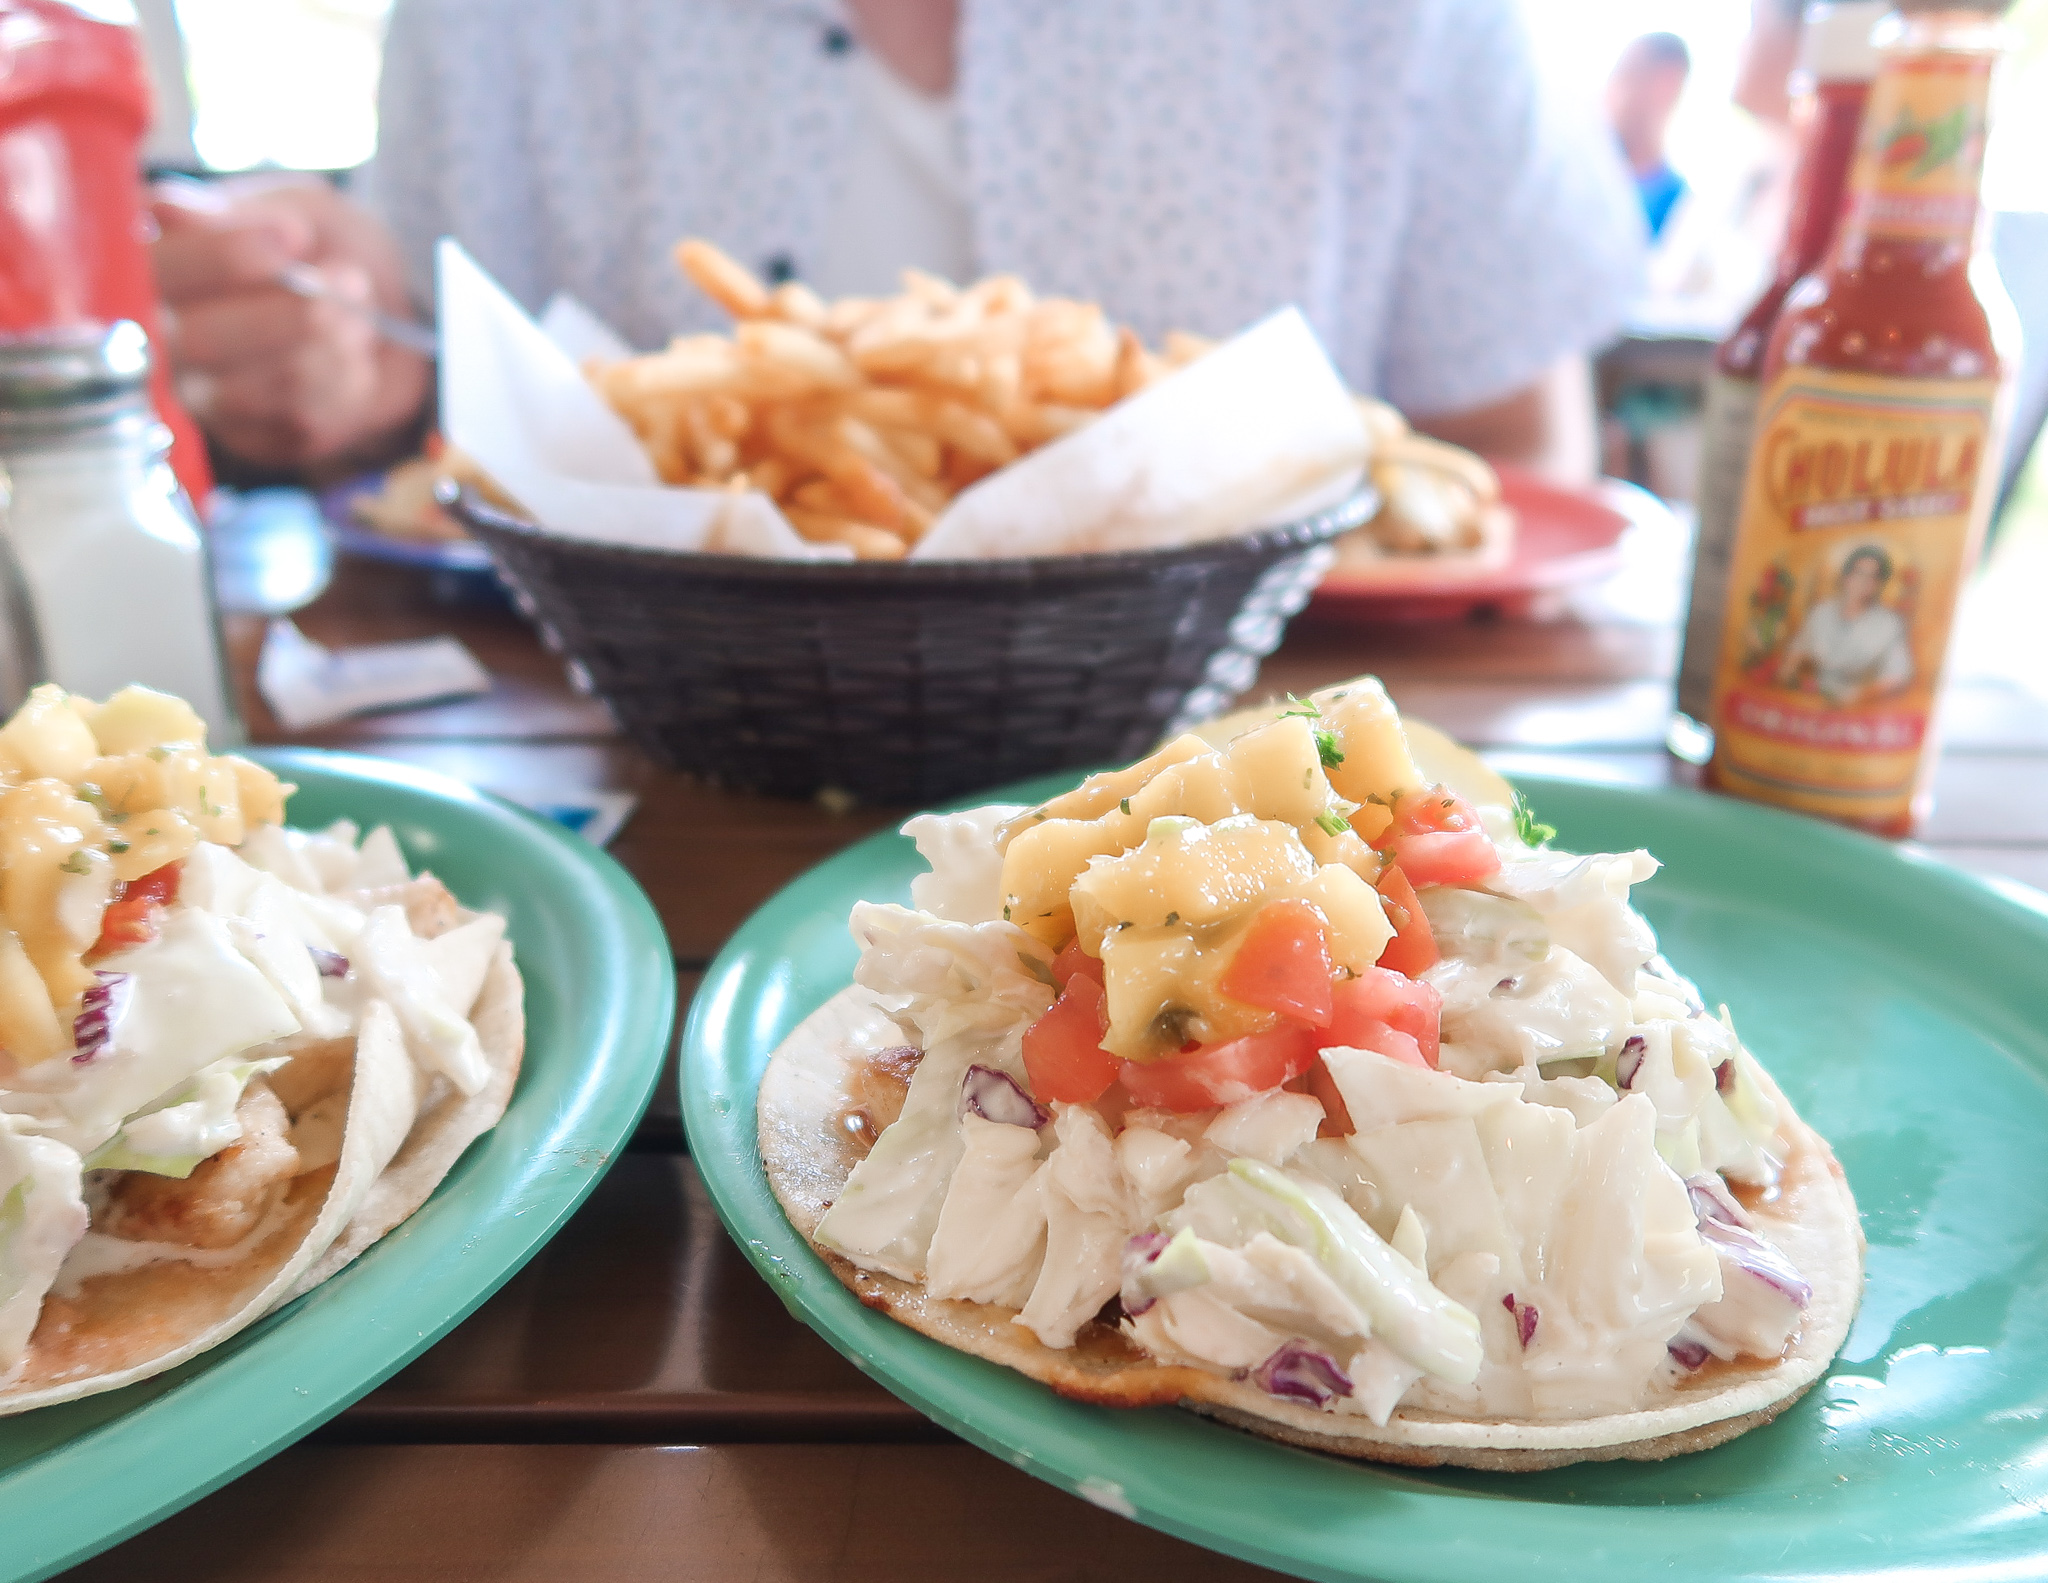
COCONUTS FISH CAFE:  Coconuts made the list because they boasted to have the “best fish tacos in Maui”…and in my opinion, THEY DID!  Trust me, I had my fair share during our trip!  The tacos are made with 17 different ingredients including coconut cole slaw and a fresh mango salsa.  The restaurant is super low key, you order at the counter and seating is community style both indoors and outdoors.  We had all intentions of grabbing a handmade lemonade at Wow Wow Lemonade next door but unfortunately it was closed by the time we got there.  I’d totally recommend grabbing one to wash down the yummiest fish taco on the island!

CAFE O’LEI: this is a fresh, local, family-owned restaurant that came recommended by a few different people.  I noticed there were locals and visitors alike enjoying meals here, so typically that is a good sign that the food is great!  They offered a really great selection of flatbreads, sushi, seafood and meat dishes.  Before our meal, I enjoyed a yummy coconut mojito and Nathan tried a local craft beer.  We were both impressed with our entree’s as well. I had a seafood special of shrimp tempura and ahi tuna, and Nathan had a seafood bouillabaisse.  I would definitely suggest checking this place out for some local flare if you are staying in Wailea. 

MONKEYPOD: I’m going to be honest, this place lured me in because of their Mai Tai’s …I saw a picture of one while doing some research and I was SOLD!  This spot serves up an upscale bar menu of flatbreads, burgers, sandwiches and daily specials.  Nathan and I both started with the Mai Tai which is topped with passionfruit foam and made with homemade macadamia nut syrup.  Its basically Hawaii in a cup, and probably my favorite I had while in Maui.  For dinner I had the fish tacos (shocker) and Nathan had a burger, both were delicious!  They even make homemade pie daily, so we took a piece of banana cream home with us! 

honeymoon-travel-guide-part-1-maui-18.jpg

KIHEI CAFFE: Nathan and I ate breakfast here on our last morning in Maui and my only wish is that we would have went here sooner!  Its a total hole in the wall, but I always find these to be the best places! This is another community style restaurant, right off South Kihei and across from Kalama Beach Park, making the location great too.  You order at the counter, find a seat, and the food is brought out to you.  We both ordered the huevos rancheros with chorizo and split an order of the banana macadamia nut French toast.  Both were awesome! Go early (we were there by 8:30) or be prepared to wait in line. 

KA’ANA KITCHEN: like I stated previously, Nathan and I typically avoid eating at resort restaurants because we like to experience local dining options however we enjoyed one of our favorite meals of the entire trip right at the Andaz.  This fresh restaurant serves farm-to-table local cuisine prepared to stimulate your sense of adventure, and they offer both breakfast and dinner daily.  We decided to have dinner here one evening and it was delicious! We started with a pork belly appetizer that was perfectly prepared.  As our main entrees, Nathan had the short rib adobo and I had the scallop risotto and both dishes were incredible.  And you better believe we even indulged in dessert too!  Whether you are staying at the Andaz or not, I think Ka’ana Kitchen is worth adding to your dinner list.

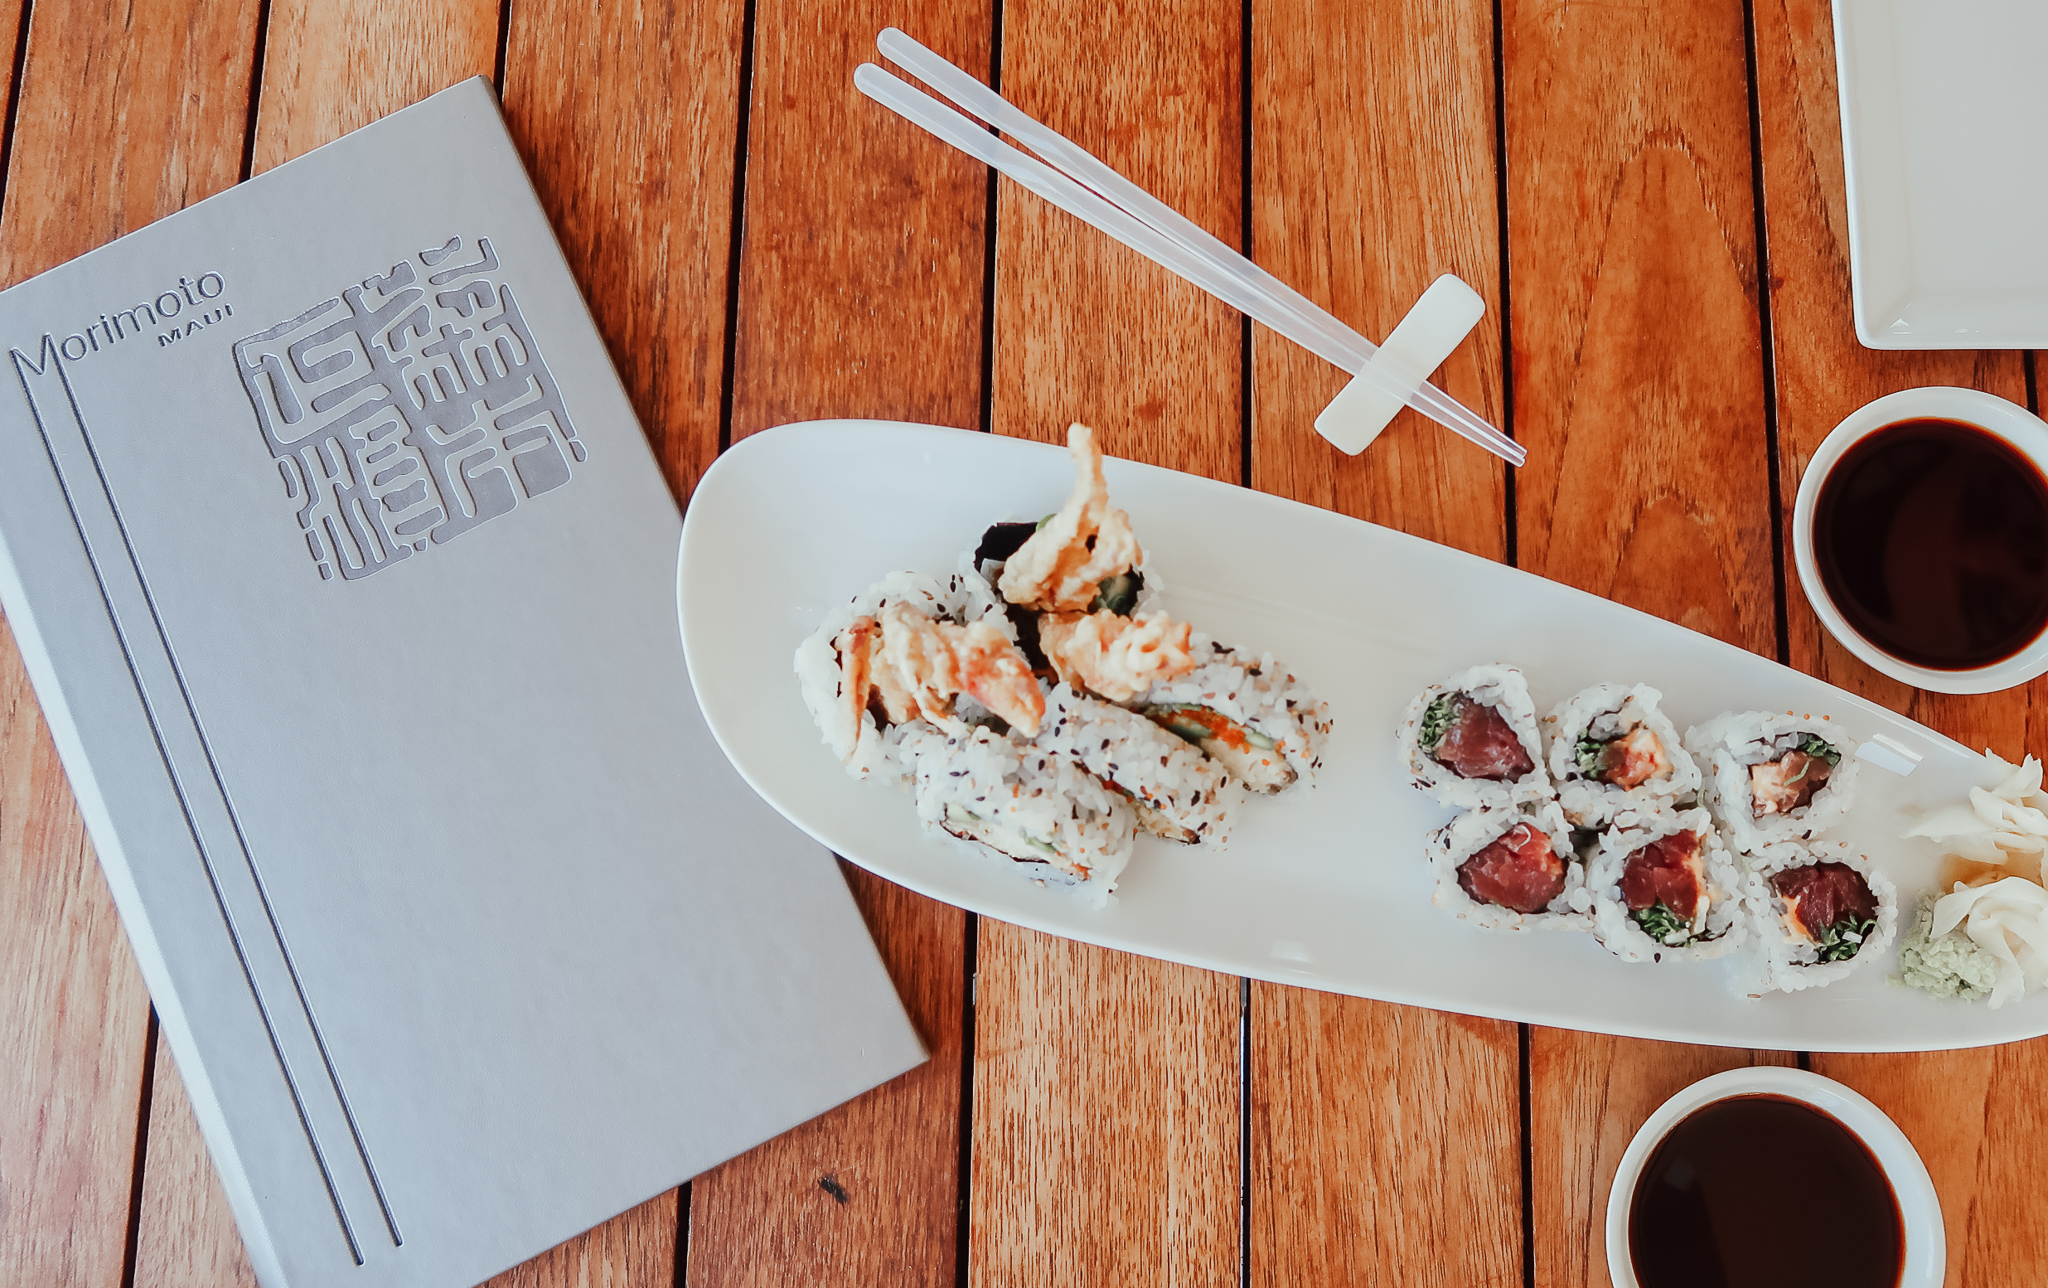
MORIMOTTO MAUI:  this Japanese restaurant, also located at the Andaz, offered a lunch and dinner menu in a laidback, beachfront setting.  Nathan and I enjoyed lunch here on one of our pool days.  They have a curated menu of hand rolled sushi and sashimi from fresh, local fish as well as a variety of other dishes that blends Western and Japanese traditions.  We enjoyed a maki roll as well as chirashi, a rice bowl topped with 10-12 different styles of fish and vegetables.  Both were very tasty!


ULULANI’S: oh Ululani’s….where do I even begin?! Hawaii is synonymous with their famous Shave Ice (not SHAVED ice) and I can officially say I now know what all the fuss is about.  Its a good thing for my waistline that we didn’t try this until later in our Maui trip, or else I’m pretty sure we would have had it every single day.  Now, let me start by saying I am NOT a snow cone fan, never have been.  So foolishly thinking Shave Ice was the same thing, I wasn’t all that excited to try it.  Boy oh boy am I glad Nathan convinced me otherwise.  It was LIFE-CHANGING! First of all, they serve it over ice cream, your choice of Vanilla or Macadamia Nut (go with the Mac Nut).  Next, the ice.  It’s the perfect consistency and just melts in your mouth.  Next comes the flavors!  They have every tropical flavor you can imagine, we went with some of the local favorites!  Last, but certainly not least, is the snow cap (sweetened condensed milk) and toasted coconut.  Viola!  You have yourself a tropical treat perfect for those hot Hawaii nights.  If you go to Hawaii, Ululani’s is a MUST!

honeymoon-travel-guide-part-1-maui-21.jpg

ACTIVITIES

A MORNING AT THE HOUSE OF SUN | SUNRISE AT HALEAKALA NATIONAL PARK

Nathan and I started off our Maui trip by watching the sunrise over Haleakala “the House of Sun”.   Haleakala’s summit hits 10,000 feet and there’s a reason its continually one of Maui’s biggest attractions: the views are otherworldly. I actually said to Nathan multiple times that I felt like I was on Mars! Anyways, this adventure is not for the faint of heart because the summit is a good 2-hour drive from most Maui resorts, and you need to be at the lookout before the sunrise to stake out a good spot.  So we left SUPER early in the morning (like 3 AM early) to get to the summit on-time. However, the pro of this for all my east coast people, is that you will likely be up anyway because of the time difference.  We actually did this activity the morning after we initially flew in, and I would recommend you to do the same.  And hey, by the time you get back to your resort after watching the sunrise, you still have your ENTIRE day left and can totally take a nap on the beach!  Here are some recommendations if the sunrise at Haleakala sounds like something you’d like to experience on your Maui adventure:

  • you need to make a reservation for the sunrise 60 days in advance though the National Park. Seriously, create an account and get logged in before spots become available or you may miss out. They also release a hand full of last minute tickets at 4PM (HST) two days in advance.

  • There is a “card only” entrance fee of $25/vehicle at the gates so come prepared. Also, if you plan on doing the road to Hana, keep your receipt because you can use it within 3 days to get into the Seven Sacred Pools….on of the last “must see” sights on the Road to Hana. If not, you’ll have to pay again…unfortunately, we learned this the hard way.

  • Dress WARM. And bring blankets! I know your on the tropical vacation of your dreams, but it gets COLD on the summit so dress accordingly

  • You can do some exploring/hiking around afterwards, so you may want to pack some snacks and drinks. Even if you don’t hike around, the views on the way back down the mountain are just as noteworthy!

honeymoon-travel-guide-part-1-maui-23.jpg

SNORKELING AT MOLOKINI CRATER | A SOUTH SHORE MAUI ACTIVITY

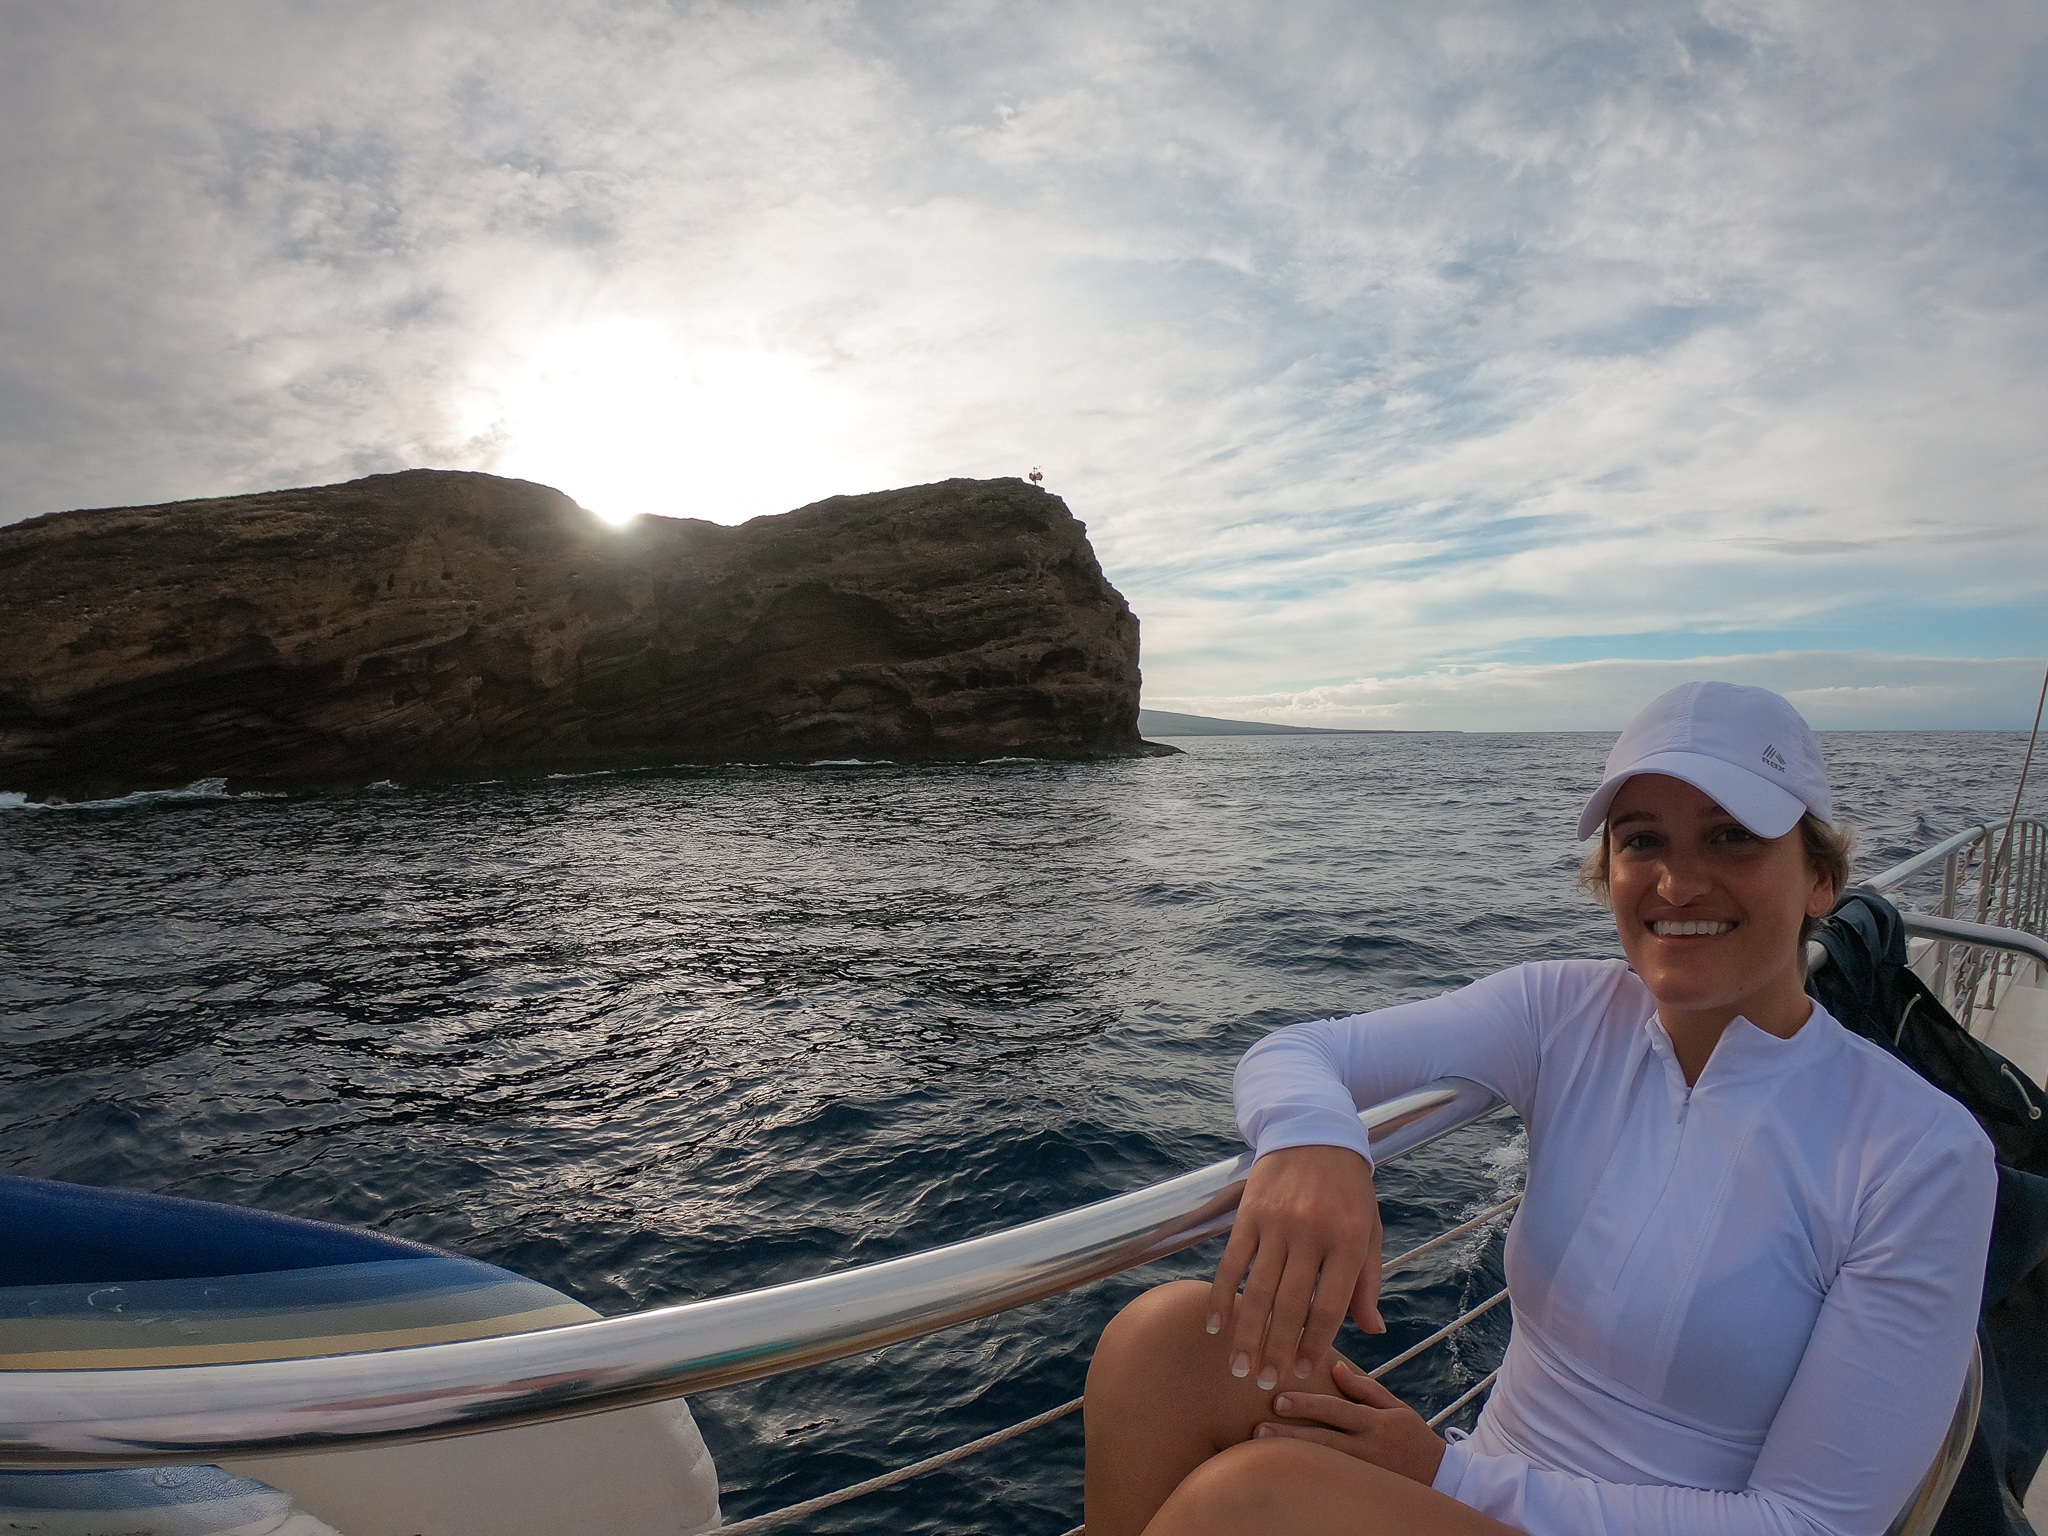
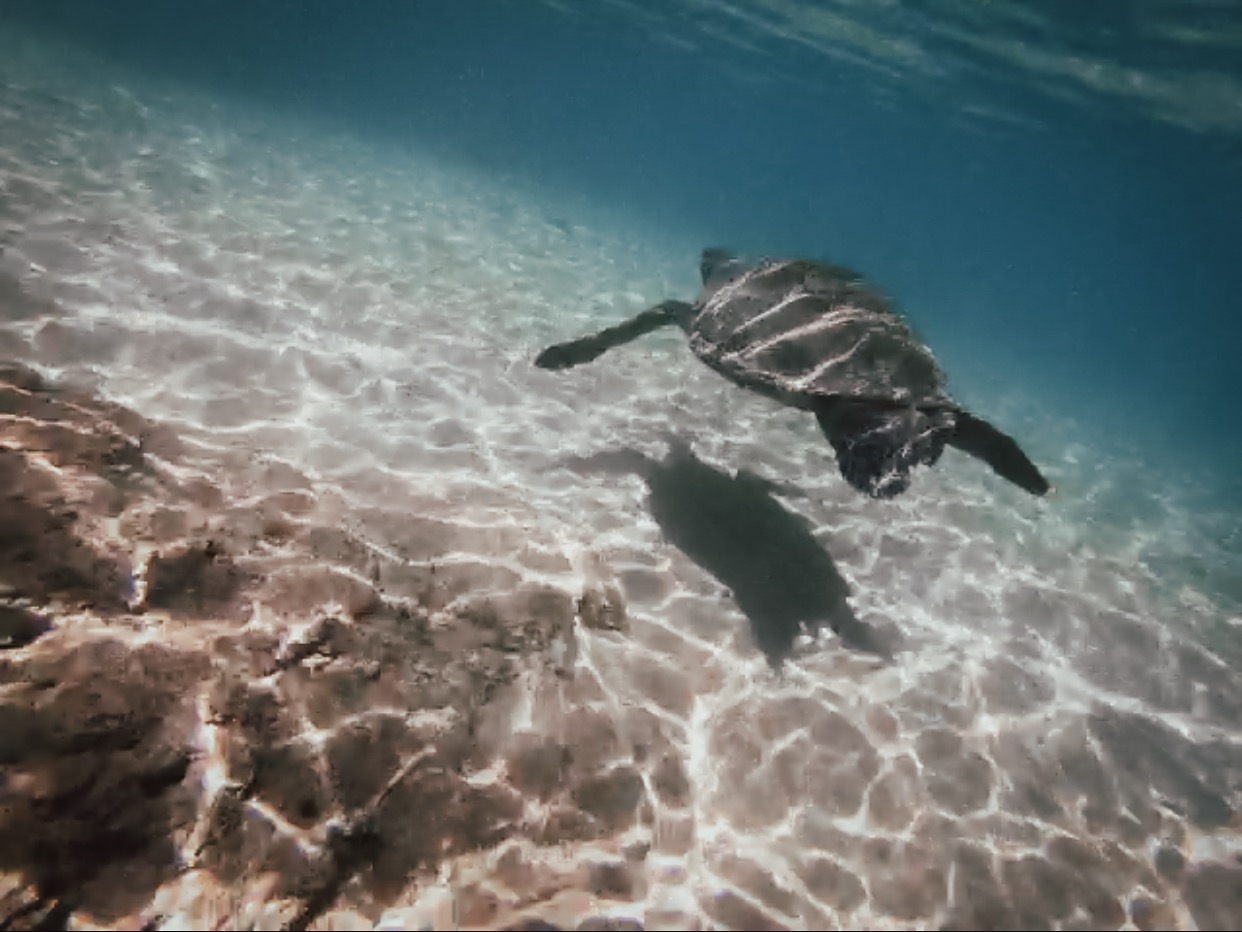
Believe it or not, Nathan had never been snorkeling before so you better believe this was at the top of his activity list.  This is one of the activities we pre-planned, and we booked through Kai Kanani, a catamaran charter that offers a sunrise excursion to Molokini. Molokini Crater is the top snorkeling destination for visitors to Maui, with some of the clearest water in Hawaii and over 250 species of fish. We chose this company for a couple different reasons but the most important was that they leave from Makena Beach, which was not only super close to our resort but is the closest point to Molokini.  That meant we got to our snorkel spot super fast, and we were the first boat out there in the morning.  We had an awesome time, and getting to experience all the sea-life and vastness of the ocean first thing in the morning was amazing!  If you’re not up for a charted tour, you can also snorkel at many of the beaches in Maui.  After going for the first time, Nathan was HOOKED, so we actually snorkeled a few times at the beach right in front of the Andaz.  Not only did we see a bunch of exotic fish and coral reefs, but we also got to swim with green sea turtles!  

honeymoon-travel-guide-part-1-maui-27.jpg
honeymoon-travel-guide-part-1-maui-32.jpg
honeymoon-travel-guide-part-1-maui-31.jpg

MAUI’S NORTH SHORE + EAST SIDE | THE ROAD TO HANA

I could easily write an entirely separate blog post about this one activity alone because it truly was an incredible experience!  I think Nathan and I could both agree, if you do ONE adventure while in Maui, make it the Road to Hana! If you’re not familiar with the Road to Hana, its basically like a driving highlight reel of the raw beauty that encompasses Hawaii.  Think lush rainforest canopies, sweeping ocean vistas, rugged cliffs, and so many waterfalls that you actually lose count. The Road to Hana is over 50 miles along Maui’s rugged north shore and east side with 600+ tight turns and about 50 one-lane bridges. Sound terrifying?!  It kind of is, but it is also the most exhilarating drive you will ever take.  TRUST ME!

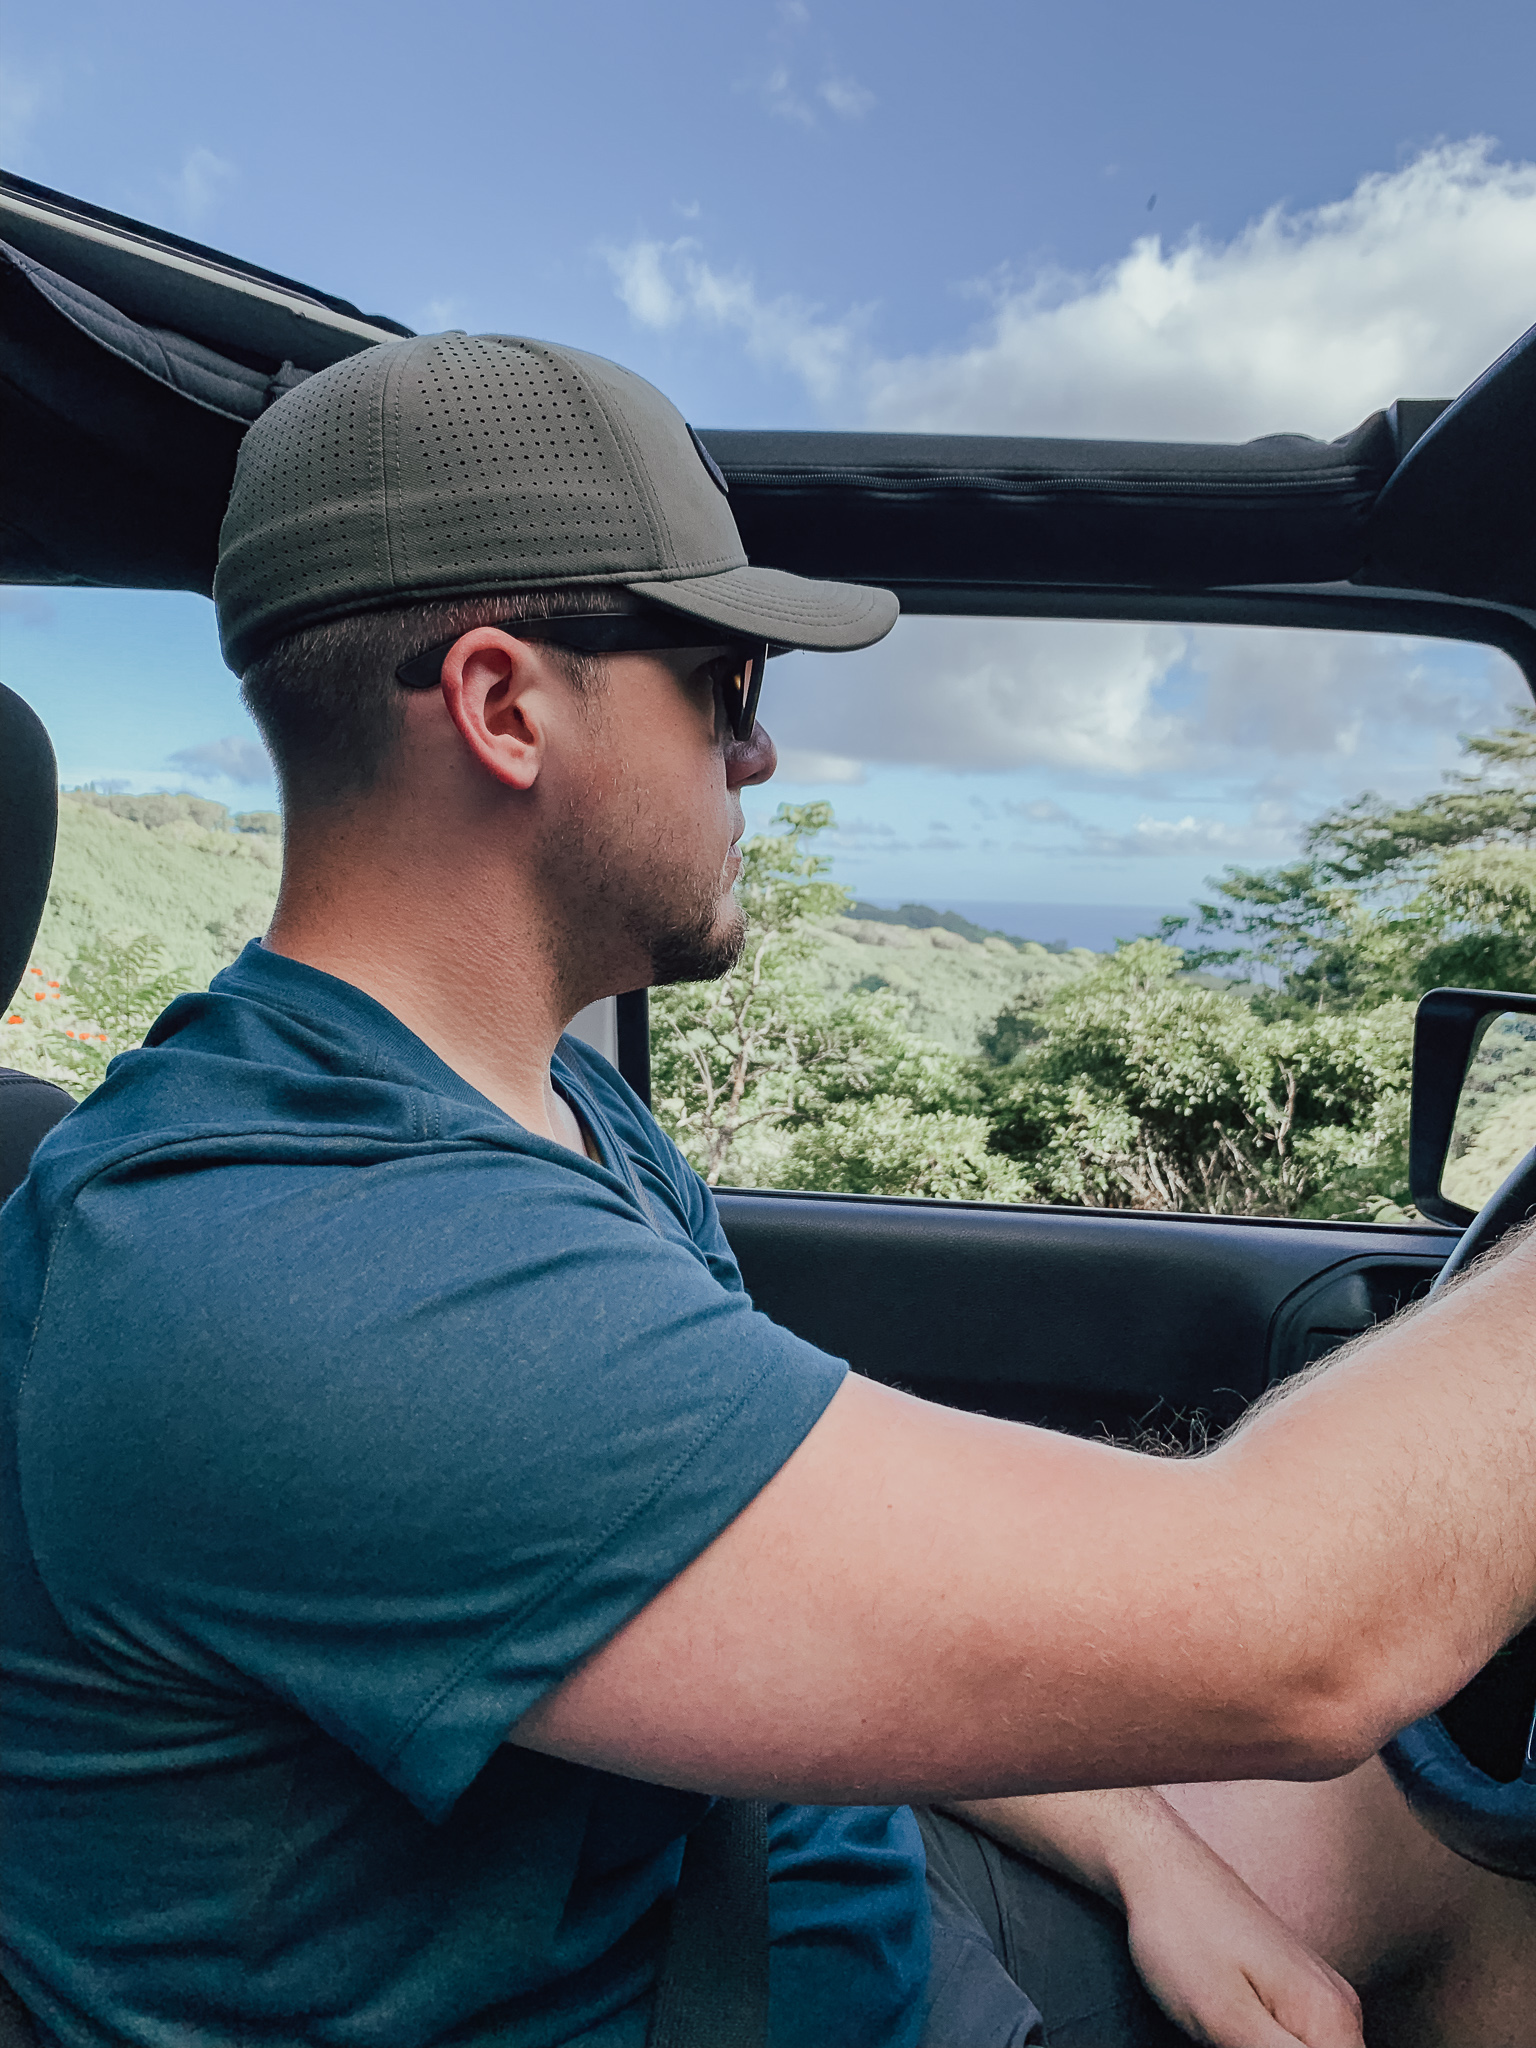
The Road to Hana is definelty a FULL day trip, I’m talking sun up to sun down, so you will want to carve out a specific day for this adventure alone. Side note: I would even suggest staying a night or two in Hana so you can explore even more.  We rented a Jeep for our full trip, and it was the perfect way to get around. I’d recommend renting a Jeep, and packing a cooler full of water and plenty of snacks.  You’ll want to dress more for hiking, then swimming ( I wore a sport bikini under my shorts and tank top).  I’d also suggest wearing shoes with good traction that you aren’t afraid to get dirty or wet, and bringing sunscreen and bug spray.   A change of dry clothes might also be a good idea for the drive home. 

Not to sound cliche, but the Road to Hana is more about the journey than the final destination.  However, with that being said, I would definitely suggest mapping out the specific sights you want to see ahead of time.  This will help keep you on track, plus you really don’t want to be making the drive back in the dark.  Thankfully, our resort had a copy of “Maui Revealed” that we were able to use to help us plan our drive.  This book is a great resource for all things Maui, especially the Road to Hana, and I would 100% recommend getting before your trip!

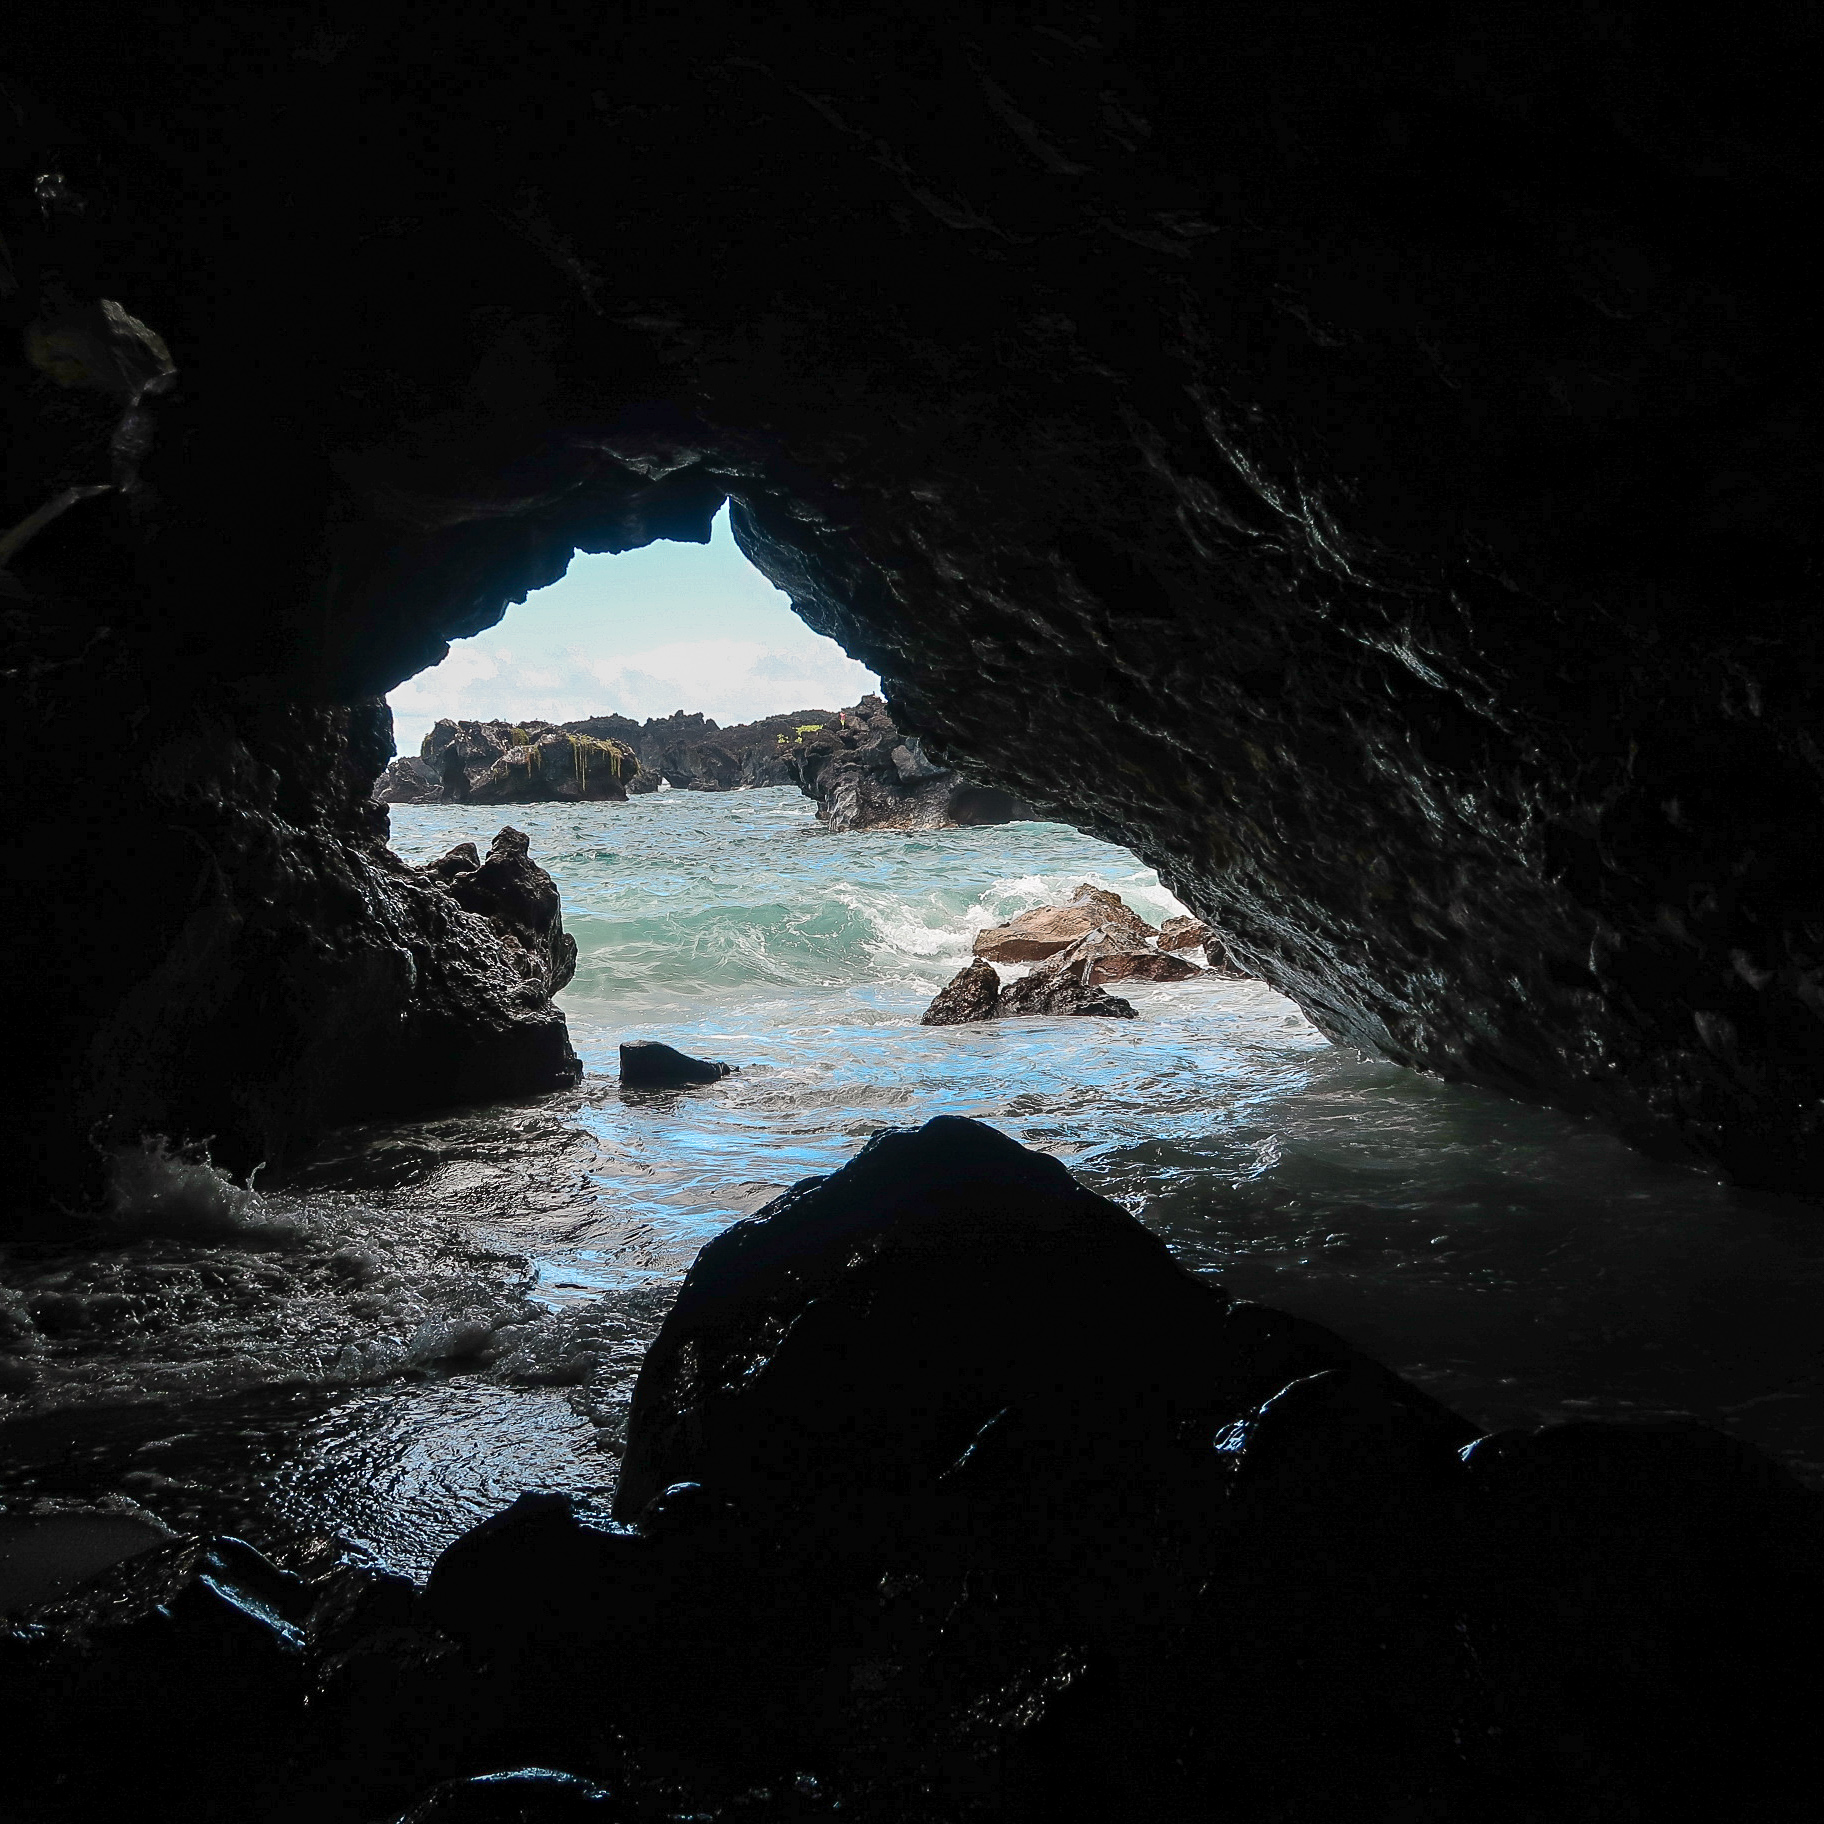
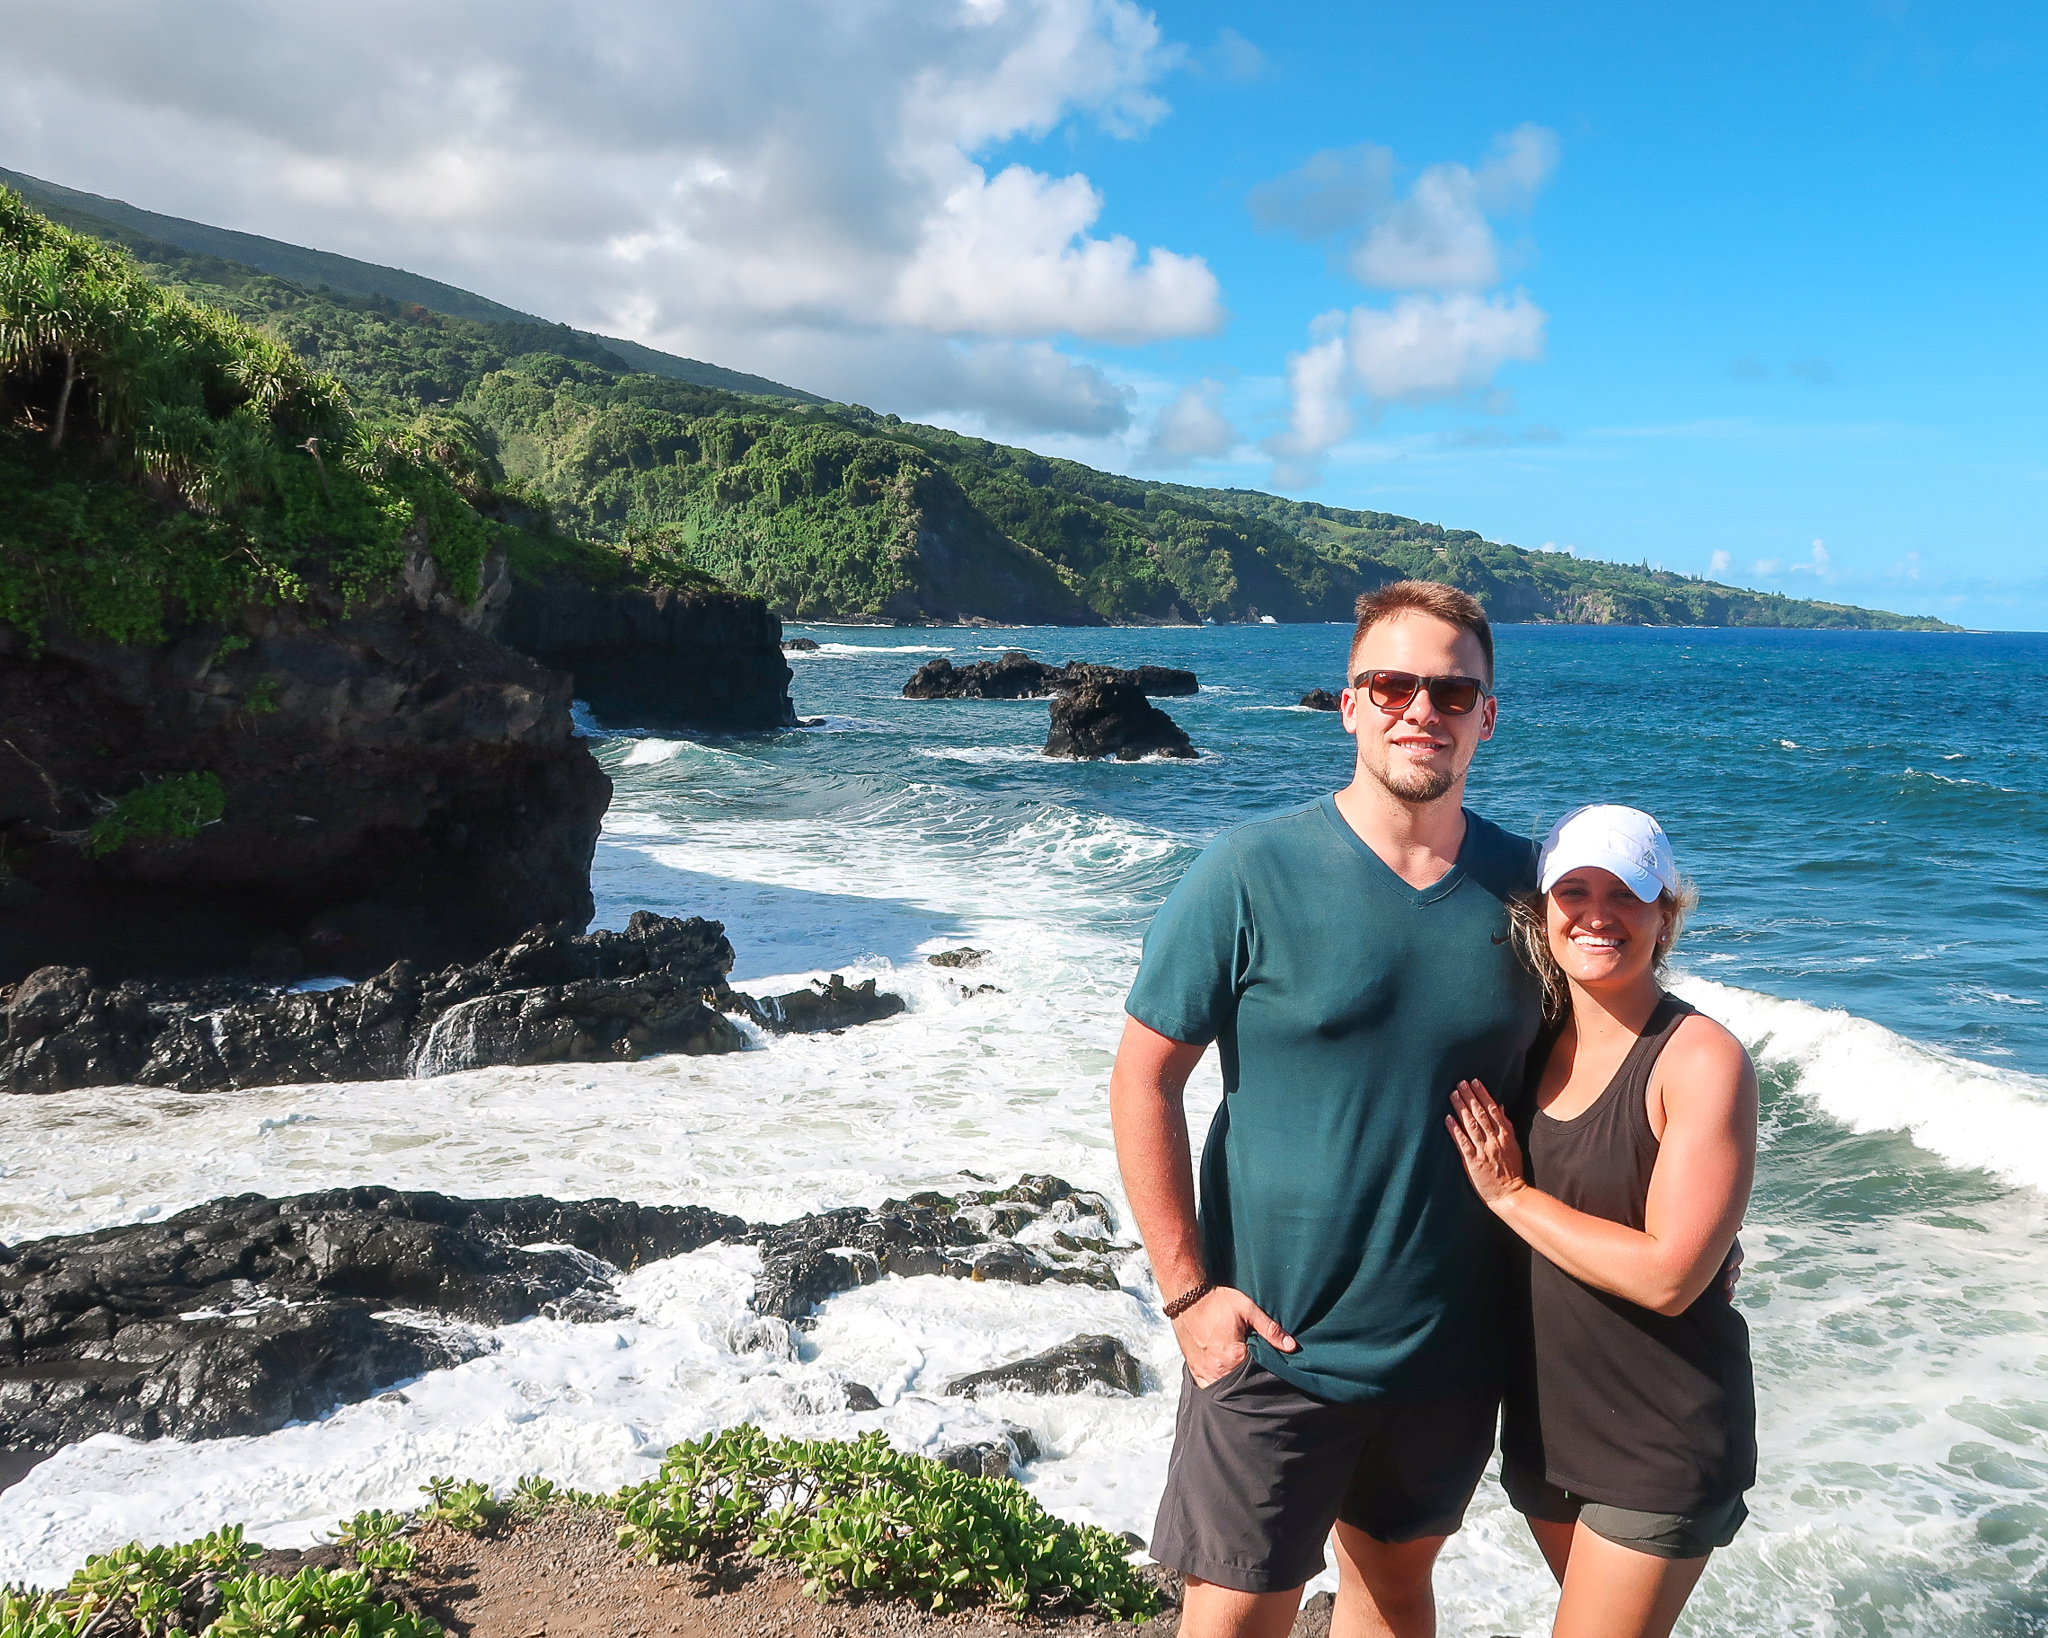
Some of our favorite stops were Keanae Peninsula (plus Aunt Sandys’: hello best banana bread EVER!), Red Sand Beach, and Upper Waikani Falls (Three Bears Falls).  We also decided to drive home via the backside of the Road to Hana, which was a magical experience in itself!  Going home this way, we were able to see the “upcountry” portion of Maui including cattle farms as well as the backside of Haleakala.  At one point, Nathan and I just stopped the Jeep, go out and stared in pure awe of the vastness around us.  The Road to Hana was purely magic!  I will forever cherish the memories of that day: riding around in an open top Jeep with nature at every corner, swimming under a fresh waterfall, hiking up a boulder path that opens to a fresh water pool.  It was truly an unforgettable experience. 

honeymoon-travel-guide-part-1-maui-1.jpg
oneymoon-travel-guide-part-1-maui-47.jpg
oneymoon-travel-guide-part-1-maui-53.jpg
oneymoon-travel-guide-part-1-maui-57.jpg
oneymoon-travel-guide-part-1-maui-43.jpg
oneymoon-travel-guide-part-1-maui-58.jpg
oneymoon-travel-guide-part-1-maui-55.jpg
IMG_3891.jpg


THE WEST SIDE OF MAUI | OLD LAHAINA LUAU

Since Lahaina was kind of out of the way from where we were staying in Wailea, we decided to make a whole “day” of it.  Unfortunately there was a huge traffic jam on our way so we got really delayed, but we were still able to make a few stops in this old historic whaling town before the Luau.  One of the stops I loved in Lahaina was the Mauigrown Coffee Company!  It was such a cute little shop with its plantation design and they had a great selection of Maui grown coffee.  Of course we picked up a bag to bring home with us, as well as getting delicious macadamia nut latte’s to go!  We also walked along the famous Front Street in Lahaina Town.  We were short on time, so we didn’t get to walk the entire street but they had a great variety of restaurants and shops all along the waterfront…very reminiscent of Savanah’s Riverfront.  It was a little touristy for our taste, but may be a fun “day trip” activity if you wanted to explore different areas while in Maui.  

honeymoon-travel-guide-part-1-maui-63.jpg
honeymoon-travel-guide-part-1-maui-62.jpg


Anyways…back to the OLD LAHAINA LUAU!

I can’t tell you how many people I spoke to that had previously traveled to Maui who asked if we would be attending the Old Lahaina Luau on our honeymoon.  There’s a reason this is widely known as the best luau in Maui, and because it was our first time in Hawaii, we both wanted to attend the most authentic luau we could find.  And this was it!  

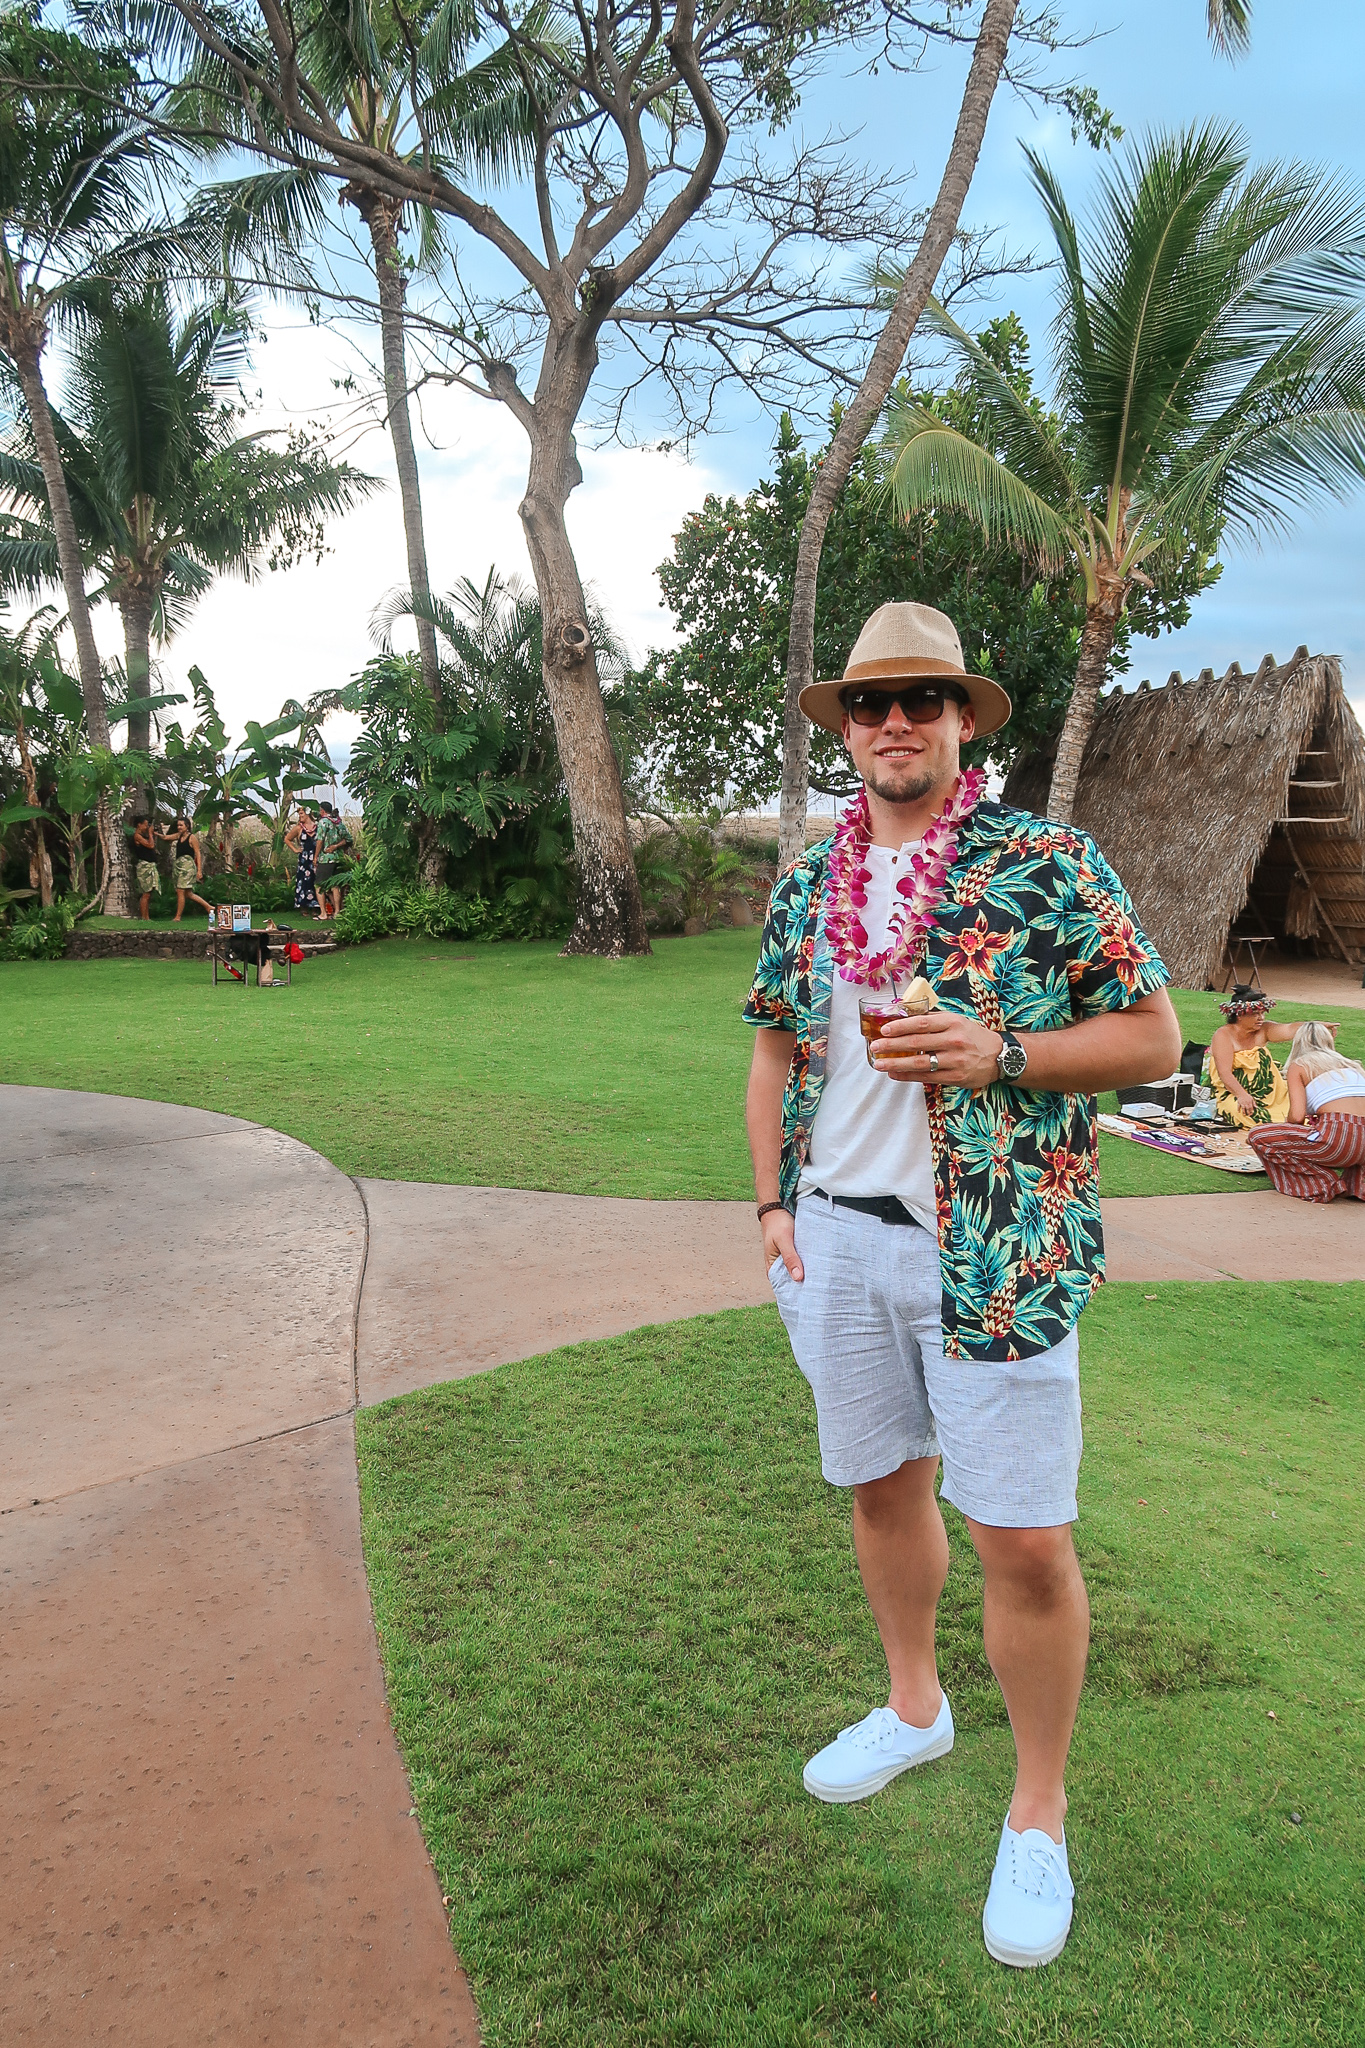
Upon arriving, we were greeted with fresh flower Lei’s and yummy Mai Tai’s garnished with sweet pineapple and a beautiful orchid.  After we were shown our table, we enjoyed walking around to visit all the local artisans that were set up with the beautiful ocean vista as a background. A few things that stood out at the Old Lahaina Luau was the exceptional service, the authentic Hawaiian dishes, and the historic luau dance that provided so much background to Hawaii’s rich history.  I wouldn’t necessarily say you have to attend a luau while in Maui, but we really enjoyed our evening!

This is another activity that we pre-booked before our trip.  Well, actually when we originally went to book our tickets they were all sold out for the entire week, and I was SO upset.  But we were put on the waitlist and they actually ended up calling us the night of our rehearsal dinner to say that availability had opened up!  Nathan and I joked that it was an early wedding gift!  Anyway…don’t be like us!  Tickets sell out months in advance (specifically during the busy season) so if you want to go, plan ahead.  

oneymoon-travel-guide-part-1-maui-60.jpg
oneymoon-travel-guide-part-1-maui-65.jpg
oneymoon-travel-guide-part-1-maui-62.jpg
oneymoon-travel-guide-part-1-maui-64.jpg

Maui was pure magic. We created so many special memories that will last a lifetime and we couldn’t have asked for a better way to celebrate our first week of marriage together! Stay tuned for Part II of our honeymoon trip where we share about our 5 days on the gorgeous Garden Isle of Kaua’i!

So when are you planning on going to Maui? Do you have any favorite spots or suggestions that we missed? Share them in the comments below!

OUR SAVE THE DATE CARDS!

Good morning friends!!  I have been meaning to do a Wedding Wednesday post for a while now, but life has been SO busy!!

Nathan and I are pretty much in the final stretch now, with less than two months to go (45 days to be exact). You would think that we have everything under control, especially since I am a super-planner, but there is actually still quite a lot of smaller details to take care of.

We sent out our wedding Save the Dates back in February, but I wanted to share them with you now!  

our-save-the-dates-1.jpg

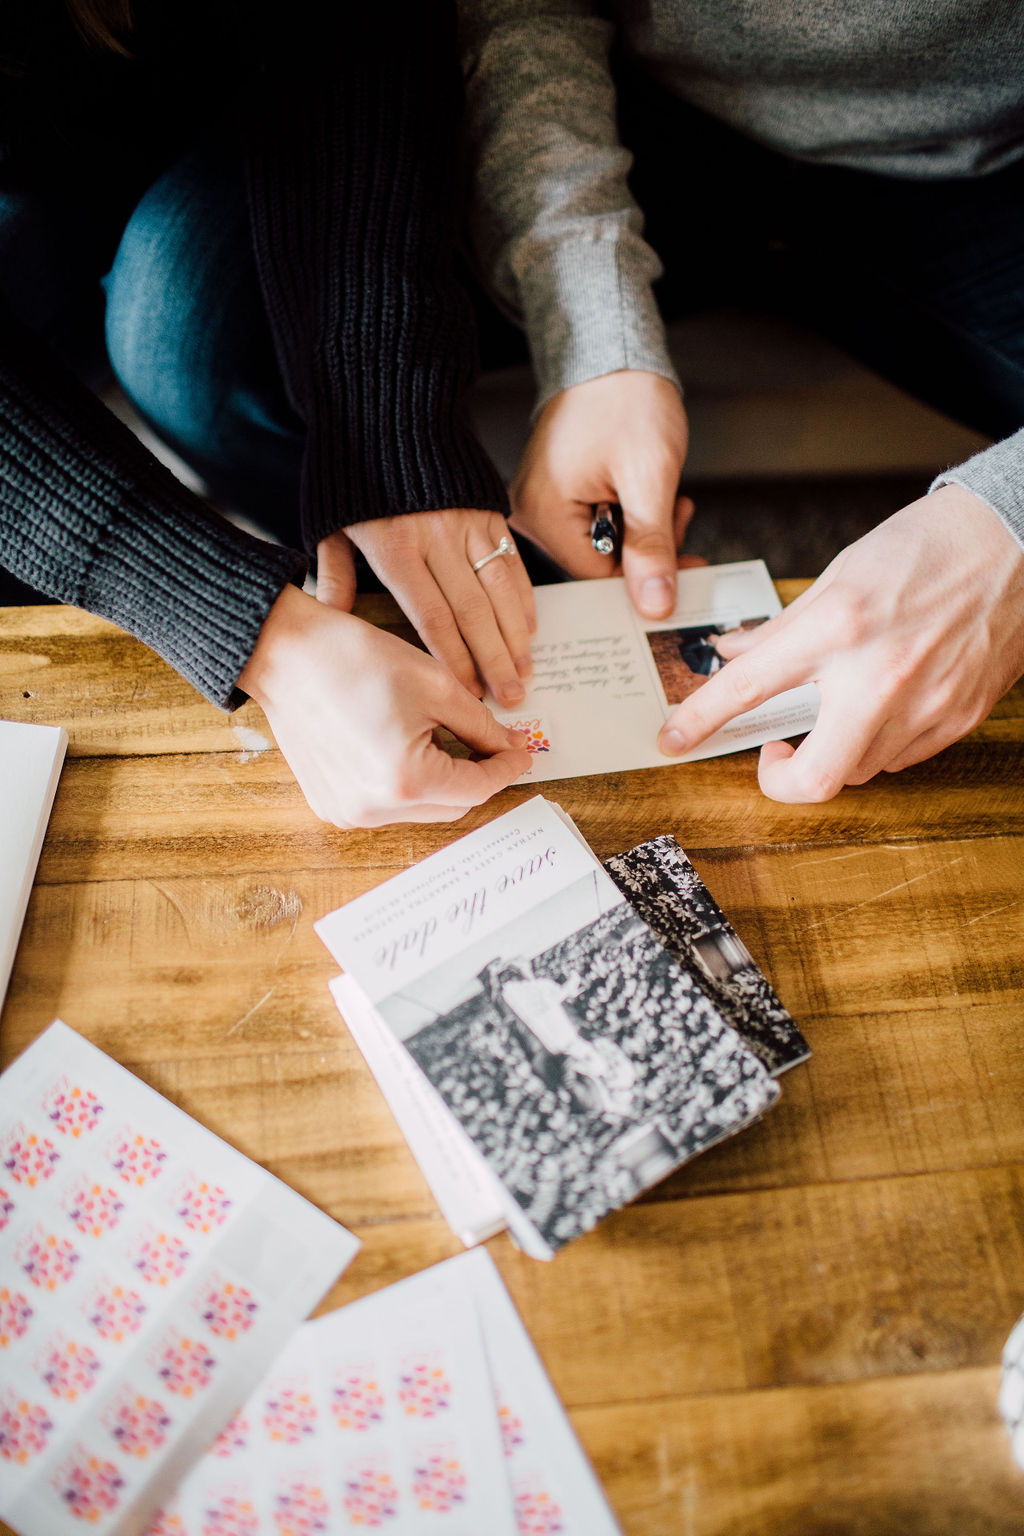
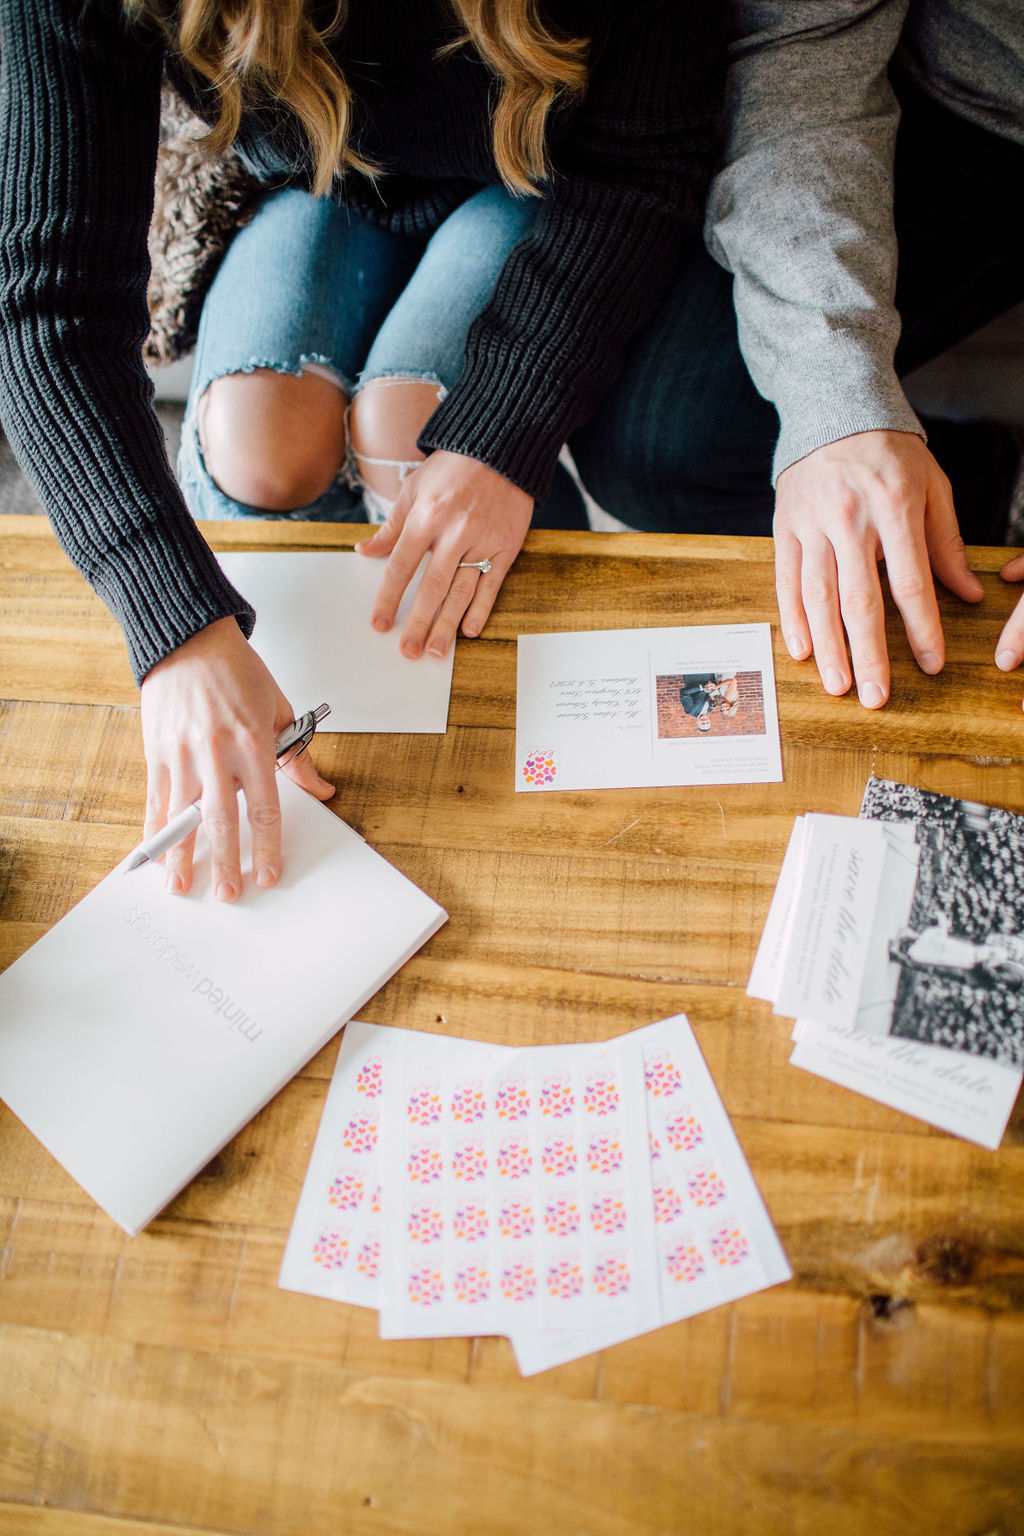
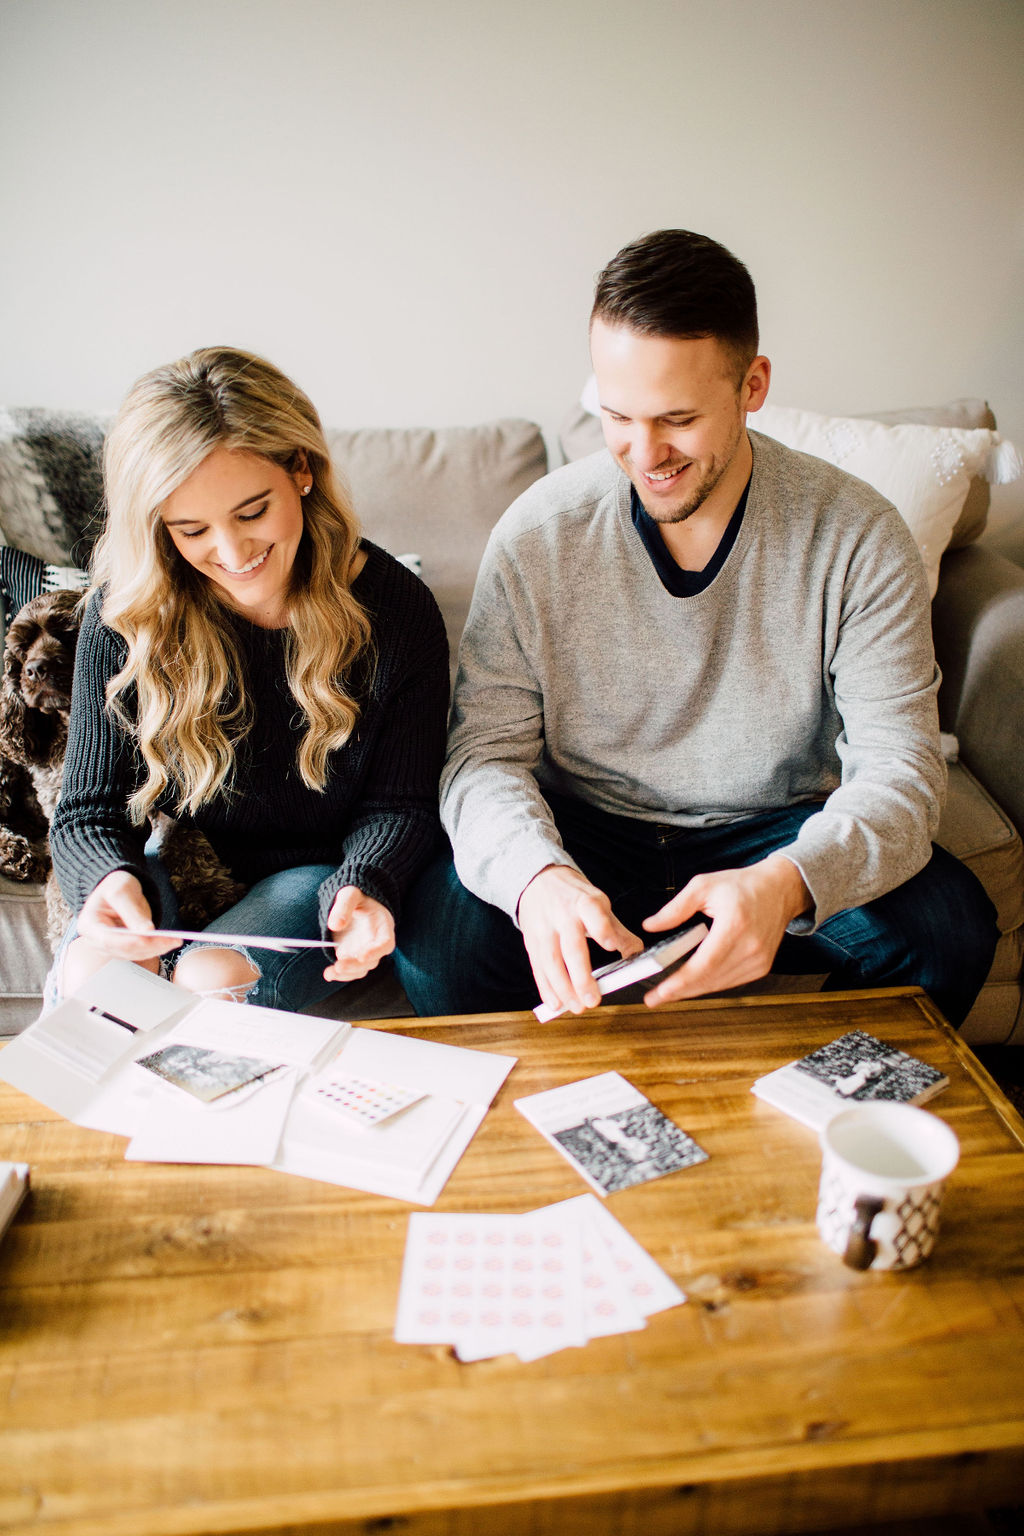
Honestly, I really didn’t know anything about this process and the thought of it overwhelmed me before starting. I had no idea where to begin.  After doing some research online, I found a company called Minted.  I requested a sample kit from them which included postcards, envelopes, different Silhouette shapes, font styles, color choices, paper styles, etc.  I had never used them previously, but they seemed to make the process so simple as well a wide variety of design options!

My first step was to narrow down the “type” of save the date card I wanted.  I knew I wanted  a postcard style, with a vertical layout (mainly because I had a specific engagement photo I wanted to use) and I also knew I wanted them to be very simple and elegant.  

Once I found a general design I loved, I then tweaked certain aspects to make it fit our needs.  That is another great thing about Minted, you can customize the designs by changing font styles, colors, spacing, etc.  So even though you are starting out with a generalized “template” so to speak, you can really make it your own!  

our-save-the-dates-2.jpg
our-save-the-dates-6.jpg

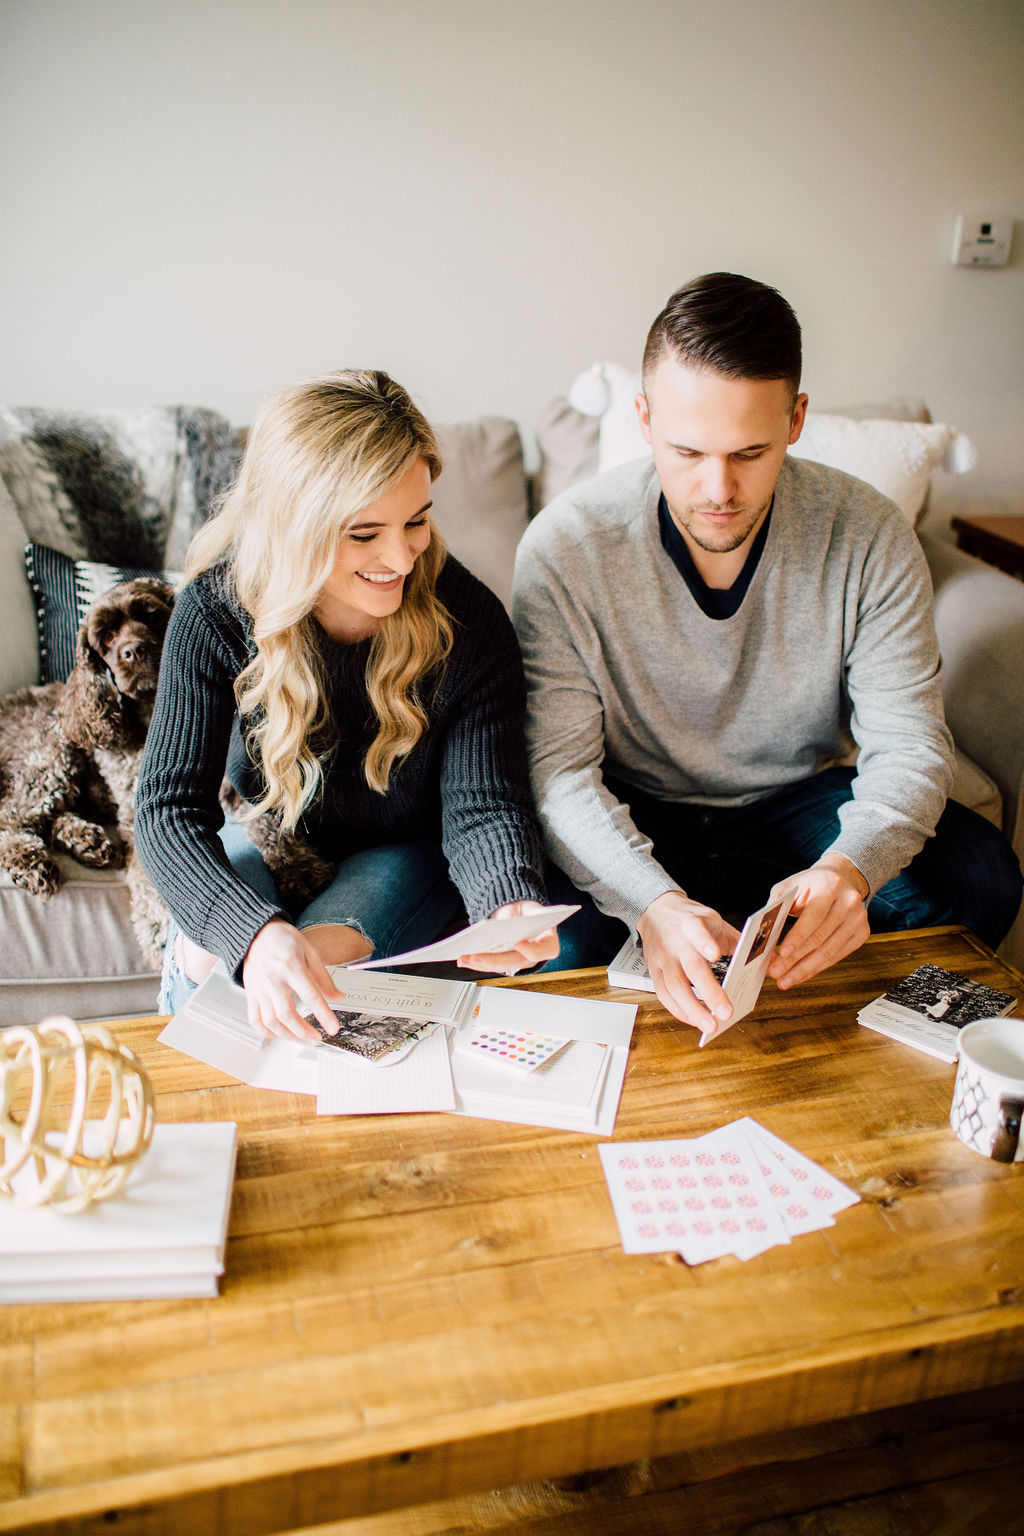
On the front of the card, we used one of my favorite engagement photos in black and white, with black script font blocked out below the picture.  I wanted our guests to have a full size photo of us that they could keep if they wanted!  On the back of the save the date, I included a smaller picture of our little family ( you didn’t think I was going to leave Reggie out did you?) and also our wedding website where guests could get more information about our big day!  Another thing that is great about Minted, is they offer free guest addressing and free return address printing!  All you do is simply load your guest address spreadsheet, and all the hard work is done for you!

Overall, I absolutely love how the Save the Dates turned out!  We were so happy with the design, that we ended up using Minted to put together our wedding invitations as well!  Actually we just sent those out last week!  I’ll save that post for another day!

Hope you all enjoyed this post, and can’t wait to update you on more wedding details later!

our-save-the-dates-7.jpg
our-save-the-sates-10.jpg

SPRING CLEANING FAVORITES

spring-cleaning-favorites-2.jpg

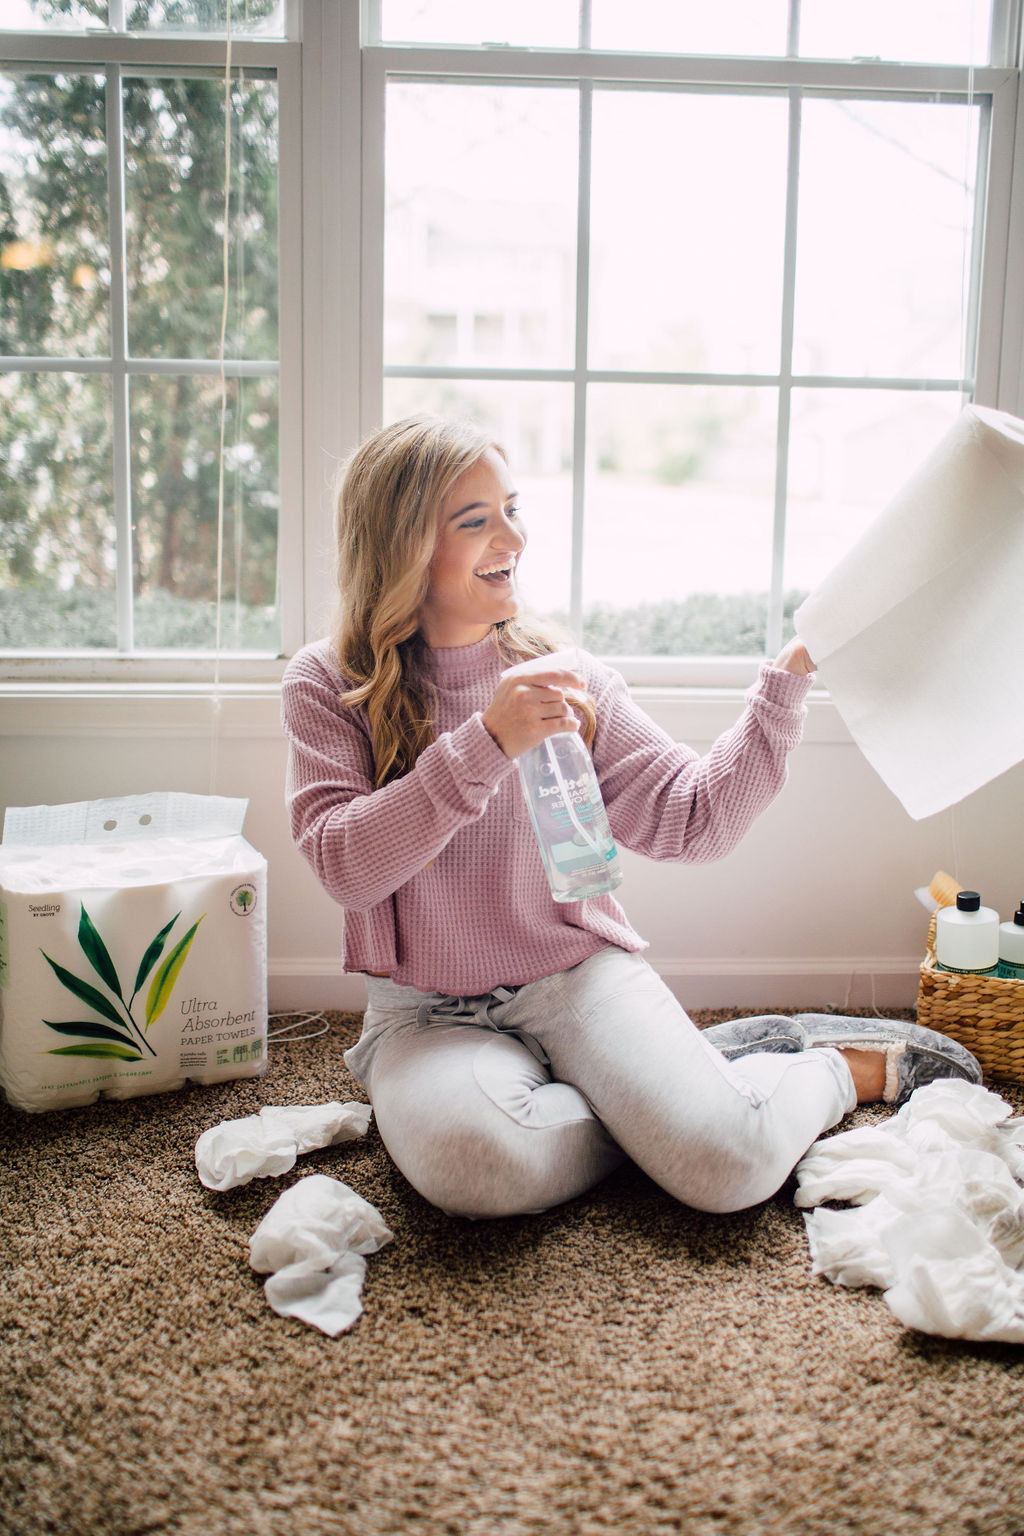
Spring has officially sprung, which means “spring cleaning” is on the top of many of our to-do lists!  I don’t know about you, but when I have pretty, good smelling AND hard working cleaning supplies, I tend to get a little more excited about the cleaning process.  You’re probably wondering if that is even possible…but trust me, for neat-freaks like me, it is!  Anyway, this is where Grove Collaborative comes in.  

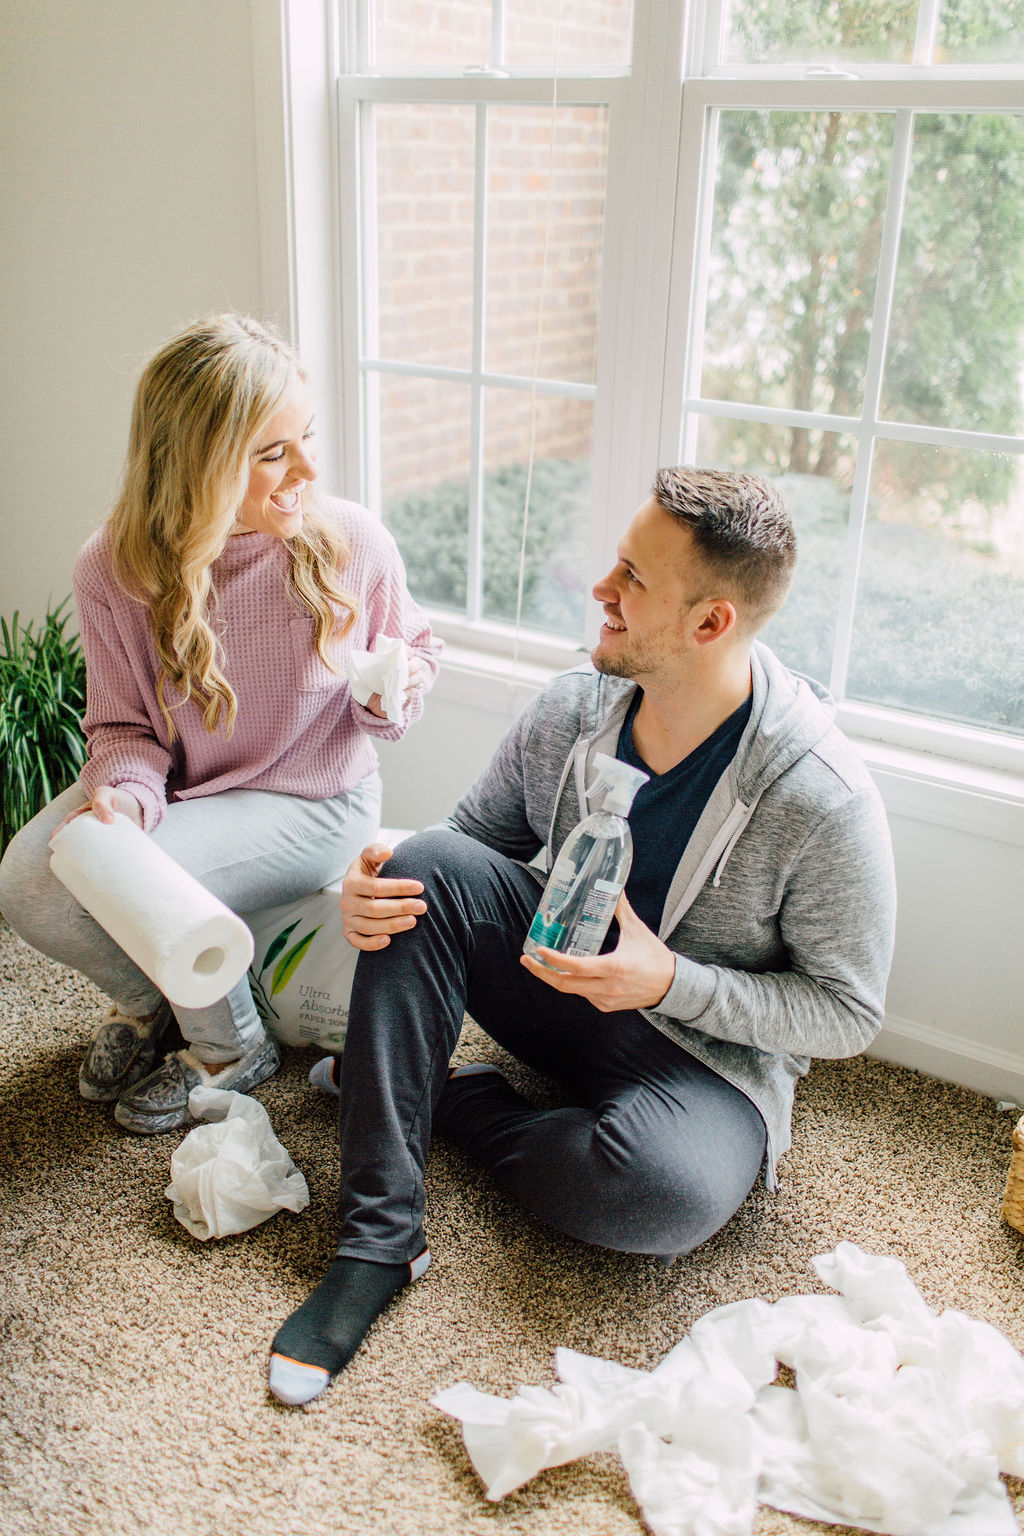
Grove Collaborative is a customizable online hub that delivers all-natural home, beauty, and personal care products directly to your door! Their aim is to make living a healthy lifestyle easy and accessible for you and your family by offering high-quality brands that are healthy for you and for the environment. I love that all my favorite brands are located on one online resource, and that I can even set up re-occuring shipments for my regularly used items I run out of each month.  Grove makes cleaning fun again, and if you’re lucky….you might even be able to convince your spouse to jump in on the action haha.

spring-cleaning-favorites-10.jpg
spring-cleaning-favorites-4.jpg

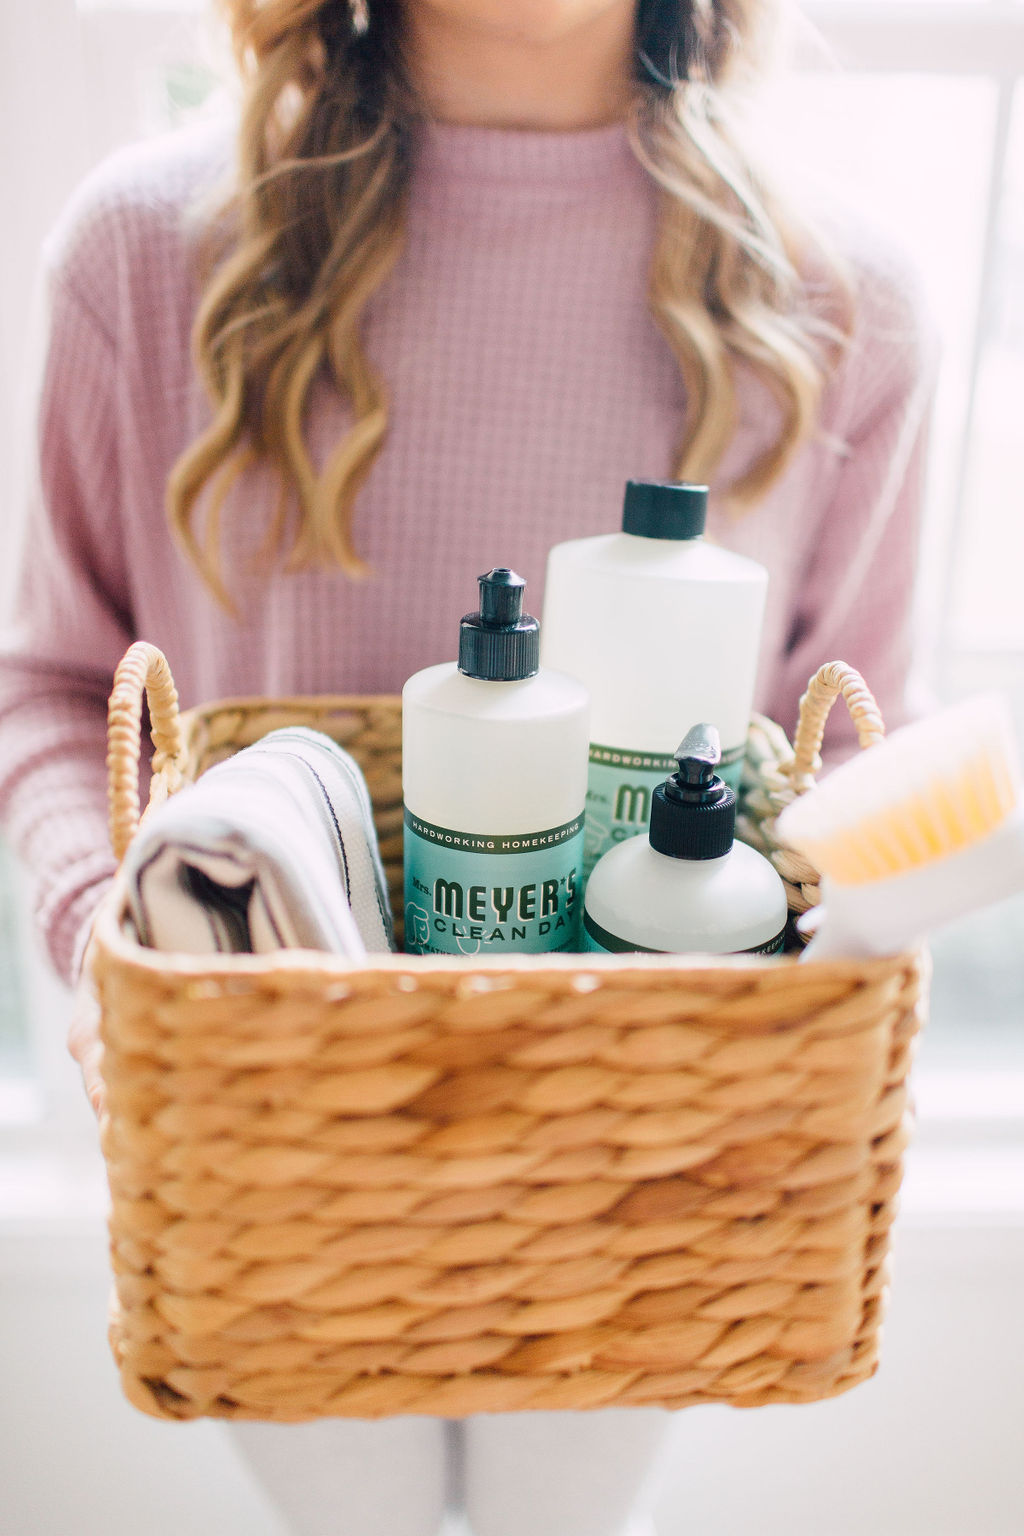
Here’s a sneak peak to what is in my basket this month:

Mrs. Meyers Multi-Surface Concentrate - this is one of my favorite cleaning products from the Mrs.Meyers line. I use this on everything from the kitchen counters, to the bathroom, to cleaning the floors and everything in between. Since its a concentrate, you don’t need much to get an amazing cleaning power! Also, I love that I can mix this in my favorite re-usable spray bottle, that way i’m not contintually purchasing plastic bottles and then throwing them away!

Mrs. Meyers Dish Soap - Does anyone else agree that good smelling soap makes the dishwashing process more fun? Maybe its just me! Anyway, I love this Basil scented dish soap. It keeps my dishes sparkling, and smelling good too!

Mrs. Meyers Hand Soap - you might notice a trend here….the Basil scent is definitely my favorite so of course i incorporate this into hand soap as well! This formula is made with a blend of essential oils, so its hard working but not drying. I also like that this fragrance is fresh and not overpowering. Plus the bottle looks cute on the counter.

Walnut Scrubber Sponge- I love these sponges because they are touch enough to handle tough messes but also non-abrasive so they won’t scratch our cookware. I also think its neat that these are made with crushed walnuts and are sustainably made in the USA.

Walnut Dish Brush- This dish brush is so nice! I was originally drawn to the design, what can I say, I’m a sucker for pretty things….even if its just to clean dishes. But this bad boy is not only pretty, but functional too! It is sturdy, well made, comfortable in my hand AND does a great job on the dishes. Plus the dish-head is replaceable, extending the life of the product. An all around winner!

European Dish Cloth- these dish cloths have been used on repeat since the moment I opened my very first Grove package. I pretty much use these in every room and surface in my home because they are super durable, absorbant and most importantly REUSABLE! I seriously save so many paper towels using these. I also love that you can throw them in the microwave or dishwasher to clean & disinfect and the patterns are super cute! If you haven’t tried these yet, you need to!

Right now with the Mrs. Meyers Spring cleaning event, you’ll get a free seasonal kit to help you get a jumpstart on your spring cleaning when you place your first Grove order of $20. Here’s what’s included:

  • Free Mrs. Meyer’s Spring Hand Soap

  • Free Mrs. Meyer’s Spring Dish Soap

  • Free Grove Collaborative Walnut Scrubber Sponges

  • Free Grove Collaborative Glass Spray Bottle

  • Free Shipping & 60 Day VIP Trial

To get your kit, sign up for Grove Collaborative here and the offer will be automatically added to your cart. You’ll answer 4 quick questions about your current cleaning routine, which Grove will use to recommend products for your first basket. Happy cleaning!

spring-cleaning-favorties-7.jpg

PHOTOGRAPHY | On a Whim