WHAT TO WEAR TO A SPRING WEDDING

March is here, which means its officially Spring! In fact, as I am sitting here typing this, I have the windows open because its a sunny 70 degrees today! Spring also means that wedding season is right around the corner! For me, Spring weddings are always a bit of a challenge….especially living up north where the weather is nothing short of temperamental. That means it can be super chilly in the morning, hot in the afternoon, and cold again in the evening once the sun goes down, which makes shopping for events like weddings a little difficult sometimes!

I don’t typically share a ton of fashion-type posts but Nathan and I have a wedding to attend at the end of the month, so I have been looking for something to wear myself! And many of these are options are actually in my shopping chart as we speak! I plan on simply accessorize with a pretty shawl, that way if it is a cooler day or evening I won’t freeze, and a pretty nude heel! I hope this will give you a little inspiration for any weddings you may be attending this Spring! As always, thank you for reading and sharing!

what-to-wear-to-a-spring-wedding-1.png

WEDDING DAY GLAM: A HAIR + MAKEUP Q&A

Wedding-Day-Hair-and-Makeup-Questions-Answered-1.jpg

When I first started thinking about the hair and makeup for my wedding day, I didn’t really know where to begin. I’m not really a maintenance kind of girl….I hate getting a pedicure, I have never tried eyelash or hair extensions, and I can count the times on one hand that I’ve gotten a spa treatment. So I felt like I had a TON of questions about not only for the day-of the wedding, but also how to appropriately prepare in the months leading up to the big day. I think every woman wants to feel and look like a princess on their wedding day, so that may include extra services that you normally don’t treat yourself to. After doing some initial research online, I realized there wasn’t very much information out there for brides to be in terms of hair and makeup. Yes, Pinterest has all the beautiful inspo pics…but I needed ANSWERS. I found myself constantly reaching out to my sister-in-law (who owns her own salon & spa) with all my beauty questions. I figured I couldn’t be the only woman who felt completely clueless when it came to this wedding day topic, so I decided to reach out to my personal hair stylist Jessica Bach at Savvy Salon & Spa, as well my friend and makeup artist Molly Uedig at Hair, Makeup & Molly to get their expert opinion. They were kind enough to answer all my hair and makeup questions, as well as provide some common questions they frequently receive from their bridal clients. So in case you are also feeling alone in your bridal beauty journey, this post is for you! I hope you enjoy Wedding Day Glam: A Hair and Makeup Q&A.

Hair-and-Makeup-Questions-Answered-9..jpg
Hair-and-Makeup-Questions-Answered-5..jpg

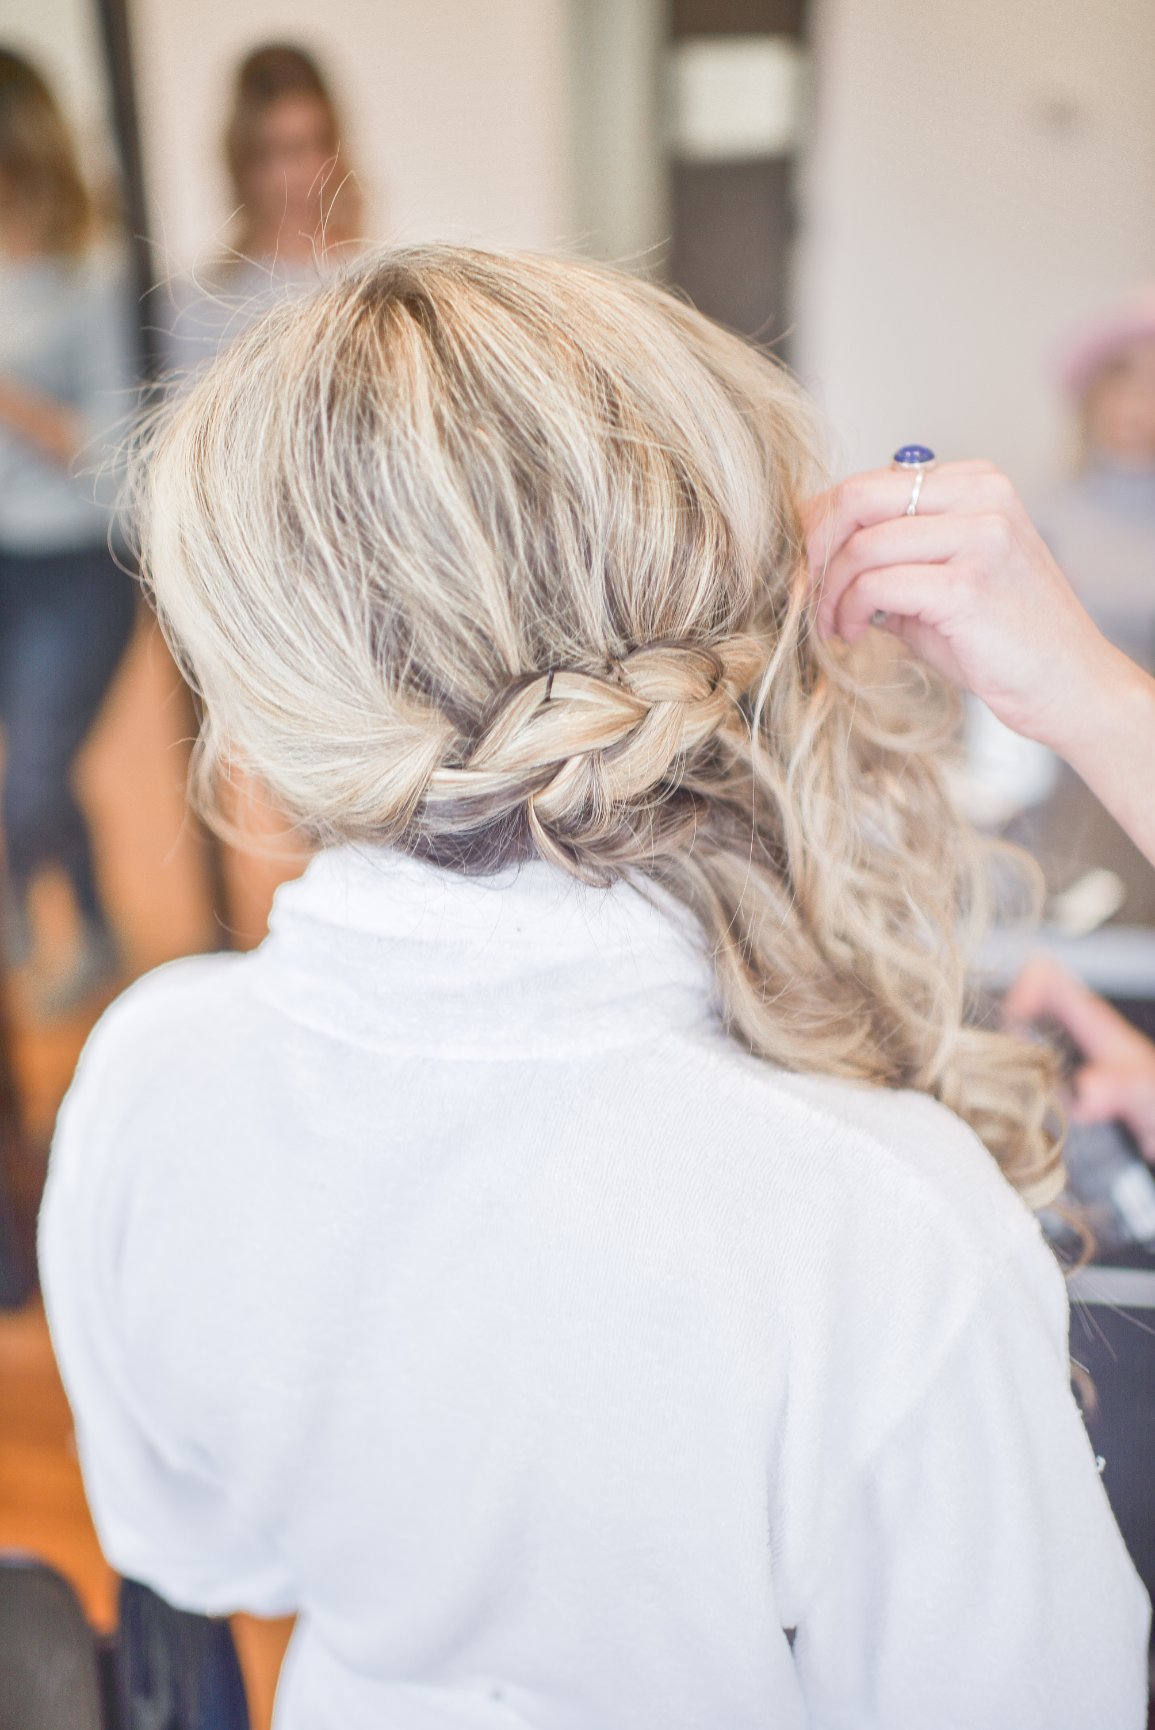
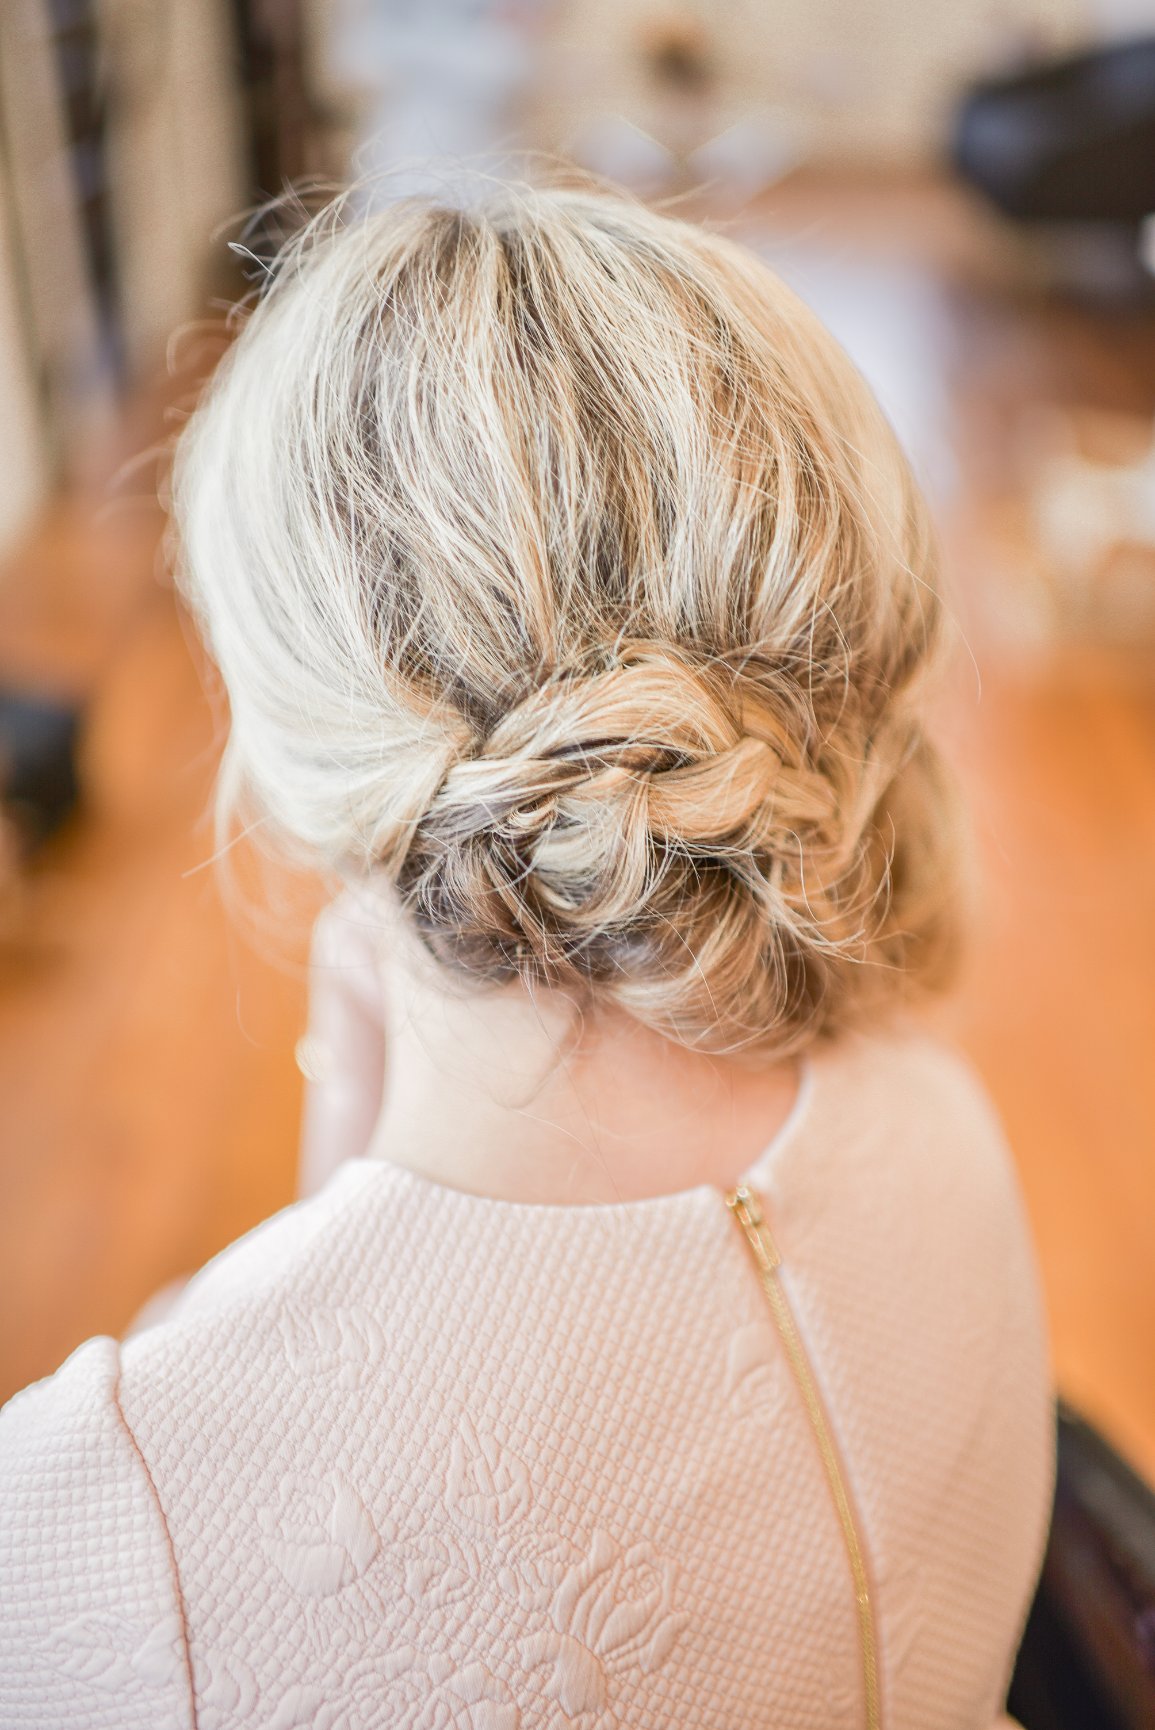
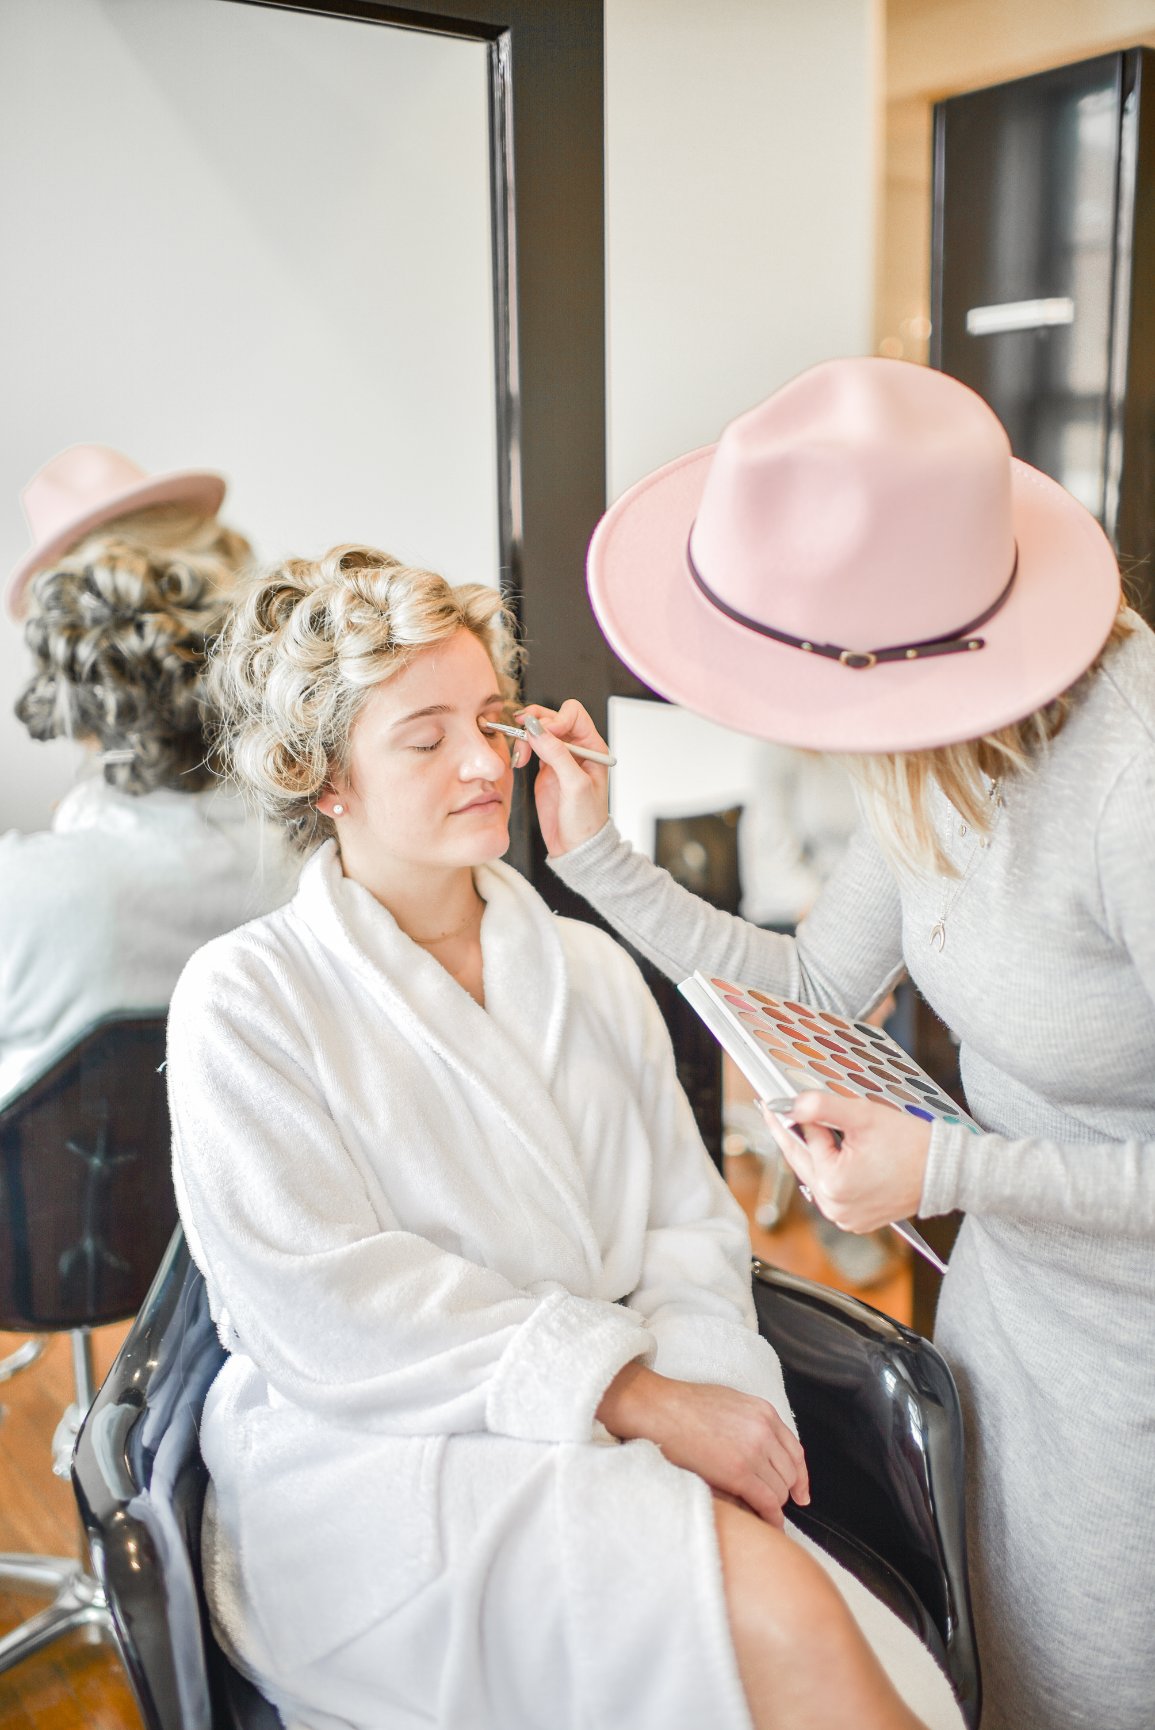
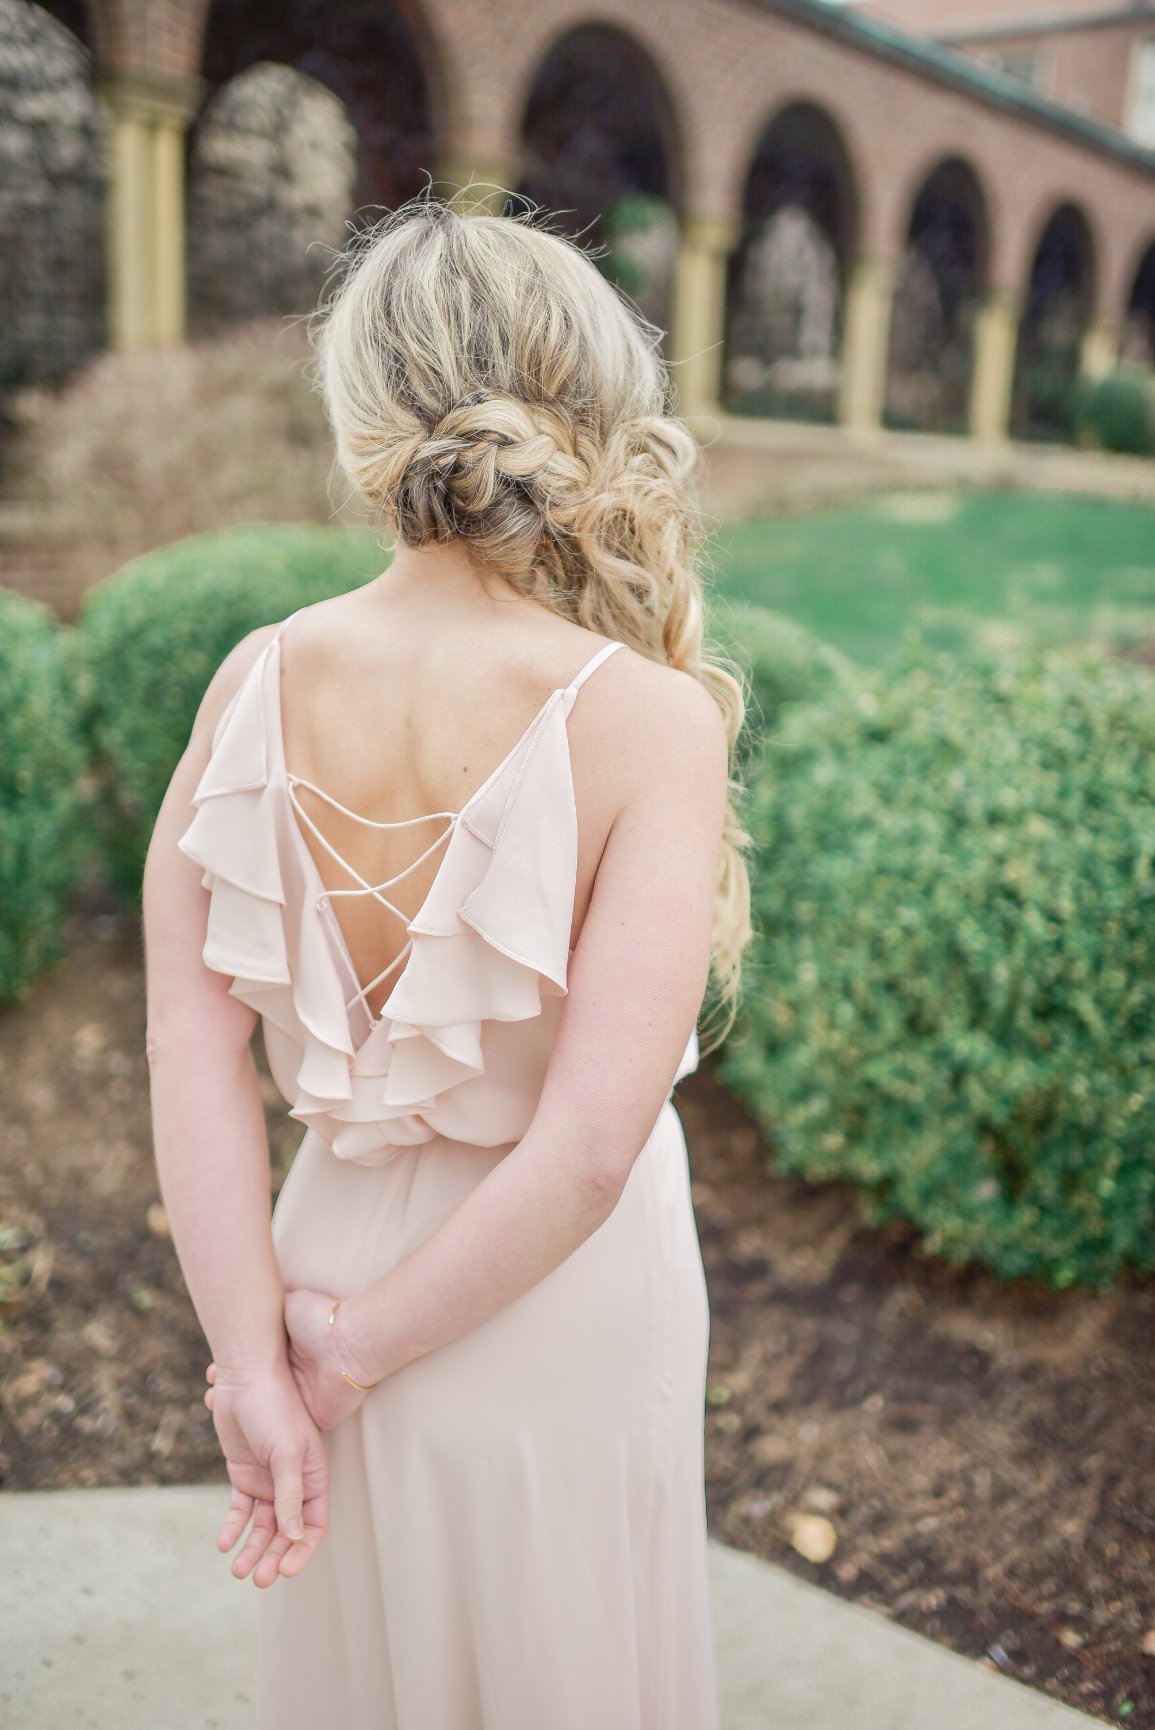
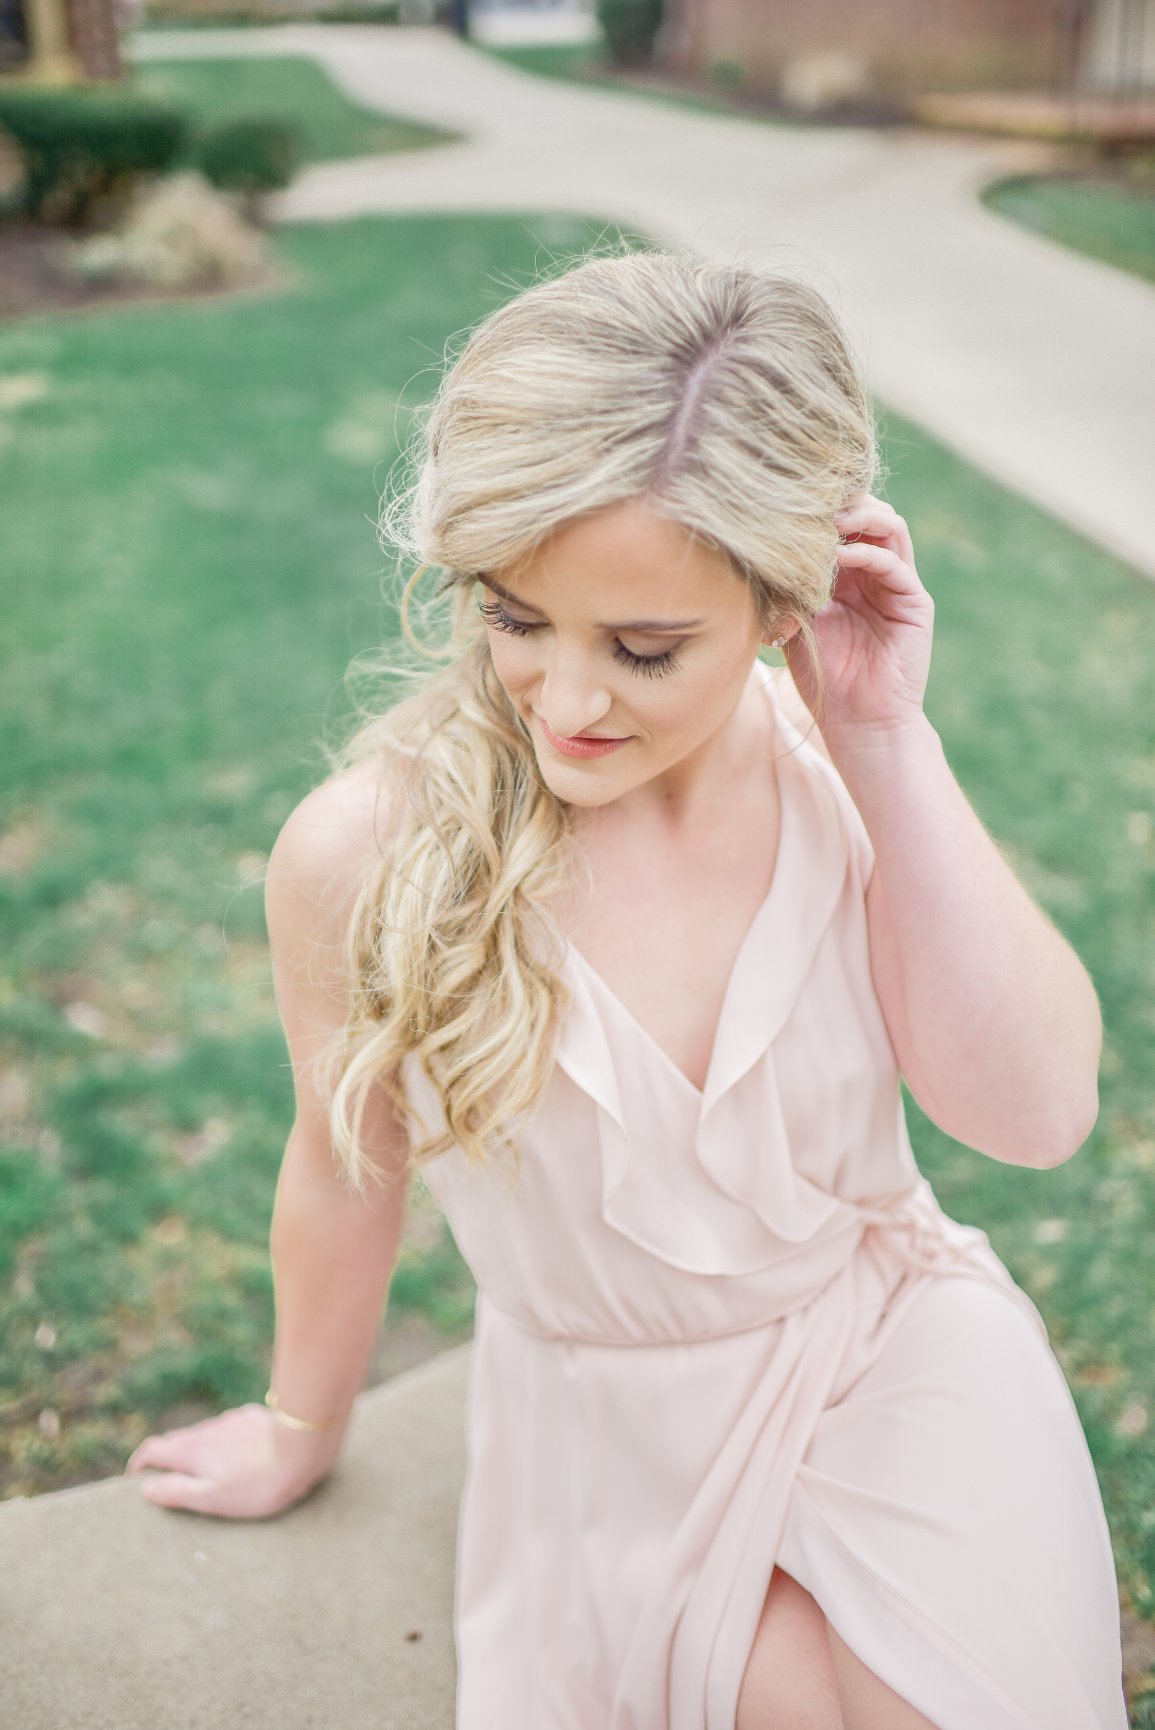
Wedding Day Glam: Hair

Advice on hair touch ups throughout the day?

  • Have light hold hairspray and bobby pins available. Assign hair duty to a trusty friend! 

How many stylists per amount of girls do you need? For instance, if you have 12 wedding guests that want their hair done, how many stylists do you need? Or do you do it in waves?  

  • 6 bridesmaids will require 2 or more stylists

  • The bride usually require 2.5 hours 

  • Assign 4– 5 stylists If you have 10 or more wedding guests 

  • Ask your stylists, they will always give you the best advice depending on their speed and experience.

What about extensions? Are clip in extensions ok or do I need to splurge and invest in sewn in extensions?

  • First time extension wearers will want clip ins just because they will feel more comfortable after removing them at the end of the day. I suggest Permanent hair extensions If you want a certain look for the rehearsal dinner and your honey moon.

If you regularly color your hair, how close to the wedding should you have your hair color touched up?

  •  Hair color should be done two weeks prior to the wedding to allow room for any last minute details building up to the wedding. Also, hair appointments with your stylist should be booked at least a month before the appointment date to ensure your stylist has availability 

How much time should you a lot for hair on the wedding day?

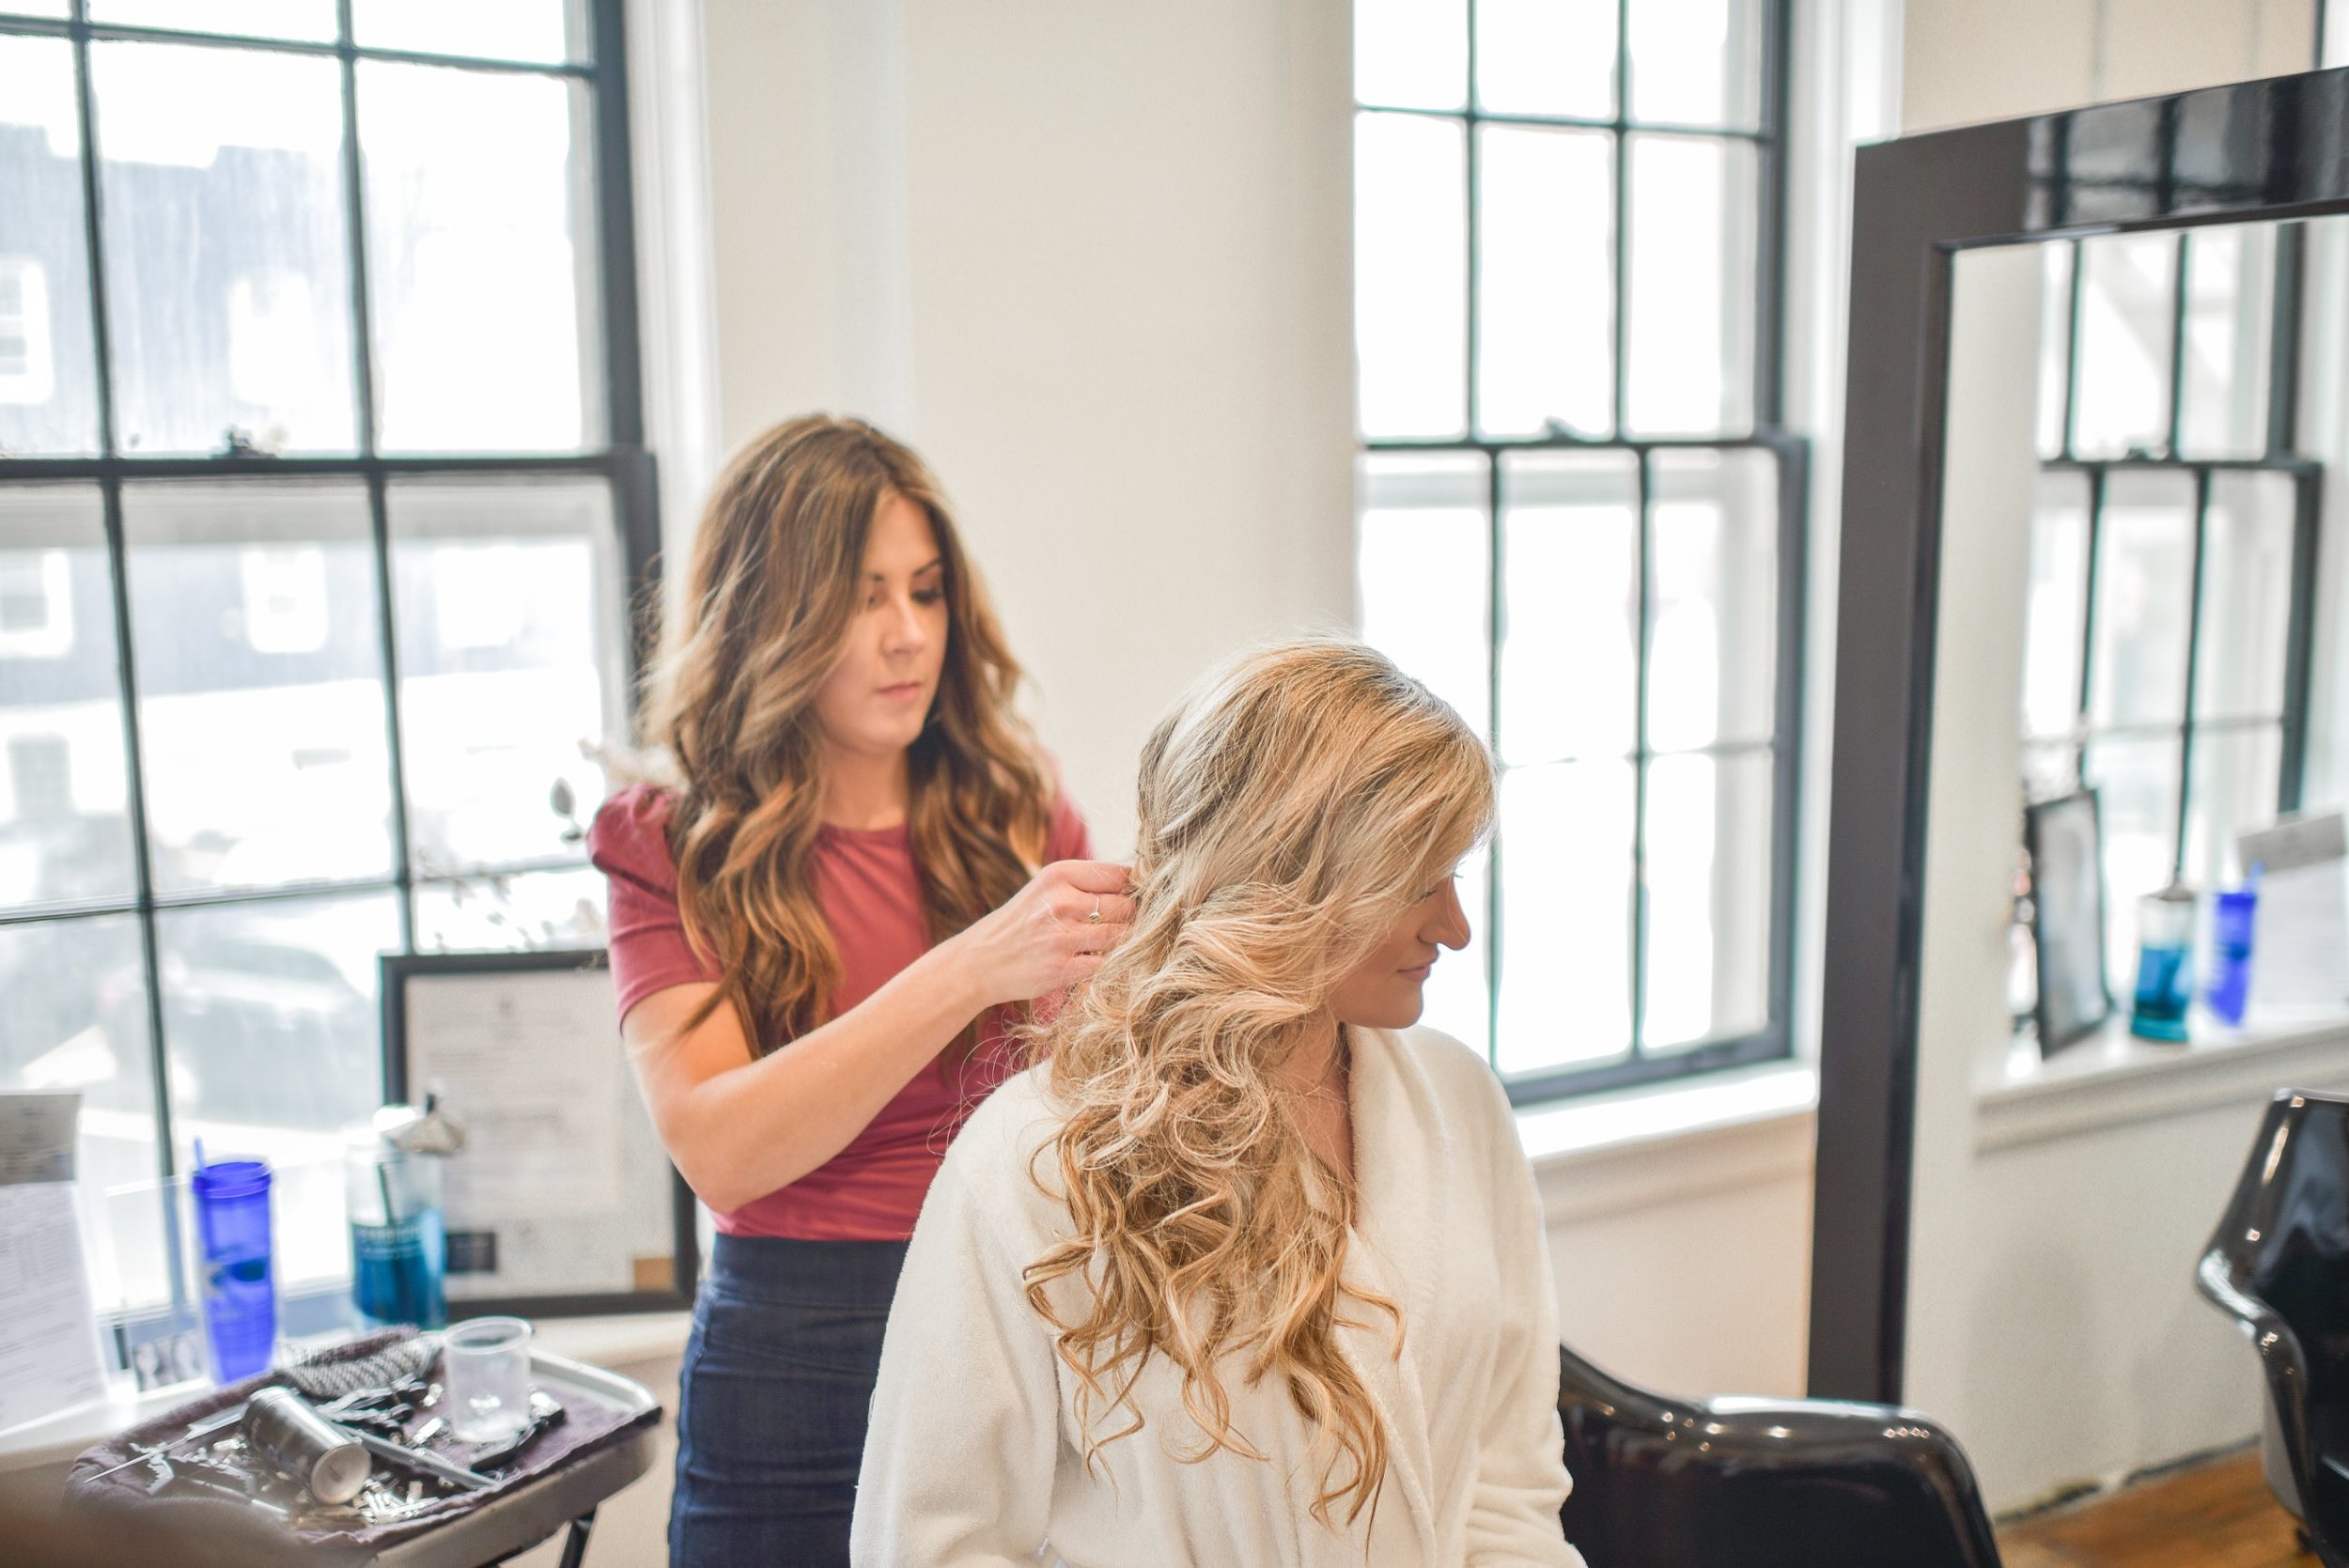
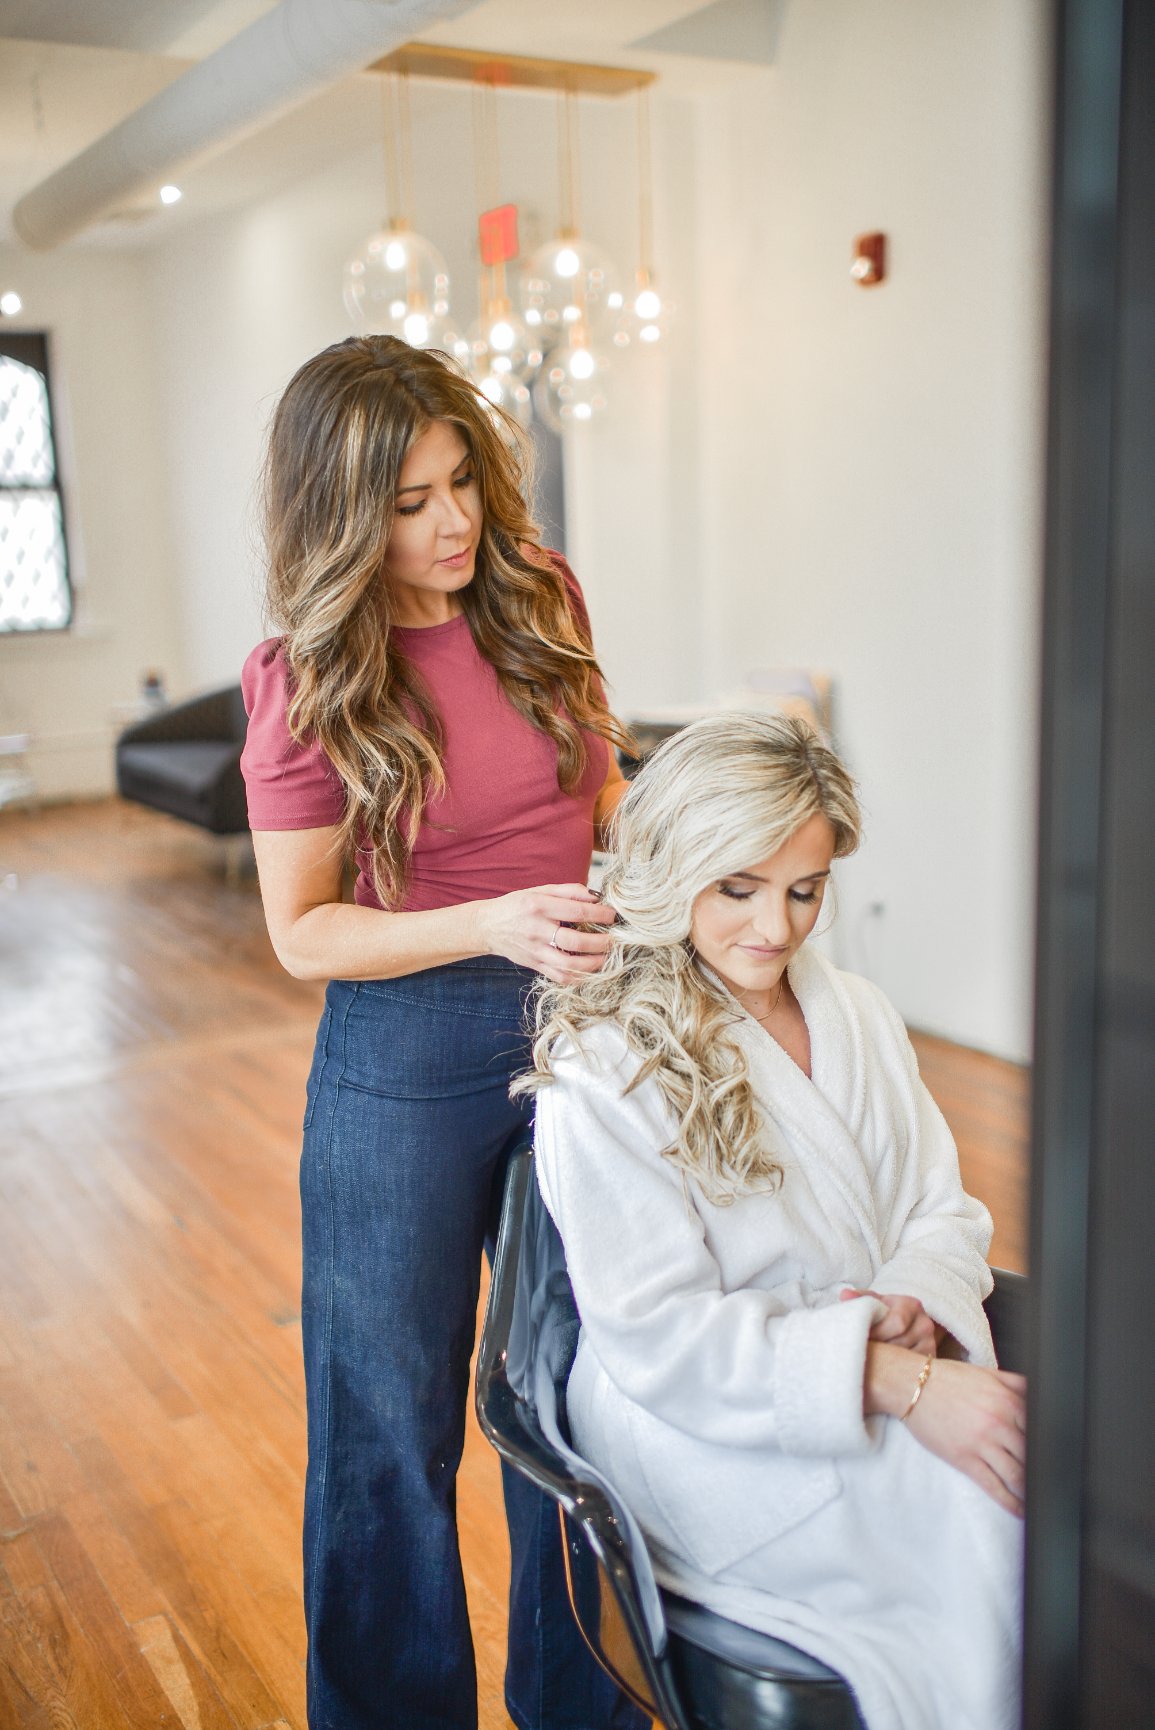
  • Hair and makeup will take at least 3-4 hours. I would ask the stylists depending on their speed and expertise. Consider location if they are comfortable on site with plenty of lighting, outlets, extension cords, space as this will slow down the process if the working space is set up incorrectly.

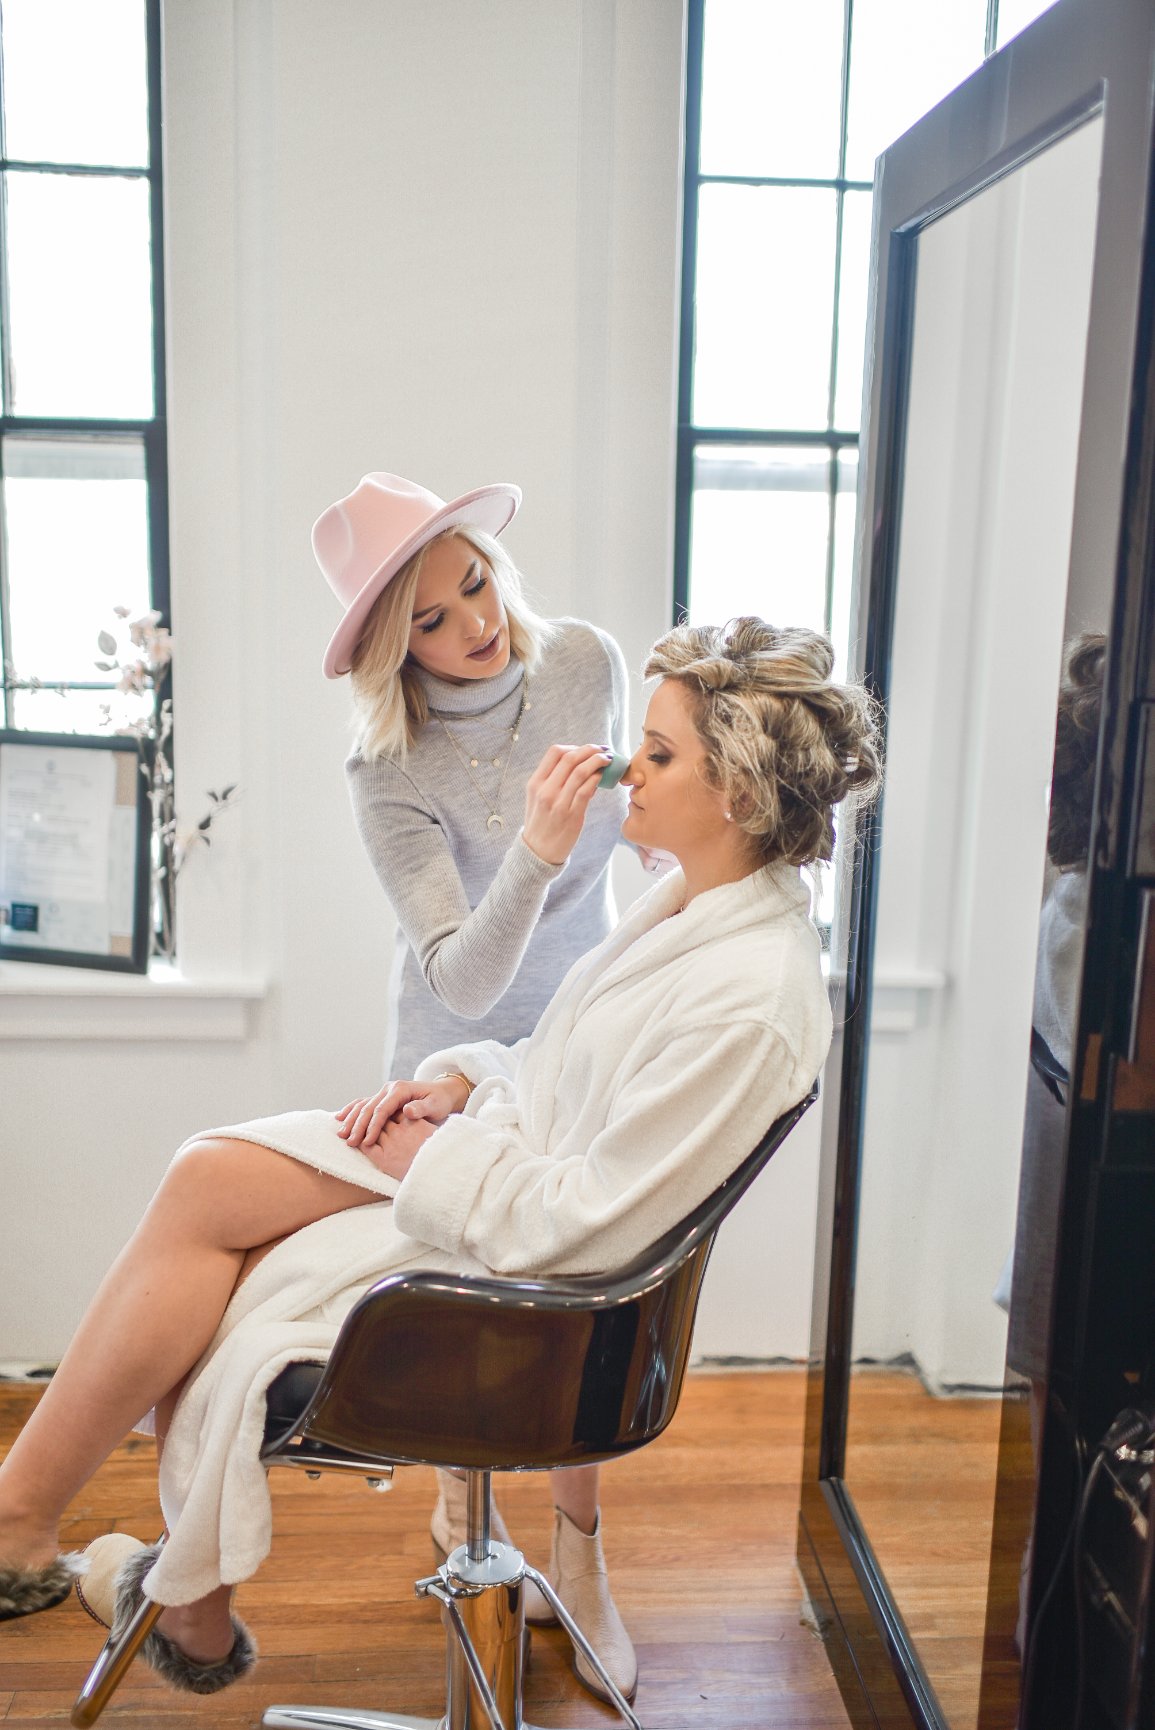
  • What is your opinion on the bridal party traveling to the hair/makeup studio vs having the beauty team come to your house/hotel/etc?

  • Both are suitable as long as the working space is set up completely. Also remember that a stylist leaving their salon will need time to set up and break down.

  • Prior to the day-of, have a schedule made with consistent time checks to make sure you are running on time. You may want to consult with your wedding planner or day-of coordinator if you have one.

  • Ensure a designated clean working area with your photographer in order to have behind the scenes pictures of the getting ready process. Lighting, outlets, mirrors, tables, extension cords, and a schedule will make the process much more organized. 

What is the protocol on payment?

  • Typically the payment is provided by each wedding guest unless you have a more flexible budget. 

What happens if the main stylist the bride booked with is sick?

  • Having a larger team booked for hair and makeup is always a safer bet. 

  • Blow dry bars in the area are a great resource

  • Discuss hair and makeup with a friend prior who is blessed with beauty skills. 

  • If you have a dependable stylist who can save the day make sure they know the day of the wedding in advance

How many hair trials are appropriate and what should you go over during the trial? Do “inspiration/Pinterest images” help the stylist?

  • One trial is typical. Trials will take one hour book them a month before the wedding and be open to their suggestions after you share your inspiration.

What is the protocol for adding on people once the initial contract was booked?

  • Adding guests should be discussed with your hair and makeup team a month in advance. Be aware of compromising your schedule with last minute changes. 

What is the protocol if someone is not pleased with their hair style?

  • Open communication is always a requirement during the process to avoid dissatisfaction. 

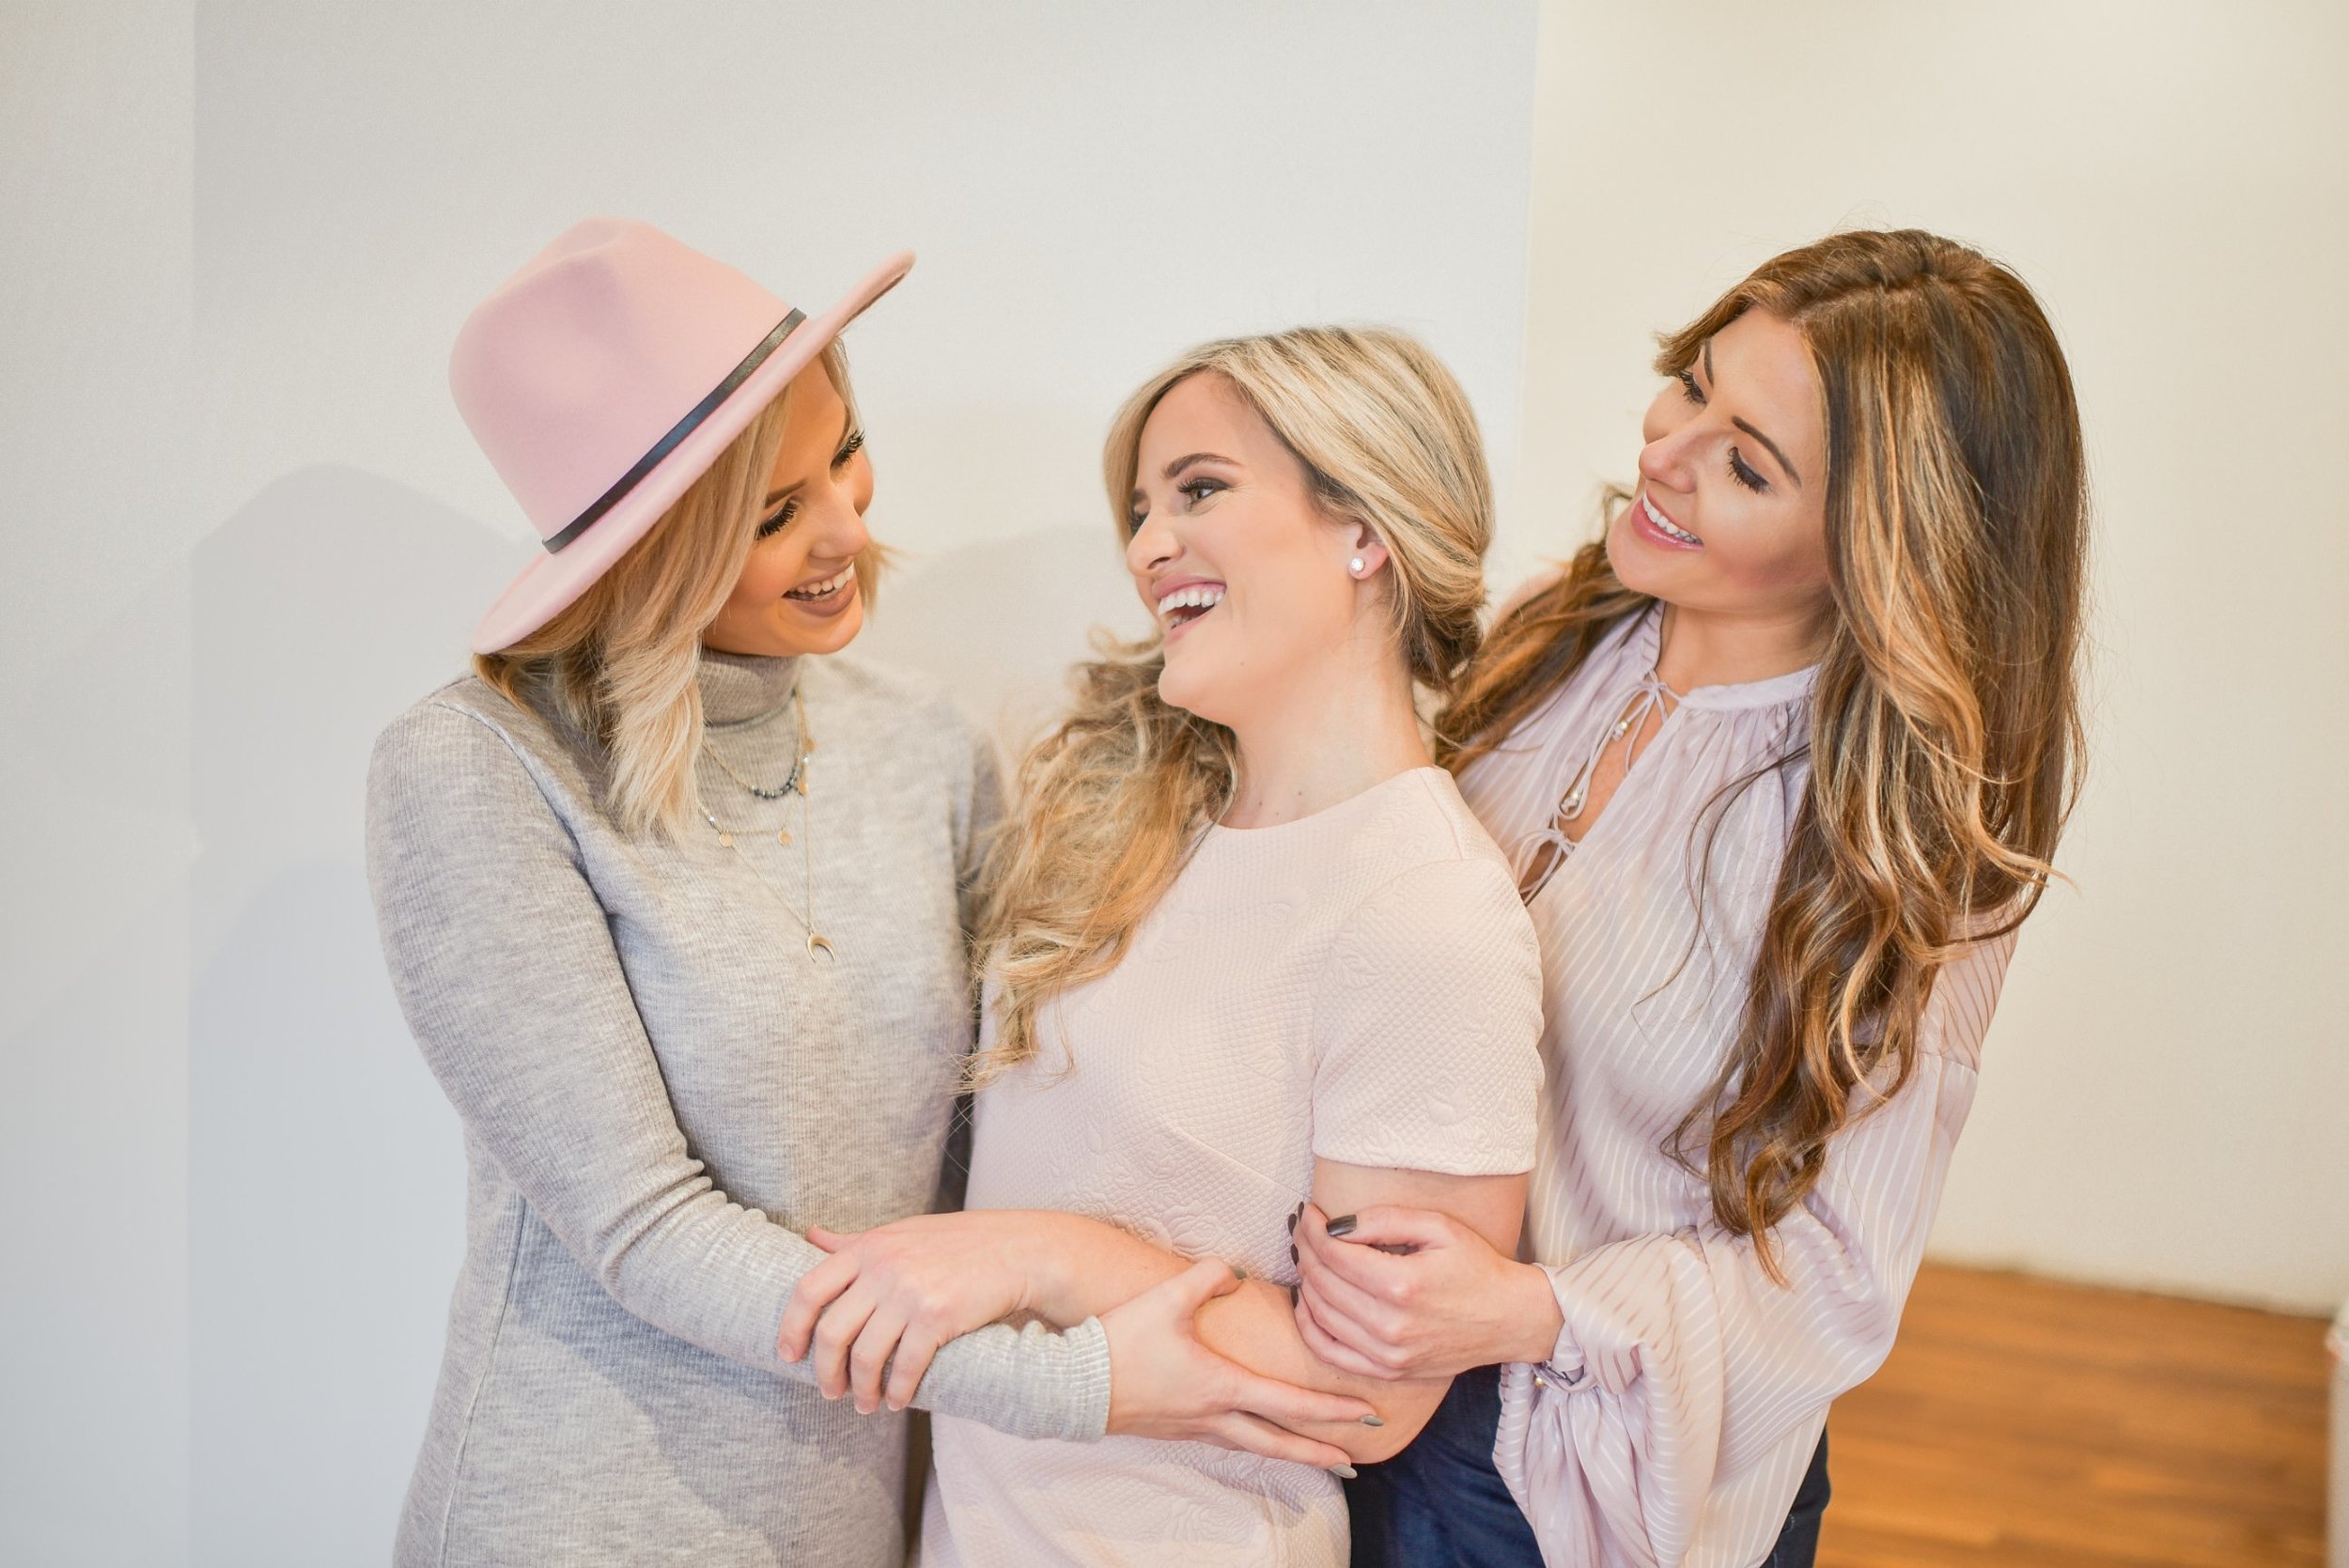
How do you keep the hairstyles timeless and cohesive?

  • Styles are timeless and cohesive if you allow a creative to coach you on what will work for your hair type. 

How do you explain to the wedding party that there needs to be uniformity, not one girl tying to over shine the bride?

  • Styles should be chosen before the wedding day to ensure they have your approval.

What is the “tipping” protocol?

  • Always tip at least 20% of the total cost. 

Hair-and-Makeup-Questions-Answered-20.jpg

Wedding Day Glam: Makeup

If you want to play-up your eyes, is it better to go with eyelash extensions or flasies?

  • If you’re a bride who likes to glam and is used to using falsies, and you have a pair you love I say go for it! If you have sensitive eyes or are nervous falsies might irritate your eyes I would opt for lash extensions. If you go the extension route, I suggest trying them a few months before your wedding to make sure they are right for you. Either way, lashes stand out in pictures and truly complete a makeup look. I think everyone should wear them on their wedding day!

Do you have any recommendations for skincare prep?

  • Make sure you exfoliate the night before and use a heavy moisturizer. The following morning apply a day time moisturizer at least 30 min before your makeup goes on. Even if you have oily skin, this step is essential for a flawless glowy bridal look. I would suggest a gentle facial the week before as well! 

What about makeup touch-ups throughout the day?

  • You’re only paying your makeup artist for the hours they a lot to you, so anything past that will be your responsibility. I suggest going to Sephora, have them do your makeup and give you suggestions on a great lipstick, concealer and powder. Keep those in your clutch or hand them to your most responsible bridesmaid so they are available to you for touch ups through out the day! If you go the falsie route, get a lash glue with a wand applicator just in case. 

Is it a good idea to have inspiration pictures to show your makeup artist?

  • Honestly, I have mixed feelings on this one. Pictures are great as long as the person in the pictures has similar features/ tones to you. If your makeup artist makes a suggestion or steers you in a different direction, trust them and work with them They are there to highlight your best features. My best work is always when the Bride is laid back and open to my suggestions! 

What is the best way to handle lipstick application throughout the day?

  • Buy a lipstick for your makeup artist to put on that you can keep and re apply through out the day. 

What type of outfit is best to wear so it doesn’t  mess up makeup?

  • Some sort of button up or robe without a collar! 

How many makeup trials should you do pre-wedding? 

  • I usually suggest one! Anything more than that can make you over think it and stress over it. Have it done when you plan to go out with your friends or somewhere your going to take pictures. If there are things you want to change day of just let your makeup artist know and he or she will make those adjustments for you! Again, find a makeup artist you truly trust and let them take the lead. It will be less stress on you and I promise their work will be best when they feel like you are trusting them.

What is the tipping protocol?

Your makeup artist is providing you with a service, just like anything else in the service industry I recommend that you tip! Let them know you appreciate them. 

What if I cry / How do I prevent my makeup from smearing?

  • Order a cute handkerchief off of Etsy and keep it with you trough out the day. Instead of wiping your tears, gently dab them to prevent any running or smudging. Your makeup artist will have waterproof mascara available to you of course but this is a good bonus tip! 

What is better: Traditional or airbrush makeup?

  • I haven’t worked with airbrush much myself and I find my best work to be with traditional makeup. However another makeup artist work may be reflected better through airbrush. Find someone’s work you love, and trust the product they are using! They are the professionals and are going to be using high quality product that will last all day regardless. Again, trust your professional! 

If I get a spray tan will it effect my makeup look?

  • Nope! Your makeup artist will have a variety of shades to match your color perfectly no matter how dark or light your skin may be.

Hair-and-Makeup-Questions-Answered-13..jpg
Hair-and-Makeup-Questions-Answered-14..jpg

Photography by KATA WALSH

Our event was held at Savvy Salon & Spa in the beautiful downtown area of Lexington, KY. Thank you Savannah, owner of the salon, for graciously hosting us!

Wedding-Day-Hair-and-Makeup-Questions-Answered-19.jpg

This collaboration was made possible with the following local creatives!

PHOTOGRAPHY: Kata Walsh | @km_creatives

MAKEUP: Molly Ueding | @hairmakeupandmolly

MASTER STYLIST: Jessica Bach | @jessicaaneebach

ASSISTANT STYLIST: Hayley Smith | @hays.hair.affair

Hair-and-Makeup-Questions-Answered-9.jpg

CELEBRATING FAMILY TRADITION WITH GRANDMA'S GOULASH

This shop has been compensated by Collective Bias, Inc. and its advertiser.  All opinions are mine alone.  This content is intended for readers who are 21 and over. #Yuengling190 #CollectiveBias #SpreadYourWings

IMG_2926.jpg

Some of my most treasured recipes are those that have been passed on to me by my family, in particular my grandmother.  When I think back to our time together, most of my memories center around the kitchen.  Her pouring me a bowel of cereal while she drank black coffee in the morning, fixing grilled bologna and cheese sandwiches and always knowing I wanted extra sweet pickles on the side, and sharing family dinners around the old oak table reminiscing about times past.  Although I would give anything to share one more dinner with my grandma, making one of her recipes for my loved ones now, is the next best thing.  It’s like she is standing beside me in the kitchen, and it makes my heart so happy knowing I have a little piece of her with me always. 

IMG_2918.jpg

One of my favorite recipes that has been passed down from my grandma is her famous goulash.  I remember as a kid, I could never get enough of this casserole.  I would request it anytime I knew I would be staying for dinner, and now, as an adult when I think of my grandmother, I think of her goulash recipe.  There’s just something so warm and comforting about a big bowl of grandma’s goulash with some melted cheddar cheese on top. Honestly, I could eat a bowl of this goodness every day and never get tired of it!

It’s all about coming up with just the right combination of red sauce, spices, pasta and ground beef to make the perfect goulash. Luckily, this dish is pretty forgiving and leaves you plenty of room to tweak the recipe to your own personal preferences, in fact that is why I added a touch of Yuengling Lager to my version of Grandma’s Goulash.  The lager adds a richness to the dish, and also enhances the aromas and flavor.  Not only does the Yuengling Lager makes the red sauce of this dish more flavorful, but the rich history that Yuengling is based upon makes it a great addition to my Grandmother’s beloved recipe.  

IMG_2901.jpg
IMG_2752.jpg

Yuengling has been brewing beer in Pottsville, PA since 1829, making them America’s Oldest Brewery. It is a family business, first and foremost, who really value enriching the local community as a way to help the members of their extended family thrive economically and socially. Today, Yuengling is operated by its 6th generation-all women, four sisters, who have combined over 60 years of brewery experience. They all grew up in the business, and I think it’s an interesting time for them to be leading a company as women, particularly in a male-dominated industry. You can read more about Yuengling, and the new female leaders HERE .This year, Yuengling will celebrate their 190th anniversary with exciting announcements and events, including the release of limited-edition, 190th Yuengling Lager beer cans. These 5 commemorative cans pay tribute to their enduring history, and the entrepreneurial spirit and relentless determination that has made them America’s older brewery. Right now, save $2.00 off 12 pack OR (2) 6 packs or $4.00 off (2) 12 pack OR a 24pk or (4) 6 pks. Please note that the offer may vary by state, so check your local store. Pick one up today to make this yummy recipe below!

IMG_2789.jpg
IMG_2923.jpg

Yuengling remains focused on the future of it’s business, while being inspired by their past.  And every time I make this recipe, I can’t help but being inspired by a strong female of our past family: my late grandmother.  This recipe, like the Yuengling brand itself, is based in rich history and family tradition. So from my family to yours, I hope you enjoy Grandma’s Goulash!  


WHAT YOU’LL NEED

  • 8 ounces elbow macaroni

  • 1 pound ground beef

  • 1/2 pound mild Italian sausage

  • 1 Tbsp. Olive oil

  • 1 large onion, chopped

  • 1 green pepper, chopped

  • 1 can of sliced mushrooms

  • 1 Tbsp. minced garlic

  • 1 tsp. dried oregano

  • 3 Tbsp. worcestershire sauce

  • 2 Tbsp. brown sugar

  • 1/4 tsp. dried red pepper flakes

  • 1/2 tsp. garlic salt

  • 2 (10 ounce) cans tomato soup

  • 1 (6 ounce) can tomato paste

  • 1 cup Yuengling Lager

  • 2 cups Italian cheese blend

  • 2 cups shredded sharp cheddar cheese


WHAT TO DO:

  1. Preheat the oven to 350 degrees.

  2. Cook the macaroni noodles until it is al dente (about 6-8 minutes), and drain

  3. Add olive oil to a skillet on medium heat.  When hot, add garlic and cook until fragrant (1-2 minutes)

  4. Add the onion, bell pepper, and oregano and cook 4-5 minutes

  5. Next add the ground beef and sausage, continue to cook mixture until meat is browned.  Drain off any fat

  6. In a small bowl, combine worcestershire sauce, sugar, pepper flakes, garlic salt, tomato soup, tomato paste, and Yuengling lager and mix to combine 

  7. Add the tomato mixture to meat mixture, stir well and let simmer 8-10 minutes

  8. Spray a 9x13 casserole dish with cooking spray.

  9. Spread the pasta over the bottom of the prepared pan.

  10. Sprinkle Italian cheese blend over the pasta.

  11. Spread the meat sauce over the pasta and cheese. 

  12. Cover the pan with foil and bake for 45 minutes.

  13. Remove the foil, sprinkle the cheddar cheese over the casserole and bake for an additional 5-10 minutes, uncovered, until the cheese is melted.

IMG_2933.jpg

COCKTAIL + APPETIZER FLAVOR PAIRING CLASS

Cocktail-and-Appetizer-Flavor-Pairing-Class-Jeptha-Creed-Kentucky-2.jpg

This post is in collaboration with Jeptha Creed and Butchertown Grocery. All of these opinions are entirely my own. Thank you for supporting brands and businesses that support Sam and Nate Blog!

Nathan and I received an invite to attend a preview night of a Cocktail and Appetizer Flavor Pairing Class hosted at Jeptha Creed, a beautiful distillery in Shelbyville, KY about 20 minutes outside of Louisville. Jeptha is owned and operated by a mother-daughter duo, who are committed to honoring their family heritage by following a ground to glass concept in which they strive to produce all the ingredients they use in their spirits. This event was also in collaboration with Butchertown Grocery, an award winning restaurant located in the heart of one of Louisville’s best neighborhoods where they serve refined food in a former family market. So needless to say, Nathan and I were quite excited to attend.

Upon arrival, we were greeted with a welcome cocktail called Blueberry Lavender Lemonade. It was made using Jeptha Creed’s blueberry vodka. We enjoyed these refreshing drinks in their beautiful open bar area as we waited for all the guests to arrive. We also had the opportunity to sample a new brandy, made from the Paw Paw fruit, that Jeptha is in the process of creating. If you are like me, you’ve probably never heard of a Pawpaw fruit. Well let me indulge you…..Pawpaw trees are actually the largest edible fruit trees native to North America, and are found from the Great Lakes down to portions of the Florida panhandle. These trees produce a greenish-black fruit that is said to be a cross between a mango and a banana…..and apparently have a flavor that lends itself well to making liquor which we had the opportunity to taste firsthand! We taste tested 3 different samples of varying strengths of the Pawpaw Brandy, and then voted on our favorite. Fun fact: the one I originally voted for ended up winning!

Cocktail-and-Appetizer-Flavor-Pairing-Class-Jeptha-Creed-Kentucky-3.jpg

After everyone arrived, we were led into the beautiful clubhouse which features a stately fireplace and iconic timber framing. This space really lended towards the cozy, romantic atmosphere of the event. They had high-top tables each set up with 4 stations to accommodate each pair of guests. We quickly chose a table with a group of fellow influencers from Louisville that we had never met before (because why not mix cocktails while making new friends, rights?!) and we were ready to get started!

Jeptha Creed Beverage Director Mackenzi Peohlein led the cocktail mixing portion of our class and gave us step-by-step instructions as we began. We started with the Savory Persian Love Cocktail, and since it was going to include an egg-white topper, I let Nathan take charge of this one. The Persian Love has featured flavors of Rose, Cardamom and Lemon with secondary flavors of Almond and Nutmeg. I’m not gonna lie, Nathan knocked this one out of the park! Maybe it’s due to the fact that he was a former bartender, or maybe just a really great listener, but regardless, this cocktail was delicious!

Cocktail-and-Appetizer-Flavor-Pairing-Class-Jeptha-Creed-Kentucky-6.jpg
Cocktail-and-Flavor-Pairing-Class-Jeptha-Creed-Kentucky-9.jpg

As we were crafting the Persian Love, appetizers with coordinating flavor profiles were being introduced via the lovely staff at Jeptha Creed. These appetizers included Chesapeake Bay Oysters, Barrel Smoked Pork Belly, Preachers Ham Cornmeal Bloody Butcher Biscuits, and handmade Gnocchi with mushrooms. To say that the food was incredible, would be a complete understatement. Nathan and I also enjoyed that they specifically created these decadent dishes that perfectly complimented the cocktail we were preparing.

Cocktail-and-Flavor-Pairing-Class-Jeptha-Creed-Kentucky-14.jpg

After crafting our first cocktail, Butchertown Grocery Chef and Owner Bobby Benjamin gave us a live demo of how he creates his handmade gnocchi. As a couple that loves to cook together, Nathan and I really enjoyed this aspect of the event. It was not only informative, but explained in a way that could easily be replicated at home. So next time you see a Gnocchi dish pop up on my IG feed, you’ll know where the inspiration came from!

Cocktail-and-Flavor-Pairing-Class-Jeptha-Creed-Kentucky-17.jpg

The second cocktail we created was the Pomegranate Passion, and since it was the easier of the two, I gave this one a go. This cocktail had a sweet flavor profile with featured flavors of Pomegranate and Smoked Pears, and Secondary Flavors of Lemon, Vanilla and Caramel. Now, I’m no mix master by any means and I definitely have never “muddled” anything in my life, but I think I did a pretty good job with putting this together! If nothing else, I was at least entertaining to watch while making my best attempt at this creation. The dishes that were paired with the Pomegranate Passion included a Roasted Beet and Poached Pear salad with pistachio and blue cheese, and well as warm Beignets served with a Jeptha Creed bourbon and bacon anglaise. You guys…..these Beignets!!! Oh My!!! My mouth is literally watering just thinking about them! So darn good!

Cocktail-and-Flavor-Pairing-Class-Jeptha-Creed-Kentucky-22.jpg
Cocktail-and-Appetizer-Flavor-Pairing-Class-Jeptha-Creed-Kentucky-1.jpg
Cocktail-and-Flavor-Pairing-Class-Jeptha-Creed-Kentucky-25.jpg

Overall, we had such a great experience. Neither Nathan, nor I, have ever taken a cooking or cocktail class before so we didn’t really know what to expect….but it’s safe to say, it exceeded any expectations! We love this unique date-night idea as a way to enjoy a fun evening with your partner (or even by yourself…trust me, you’ll make plenty of friends there!), in an un-conventional and playful way. The public event is this Thursday, February 14 from 6 - 8 pm. Tickets are $40/individual and $70/couple and can be purchased HERE.

If you attend, please mention Sam and Nate Blog and we would love to hear about your experience. What is your favorite “un-conventional” date you have been on? We would love to know in the comments below! Happy week of LOVE and thank you so much for reading!

Cocktail-and-Flavor-Pairing-Class-Jeptha-Creed-Kentucky-28.jpg

PROBLEM PORES NO MORE!

One of my most annoying skin concerns has always been the pores on my nose. I wouldn’t say they are necessarily large, but they do tend to hold a lot of dirt and get clogged easily. I try to keep up with weekly exfoliating and the occasional mask, but it never seems to make much of a difference. I feel like I usually resort to popping and picking ( I know, I know…big skincare NO NO) but it’s the only method that actually visibly unclogs my pores. UNTIL NOW! Recently I started using two products that have made a huge difference for my pores and blackheads on my nose. So keep reading, because I’m going to let you in on my little skincare secret!

This post is sponsored by Bioré, but the content and opinions expressed here are my own. Thank you for supporting brands and businesses that support Sam and Nate Blog!

I’ve been a big fan of Witch Hazel for a couple years because of it’s antimicrobial and healing properties, but I’ll admit, when I first got the Biore Witch Hazel Pore Clarifying Toner and Ultra Deep Cleansing Pore Strips , I was a little bit skeptical. But now that I’ve found these Biore products, I’ve got the utmost confidence that clogged pores and blackheads will no longer be an issue for me. These strips basically work like a super magnet, locking onto and lifting out deep-down dirt, oil, and all that gunk from your most clogged pores. If you struggle with this as well, then keep reading because I’m going to share how I use the products for maximum results in the step-by-step guide below! Also, be sure to check out THIS FUN VIDEO where I demonstrate how easy they are to use!

Step 1: Cleanse

The first step is starting with a clean face. I prefer to use my pore strips right after I get out of the shower at night, because this helps to open my pores. PRO TIP: You could also steam your face to achieve the same results, before you apply your Biore Witch Hazel Ultra Deep Cleansing Pore Strips . Steaming isn’t necessary, but it will help to get your pores nice and open. After washing your face, you want to thoroughly wet your nose. The strip won’t stick to a dry nose…don’t worry, I learned that the hard way lol.

Step 2: Apply

There are 6 nose strips per package….and at the rate I’m going, I’ll have to make a Walmart run and pick up another box because I’ve already used 3 this week. And I’m pretty sure Nathan snuck in my bathroom and used a few too! Anyway, take the strip out of the individual packet and give it a nice little twist. This will loosen the strip from the plastic covering. Peel the strip off the plastic liner and apply to your nose, sticky side down. Give it a little press to ensure it sticks to your skin and let the Ultra Deep Cleansing Pore Strip do its job!

Step 3: Relax

This is my favorite part about using the Biore Witch Hazel Ultra Deep Cleansing Pore Strips ! While you are letting the strip dry for about 10-15 minutes, take the time to relax! I like to read a book, catch up on on my latest Netflix binge session, or even drink a hot cup of tea. This time is all about YOU, so enjoy! Once the strip feels stiff to the touch, slowly and carefully peel off starting at the edges and pulling toward the center. If you’re anything like me, you will stare in pure amazement at all the gunk that just came out of your pores. It’s amazing (and a bit gross) and what these pore strips actually pull out of your pores!

Step 3: Tone

I love incorporating a clarifying toner into my skincare regime, especially one that includes Witch Hazel. The natural ingredient is known to tighten pores, purify, refresh and help heal skin, plus it makes your skin extra fresh! I swear I can actually feel it working as soon as I apply it! I like the Biore Witch Hazel Pore Clarifying Toner because it has Witch Hazel and Saclicylic Acid, which means double the fighting power! These two ingredients are going to help restore your skin’s balance while also deep cleaning your pores! To use, simply apply a few drops to a cotton ball and apply over your entire face. I like to start with one application per day, because it can be a bit drying, but as your skin gets used to the product you can increase to using your Pore Clarifying Toner twice a day!

Have you ever tried products with Witch Hazel before? If so, what did you think? Also, let me know in the comments below if you plan on giving these products a try!