EASY APPLE COBBLER

If you want the decadent taste of an apple pie, but with half the amount of work, then this recipe is for you! I’ve made this recipe a couple times now, to get all the ingredients perfect (or because it really is THAT good) and I think you will agree with me when I say this cobbler should definitely be in your fall recipe book! From the sweet cinnamon apple filling to the fluffy, buttery topping this apple cobbler may just be your new favorite fall treat. As far as the preferred type of apple to use for this recipe, I’m not an expert to be honest. Actually, all the times I have made it I just use a variety of different apples and it has turned out great! Feel free to use whatever apple variety is your favorite! No matter the apple used, this homemade apple cobbler is sure to be a hit! Its perfect eaten alone at room temperature (most of the time I’m sneaking bites right out of the dish) , but it’s extra delicious served warm with a side of vanilla ice cream!

apple-cobbler-1.jpg

WHAT YOU NEED

FOR FILLING:

  • 4 C. Apples-peeled, cored, and sliced (about 4 medium size apples)

  • 1 C. Brown Sugar

  • 1 Tsp. Cinnamon

  • 1/4 Tsp. Nutmeg

  • Juice of 1/2 Lemon

FOR BATTER/TOPPING:

  • 1 C. All Purpose Flour

  • 1 C Sugar

  • 1 Tbsp. Baking Powder

  • 1/4 Tsp. Salt

  • 1 C. Milk

  • 1 Tsp. Vanilla

  • dash of Cinnamon

WHAT TO DO

  1. Preheat oven to 375 degrees

  2. Add stick of butter to baking dish ( I like using a 9x9), and place in oven while preheating to fully melt butter

  3. Add apples, brown sugar, cinnamon, nutmeg and lemon juice to pan, stir to mix ingredients

  4. Bring to boil over medium-high heat, stirring occasionally

  5. While apple mixture is cooking, whisk together flour, sugar, baking powder, salt and milk

  6. When butter is fully melted, take dish out of oven

  7. Pour batter into the baking dish (do not mix with the butter)

  8. Next, pour apple filling on top (again do not mix with batter or the melted butter)

  9. Bake for 40 minutes, or until golden brown

EASY HOMEMADE APPLESAUCE

Nathan’s parents came into town a couple weeks ago, and one activity we did while they visited was go to a local apple orchard. Nathan’s dad was hoping he could score some freshly made apple cider, but I was excited to go for one reason: APPLESAUCE! For some reason I had be craving homemade applesauce, and even though I have never made it myself, I was up for the challenge! Turns out, it’s no challenge at all. In fact, making your own applesauce at home is actually pretty simple. So we left the orchard with a huge 10lb bag of apples in hand and got to work! Nathan’s mom was on apple-peeling duty, Nathan took over coring and chopping, and I put everything together. This recipe is SO easy, and in less than 45 minutes you will have yourself a delicious pot of the best homemade applesauce! I don’t like my applesauce overly sweet, or with too much cinnamon flavor so feel free to add more of each according to your personal taste! Its super yummy served warm or cold, but may I suggest serving hot over some vanilla ice cream for an extra indulgent treat! Enjoy!

easy-homemade-applesauce-recipe-1.jpg

WHAT YOU NEED

  • approx. 6 medium apples- peeled, cored and chopped into smaller pieces

  • 1/2 C. water

  • 2 Tbsp. fresh lemon juice

  • 1/4 C. white sugar

  • 1/2 Tsp. ground cinnamon

  • 1/4 Tsp. salt

WHAT TO DO

  1. Peel, core and chop your apples. Place in a large pot.

  2. Add the water, lemon juice, sugar, ground cinnamon and salt. Stir well.

  3. Bring mixture to a boil on high heat. Once boiling, turn to low and cover.

  4. Simmer on low for approximately 45 minutes or until the apples are completely soft and cooked through

  5. Remove from heat. For a chunky applesauce, mash the apples in the pot with a potato masher. For a smoother applesauce, add to a food processor or blender and mix until you reach desired consistency

  6. Serve warm or cold

VANILLA BUTTER MELT AWAY COOKIES

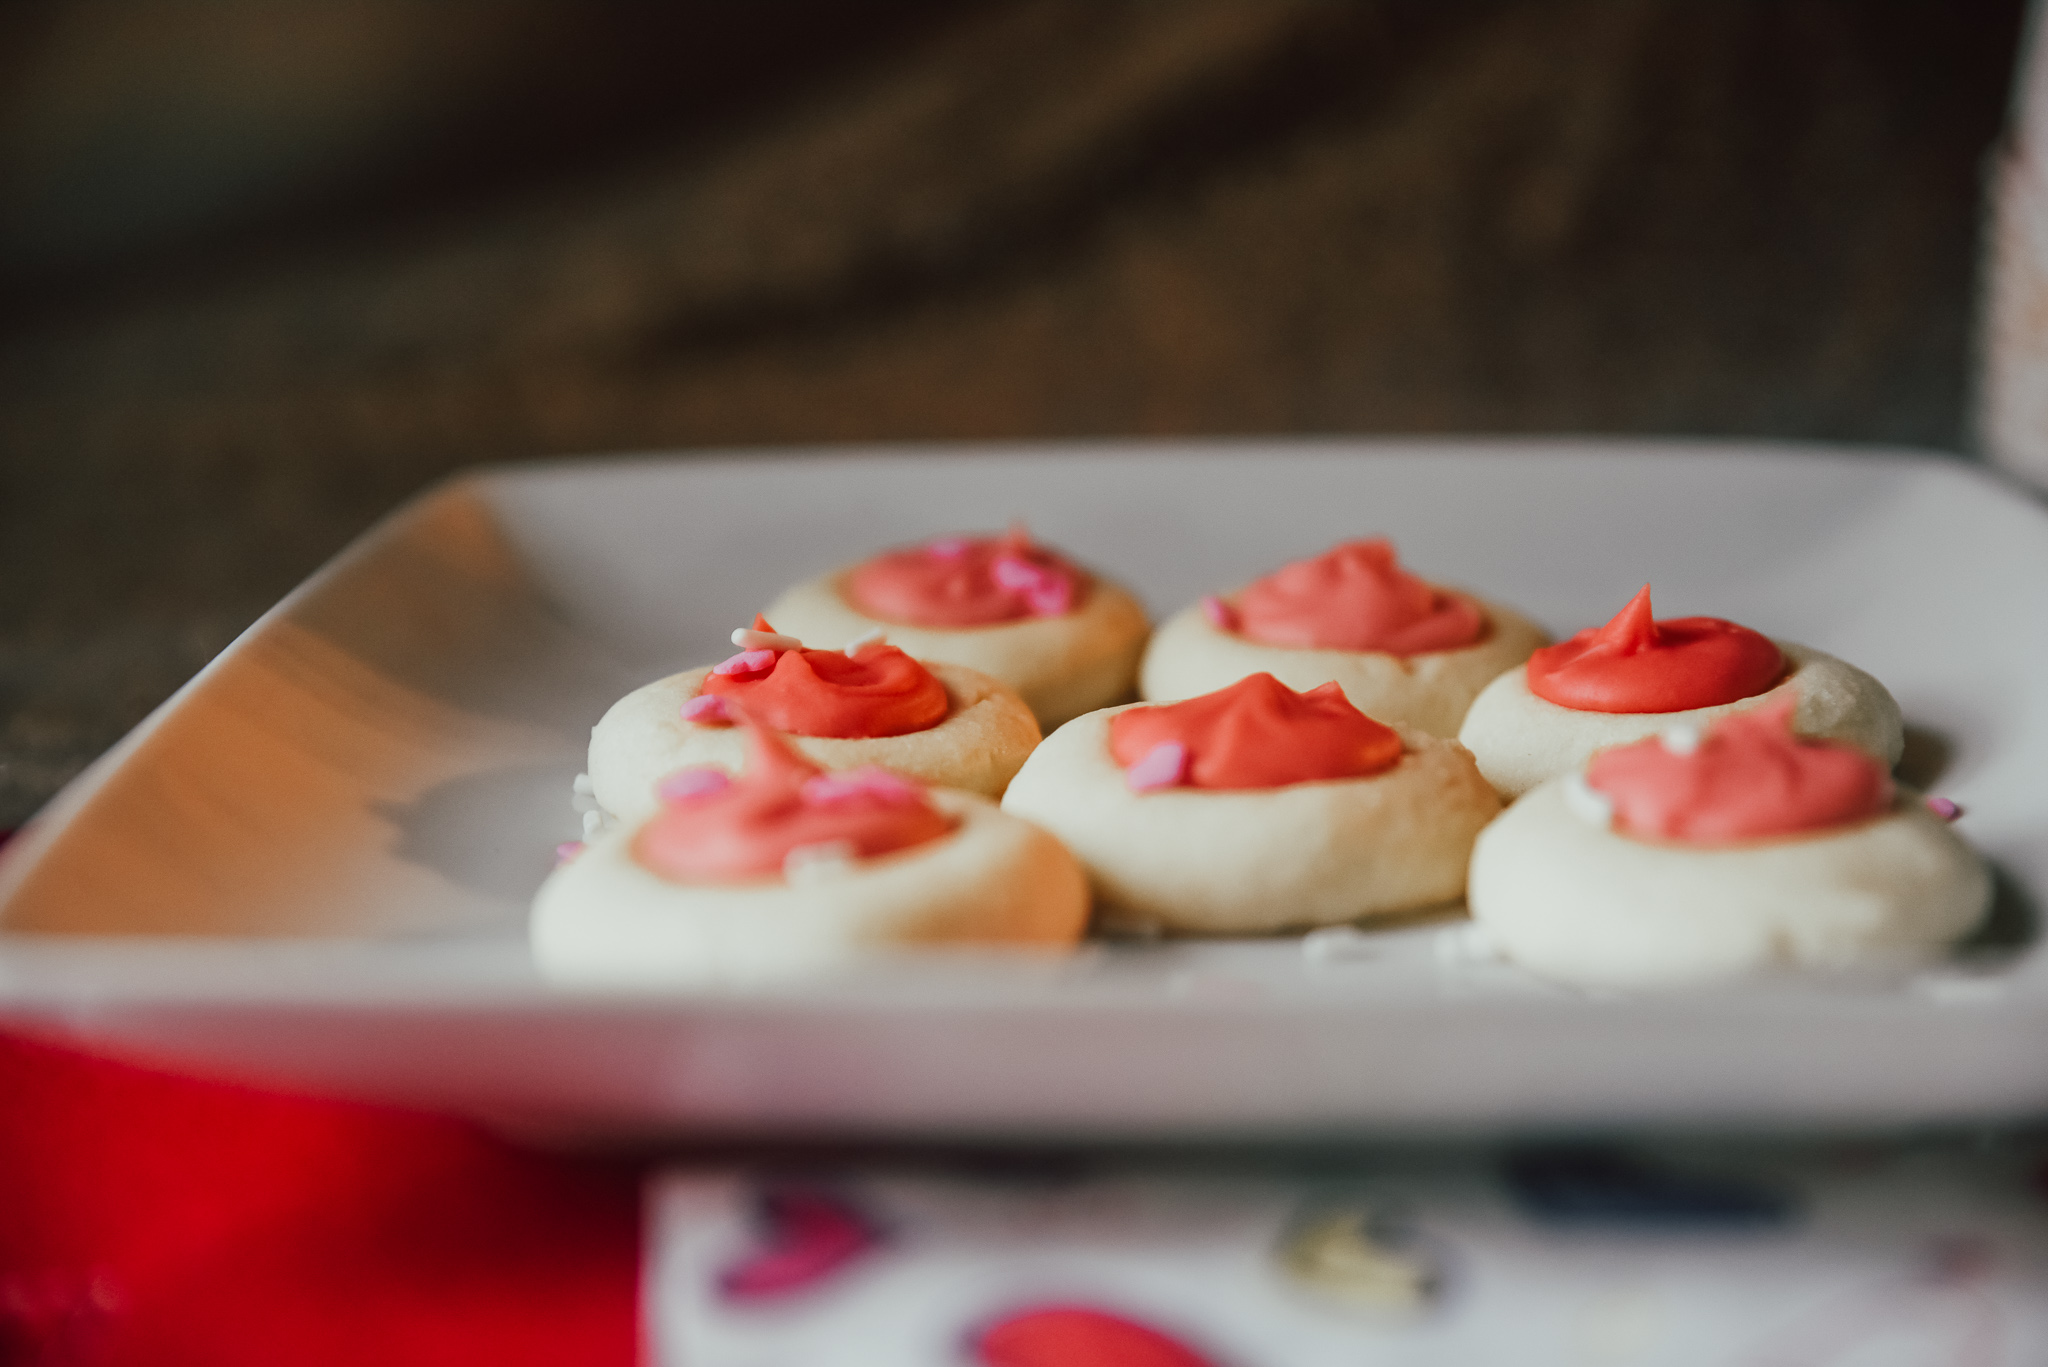
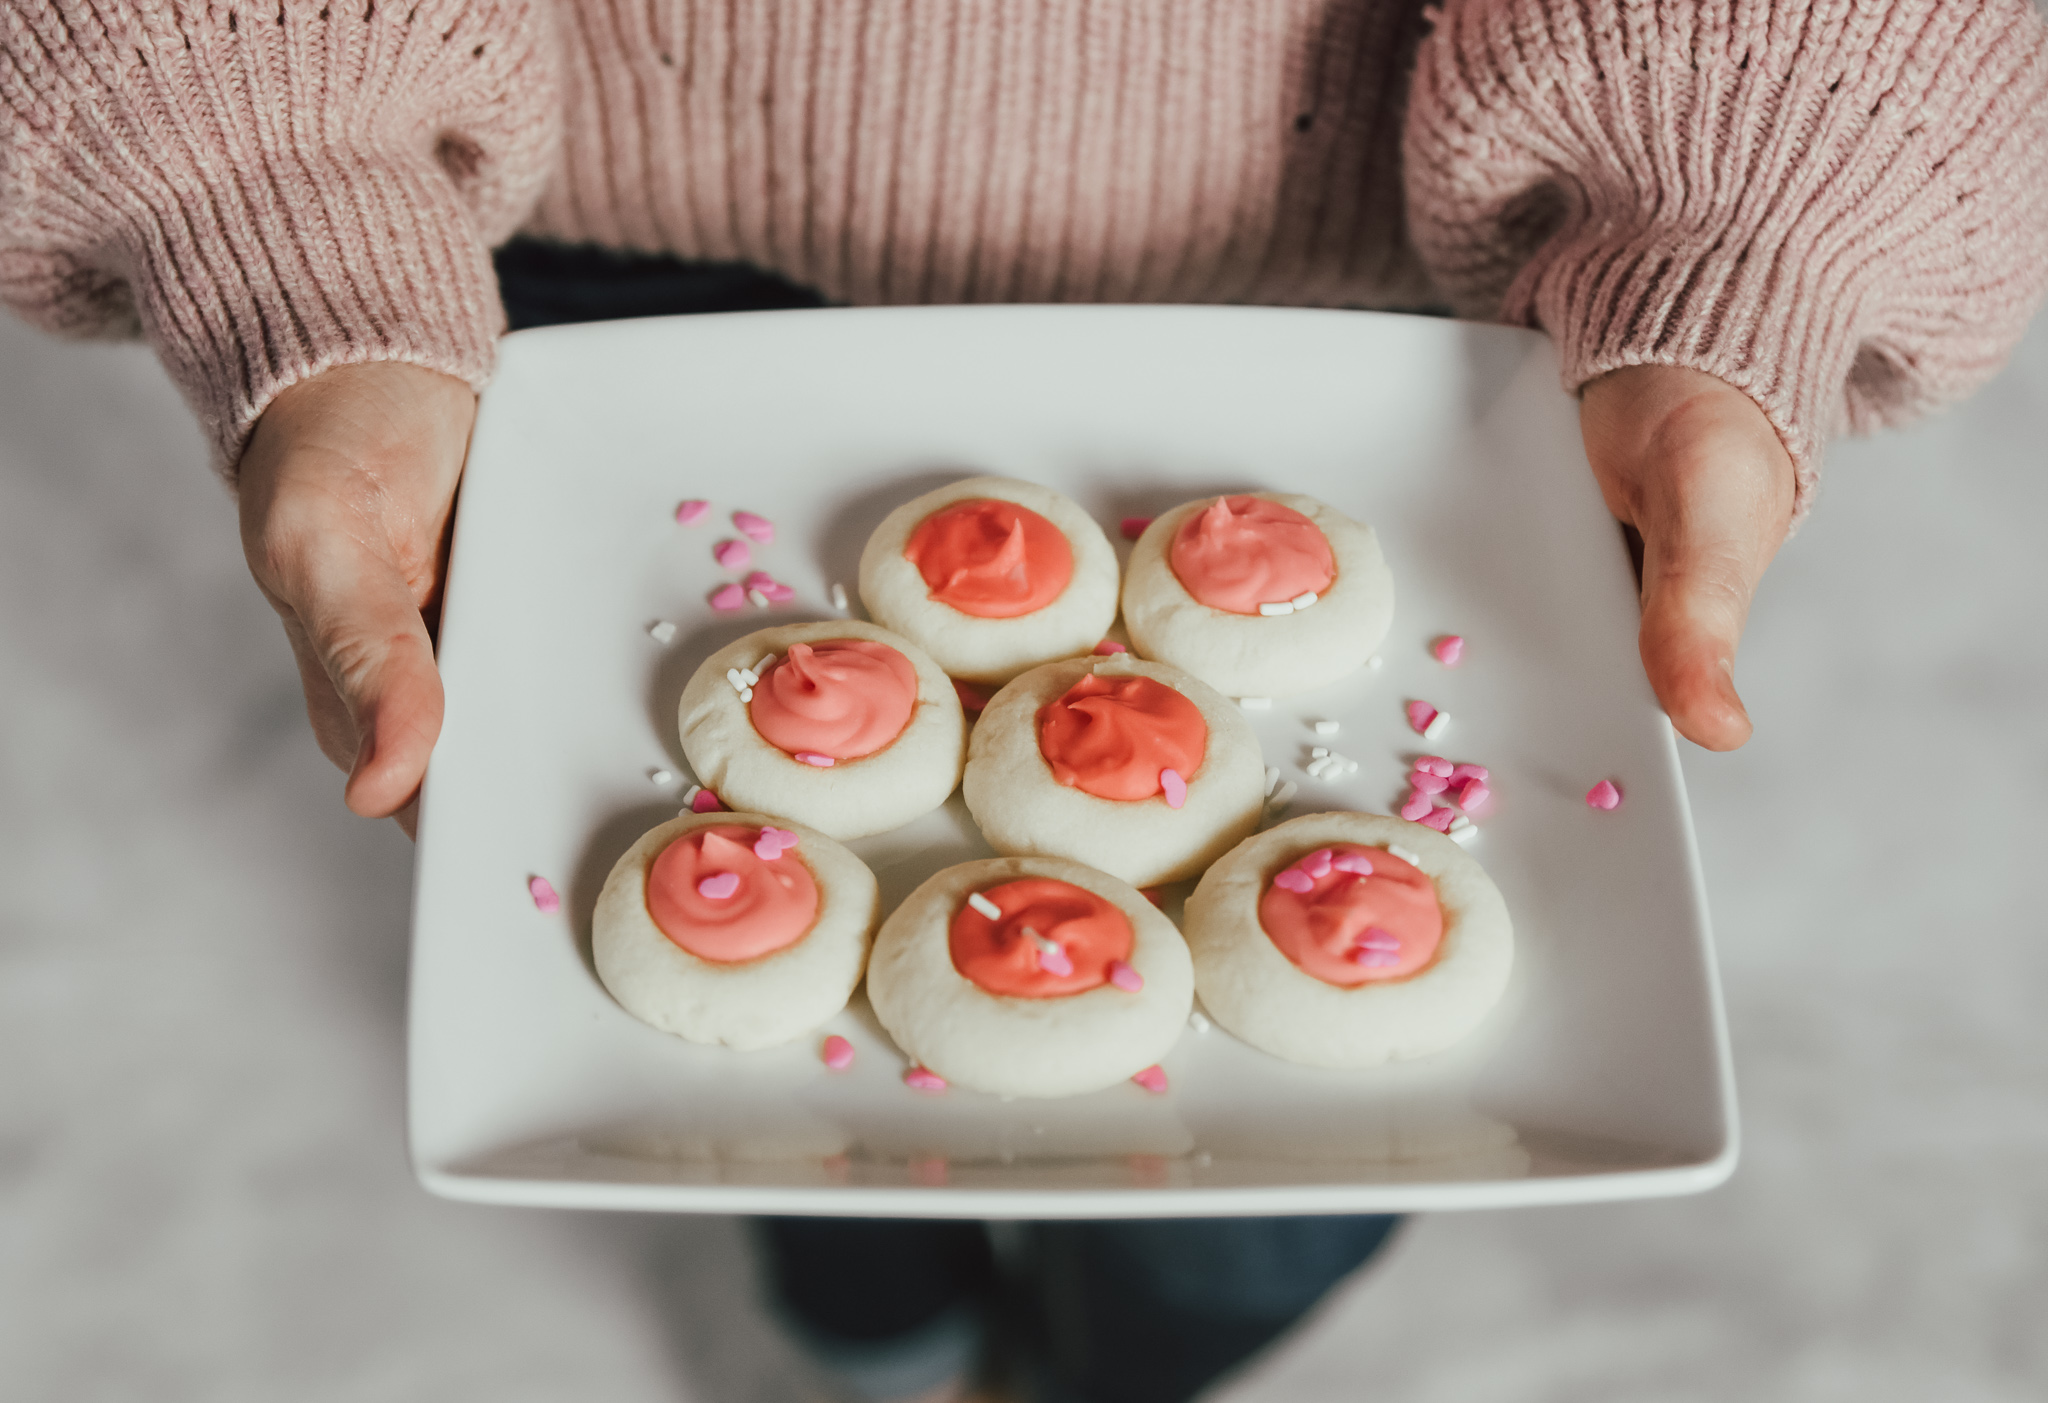
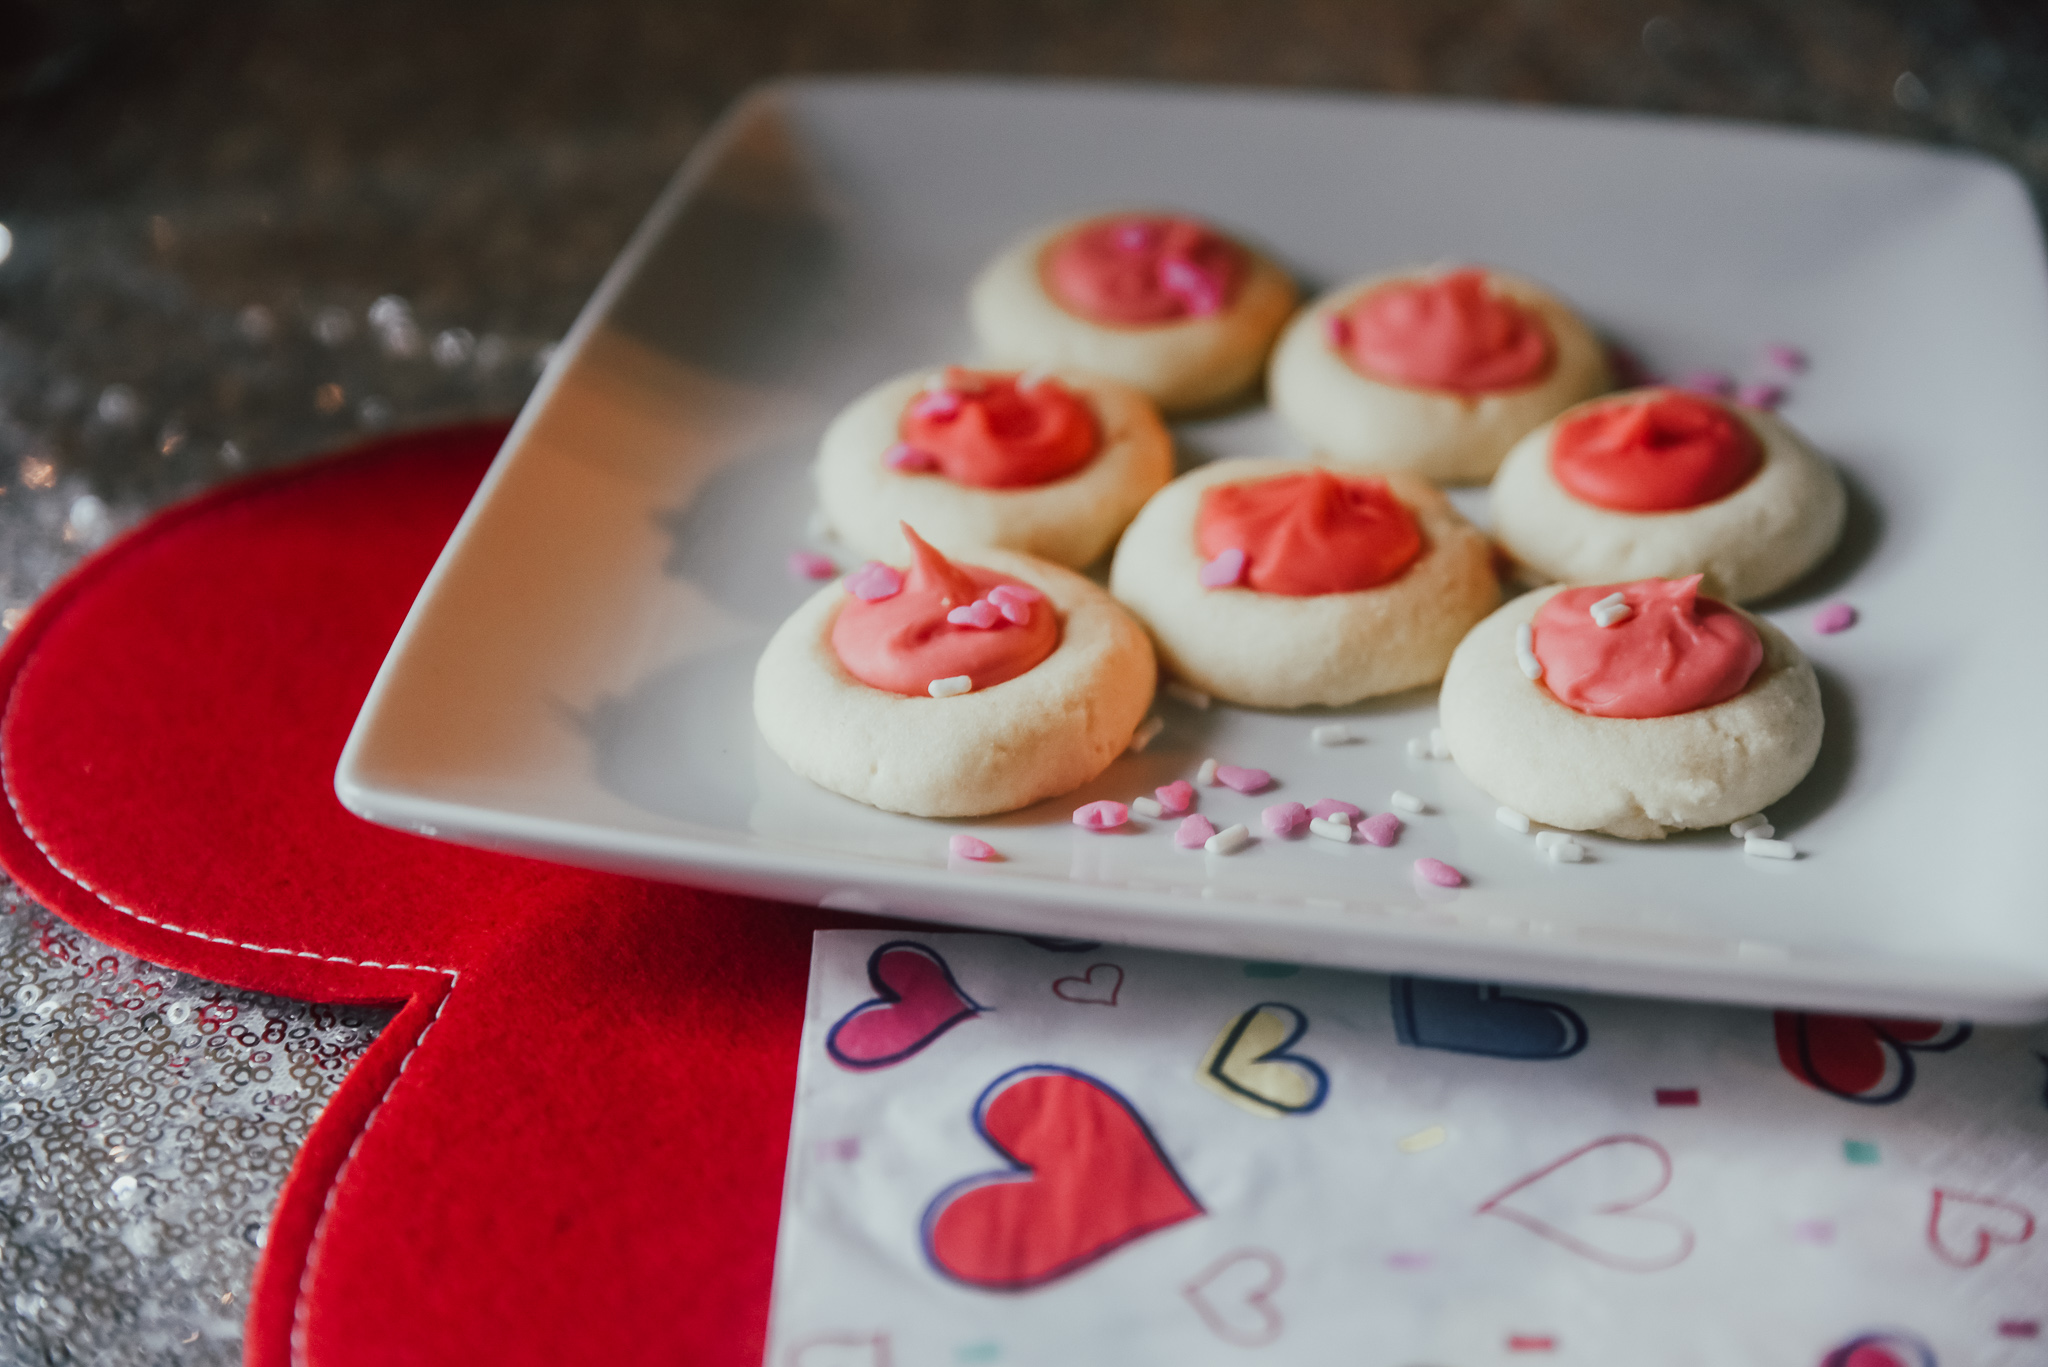
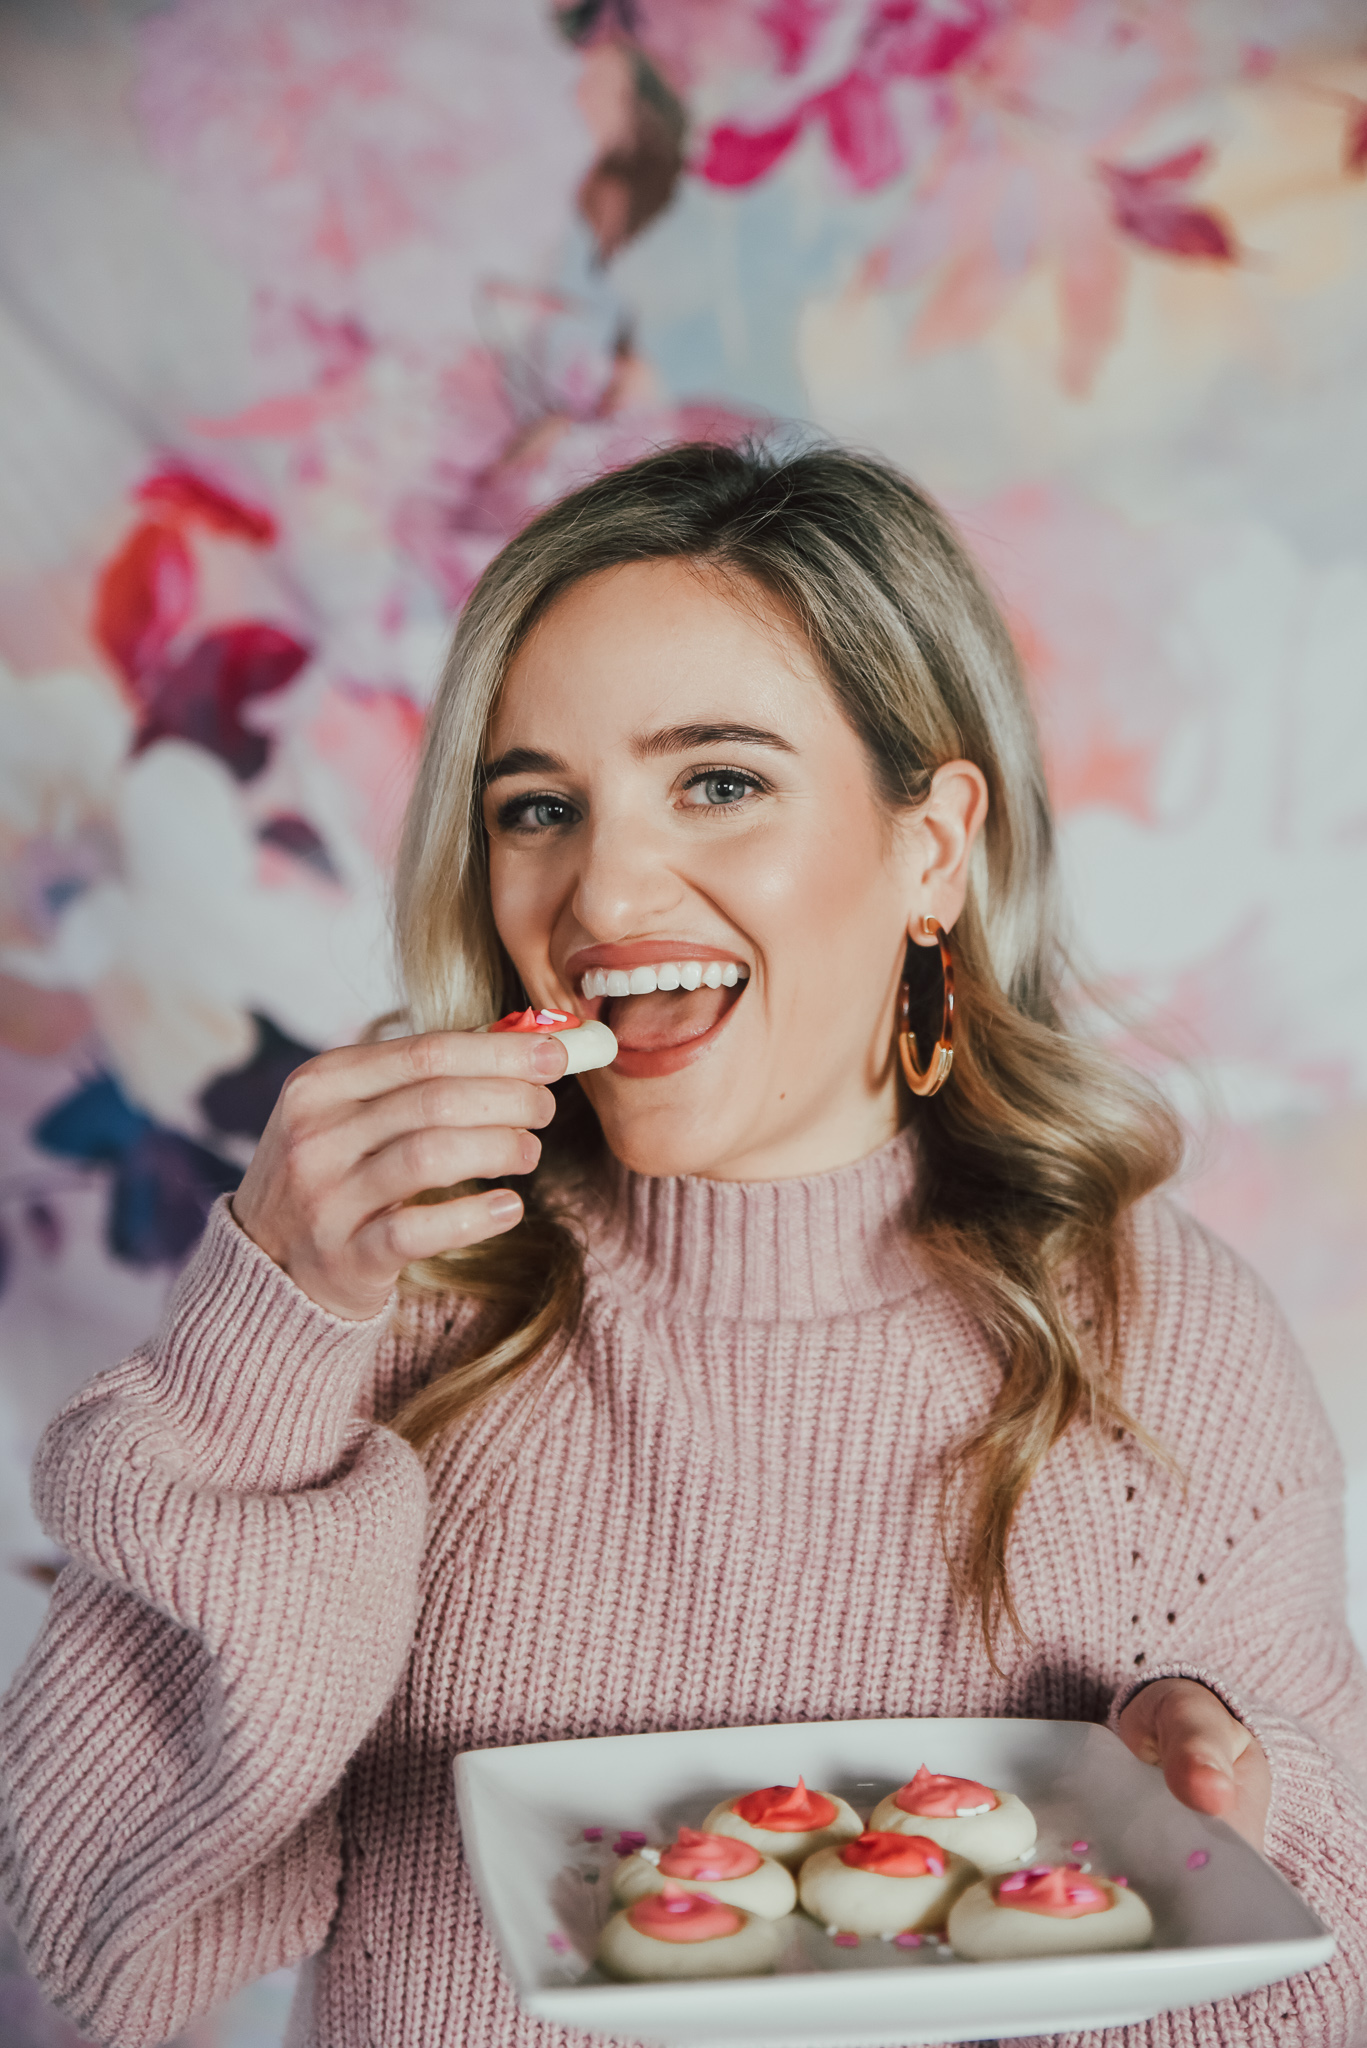
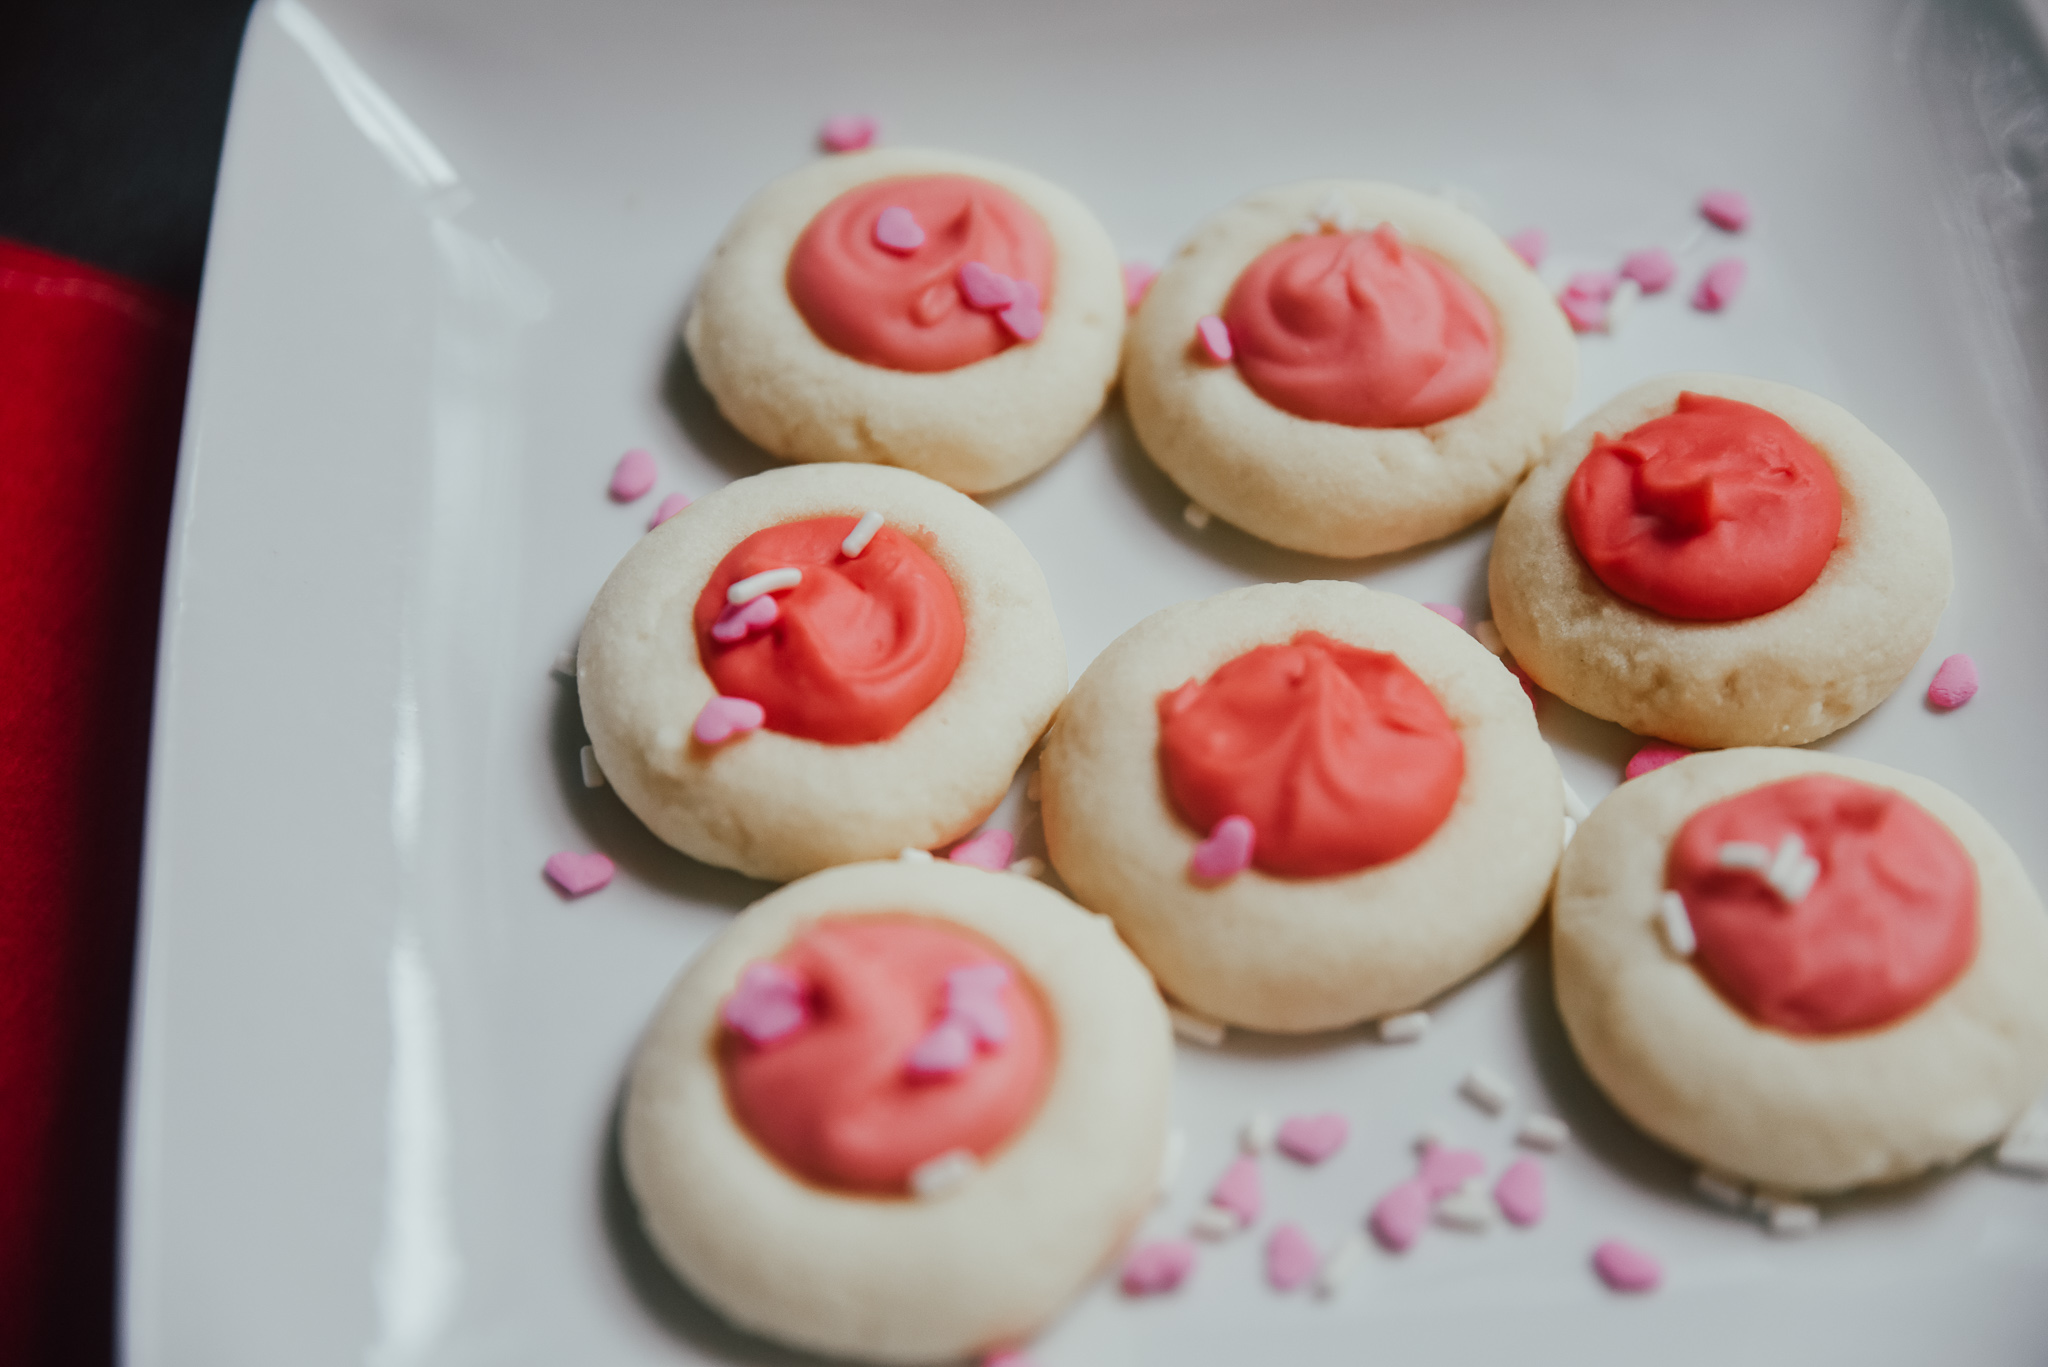
I recently made these Vanilla Butter Melt Away Cookies for a Galentines event I attended, and they were a huge hit!  They have a perfectly crunchy outside and soft, melt in your mouth center.  Plus the homemade icing gives a nice little extra touch of sweetness!  I made the icing in varying shades of pink, which I thought would be cute for our get together and also added some festive sprinkles... because who doesn’t love cute heart shaped sprinkles?!? These cookies are perfect to bring to your own Galentines or Valentine’s Day party but would also be great for a wedding shower, baby shower, or honestly .... anytime!! Whatever the occasion, these cookies are sure to be a hit!! Enjoy! 

Vanilla-Butter-Melt-Away-Cookies-Recipe-Valentines-Day-1.jpg

WHAT YOU’LL NEED

  • 2 Cups Margarine

  • 1/2 Cup sugar

  • 2 tsp. vanilla extract

  • 1/2 tsp. salt

  • 4 Cups flour

  • 1/2 cup powdered sugar

FOR THE ICING:

  • 1 1/2 Cups powdered sugar

  • 2 Tbls. butter

  • 2 Tbls. heavy cream

  • 1 tsp. vanilla extract

  • Red food coloring

WHAT TO DO

DOUGH:

  1. Line a baking sheet with parchment paper or silicon baking mat

  2. Cream margarine, sugar, and salt together

  3. Add powdered sugar and vanilla, stir

  4. Slowly blend in flour

  5. Roll dough into marble size balls and place on baking sheet

  6. Make thumbprint in dough where the icing will go

  7. Bake cookies at 350 degrees for 10-12 minutes

ICING:

  1. Mix all ingredients together with a fork until smooth and free of clumps

  2. Add food coloring until you reach desired color

  3. Once cookie have cooled completely, fill each thumbprint with icing

  4. Top with sprinkles (not necessary, but more festive!!)

Vanilla-Butter-Melt-Away-Cookie-Valentines-Day-5.jpg

PHOTOGRAPHY| Jenny Hansen Lane

HEALTHY(ISH) PUMPKIN COOKIES

Healthy-Pumpkin-Cookie-Recipe-Dessert-5.jpg

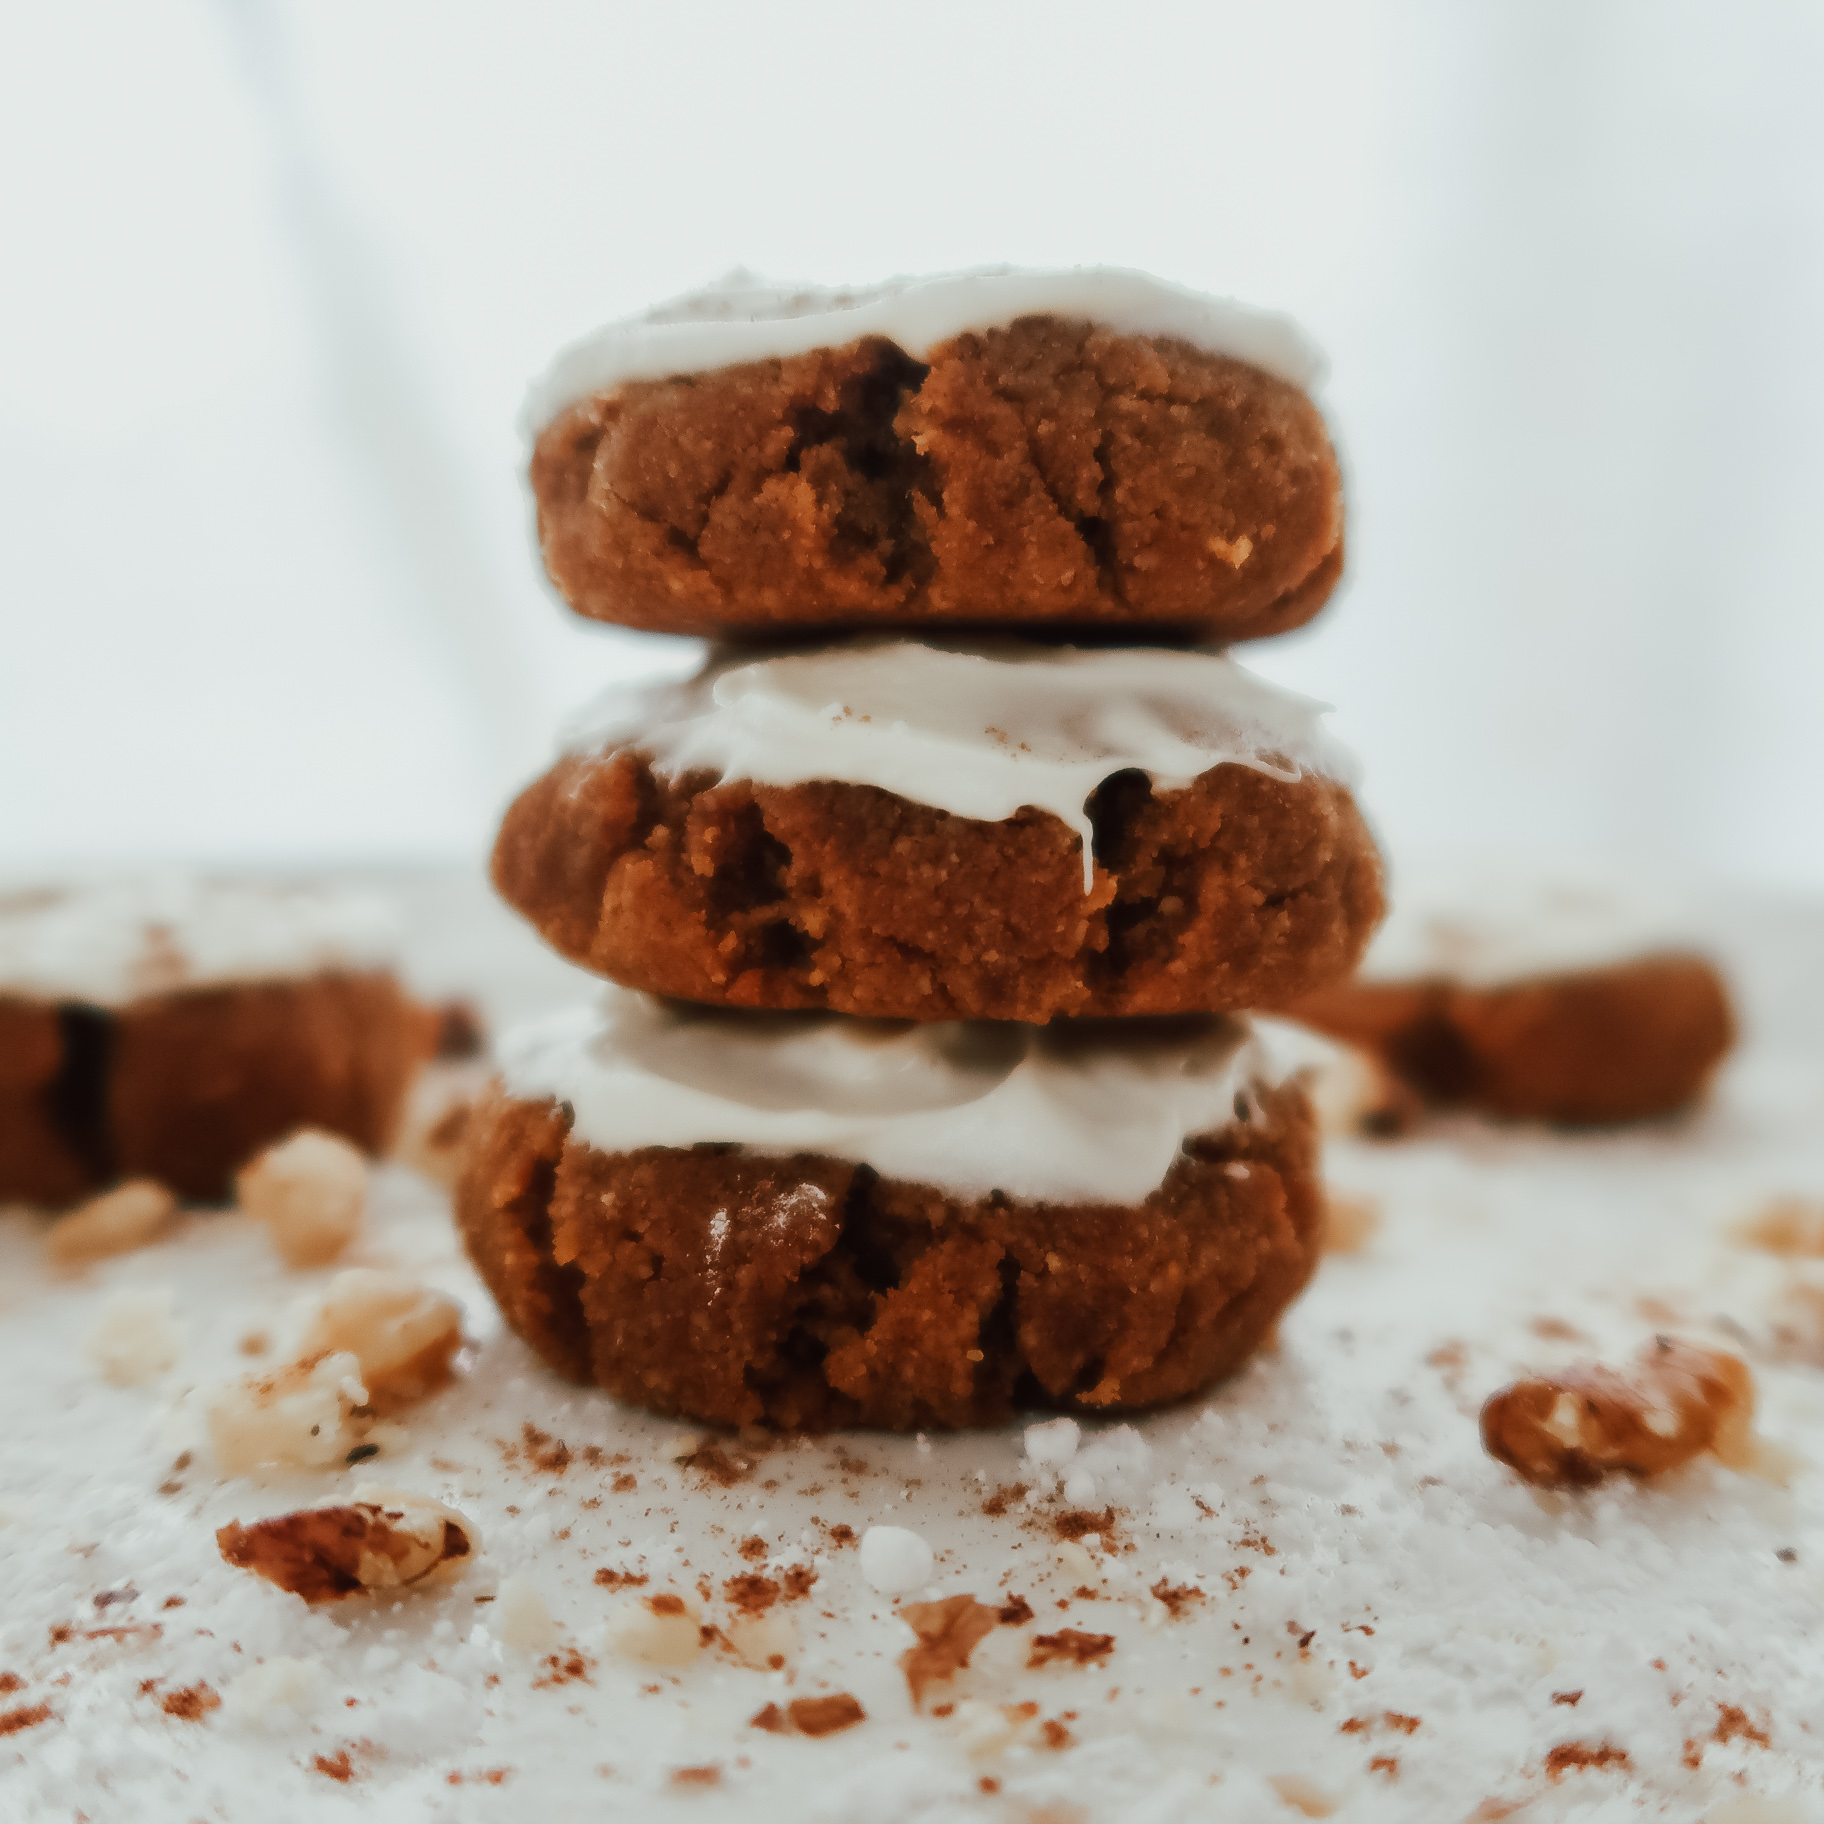
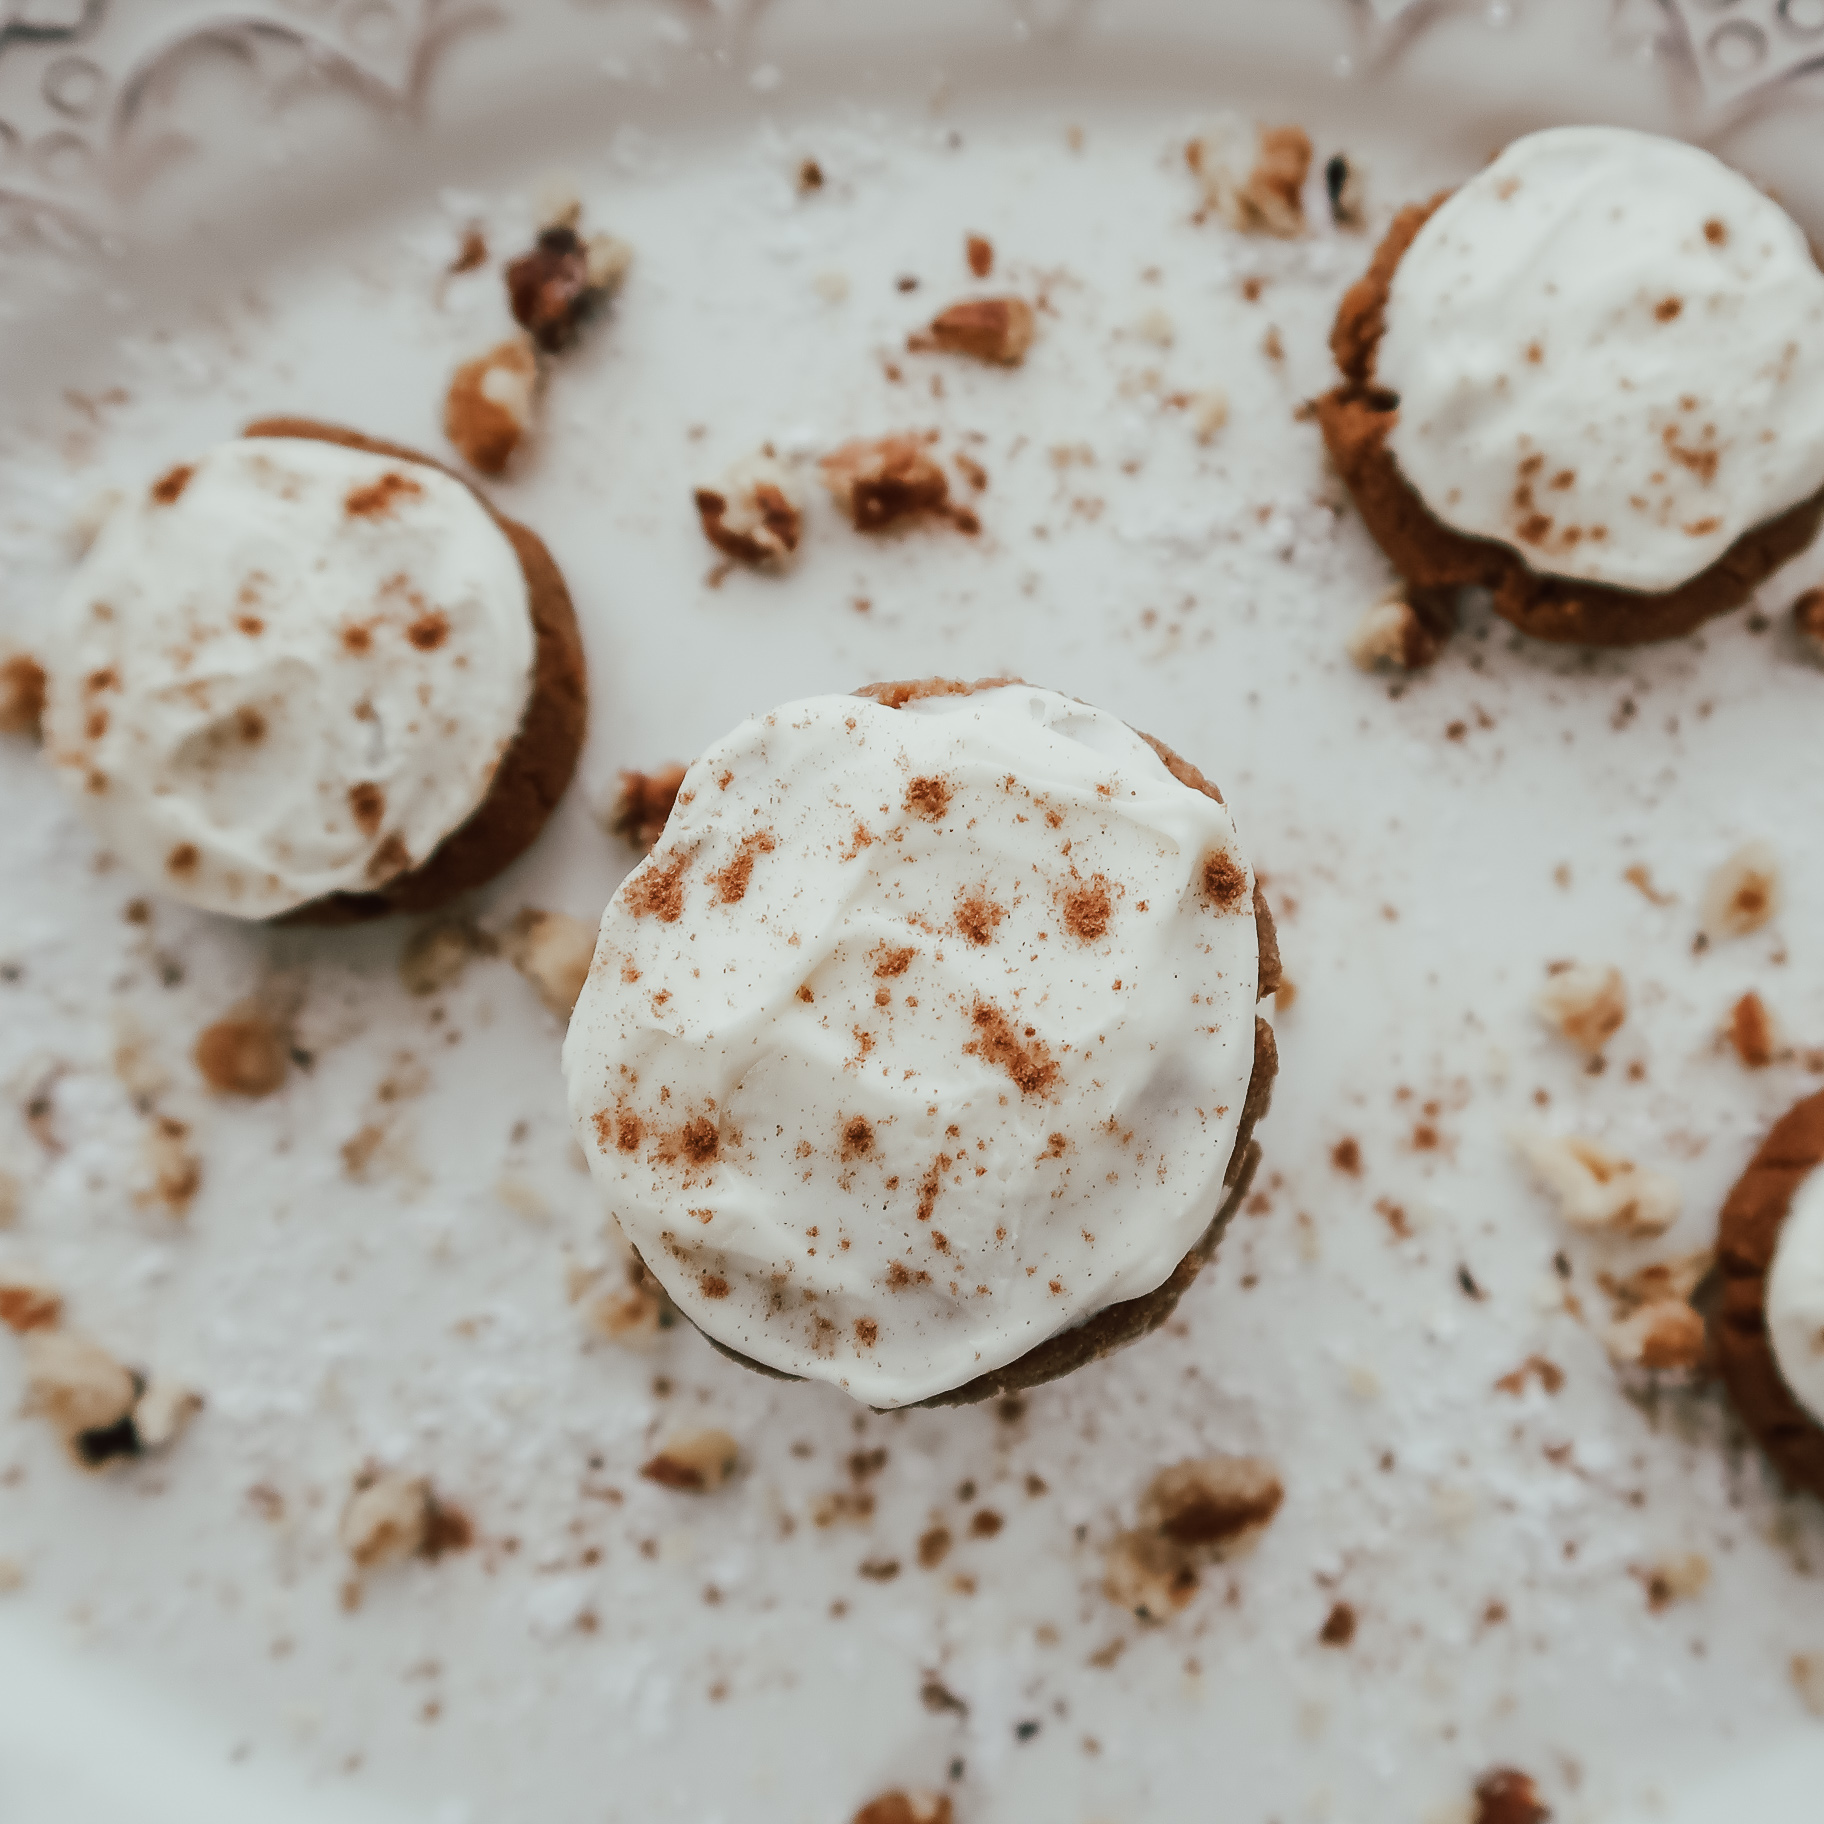
When fall rolls around, I want ALL things pumpkin! These pumpkin cookies are basically a mix between classic pumpkin pie and your favorite soft cookie, and are sure to satisfy all your pumpkin cravings! Plus, they are pretty darn healthy as far as the cookie itself goes. Now, I will admit, the maple frosting is a bit of a splurge, but I have yet to try a “healthy” frosting recipe that I like as well as this cream cheese frosting…and what is a pumpkin cookie without creamy frosting?! Not as good if you ask me!! I used Trader Joes Bourbon Barrel Aged Maple Syrup which gives the frosting a nice sweet + smokey flavor, but feel free to use your favorite kind! You can omit the frosting if you prefer to keep these cookies more on the healthy side, and just roll the dough in cinnamon sugar before baking. I think these would be perfect to make for Thanksgiving, a holiday party, or just for yourself! If you’re anything like this household, these will be gone in a couple days. Enjoy!

WHAT YOU’LL NEED

  • 1/4 cup melted coconut oil 

  • 1/3 cup canned pumpkin

  • 1/4 cup cane sugar

  • 1 tbsp. pure maple syrup

  • 1 egg, at room temperature

  • 1 tsp. vanilla extract

  • 2 cups packed fine almond flour 

  • 5 tbsp. coconut flour

  • 1/4 tsp. baking soda

  • 1 tbsp. pumpkin pie spice 

  • 1/4 tsp. salt

  • 1 tbsp. molasses

  • If not using frosting: Roll dough in cinnamon sugar

    For the Maple Frosting:

  • 1 pkg. cream cheese, softened

  • 1/2 cup unsalted butter, softened

  • 2 cups powdered sugar

  • 1 tsp. pure vanilla extract

  • 4 tbsp. pure maple syrup, at room temperature

  • Pinch of salt


    WHAT TO DO

  1. Heat oven to 350 degrees F. Line a large baking sheet with parchment paper

  2. In a large bowl, add the coconut oil, pumpkin, sugar, maple syrup, egg and vanilla extract. Stir until smooth. Next add in almond flour, coconut flour, baking soda, spices and salt. Mix to form dough. Allow dough to sit for 5 minutes.

  3. Roll dough into golf sized balls ( roll in cinnamon-sugar if not using frosting) and place on cookie sheet. Use palm of your hand to flatten dough.

  4. Bake for 10-12 minutes

  5. Cool completely

    For maple frosting:

    Mix well and put on top of each cookie. Frosting does best if cookies are completely cooled.

Healthy-Pumpkin-Cookie-Recipe-Dessert-2.jpg
Healthy-Pumpkin-Cookie-Dessert-Recipe-4.png